Getting the syncro back on the road

The quintessential people and stuff mover.
User avatar
ajdenette
Posts: 717
Joined: Wed Jan 20, 2010 1:18 pm

Re: Getting the syncro back on the road

Post by ajdenette »

Well it is time for inspection and I have a decent exhaust leak at the cast collector so I decided to replace the gasket, got the one gasket swapped out and started working down the line towards the cat and found a very loose J pipe and in trying to remove that... I broke the collector.

Image

Looking through my parts I had a J pipe but had some perforation and deemed that un usable

Image

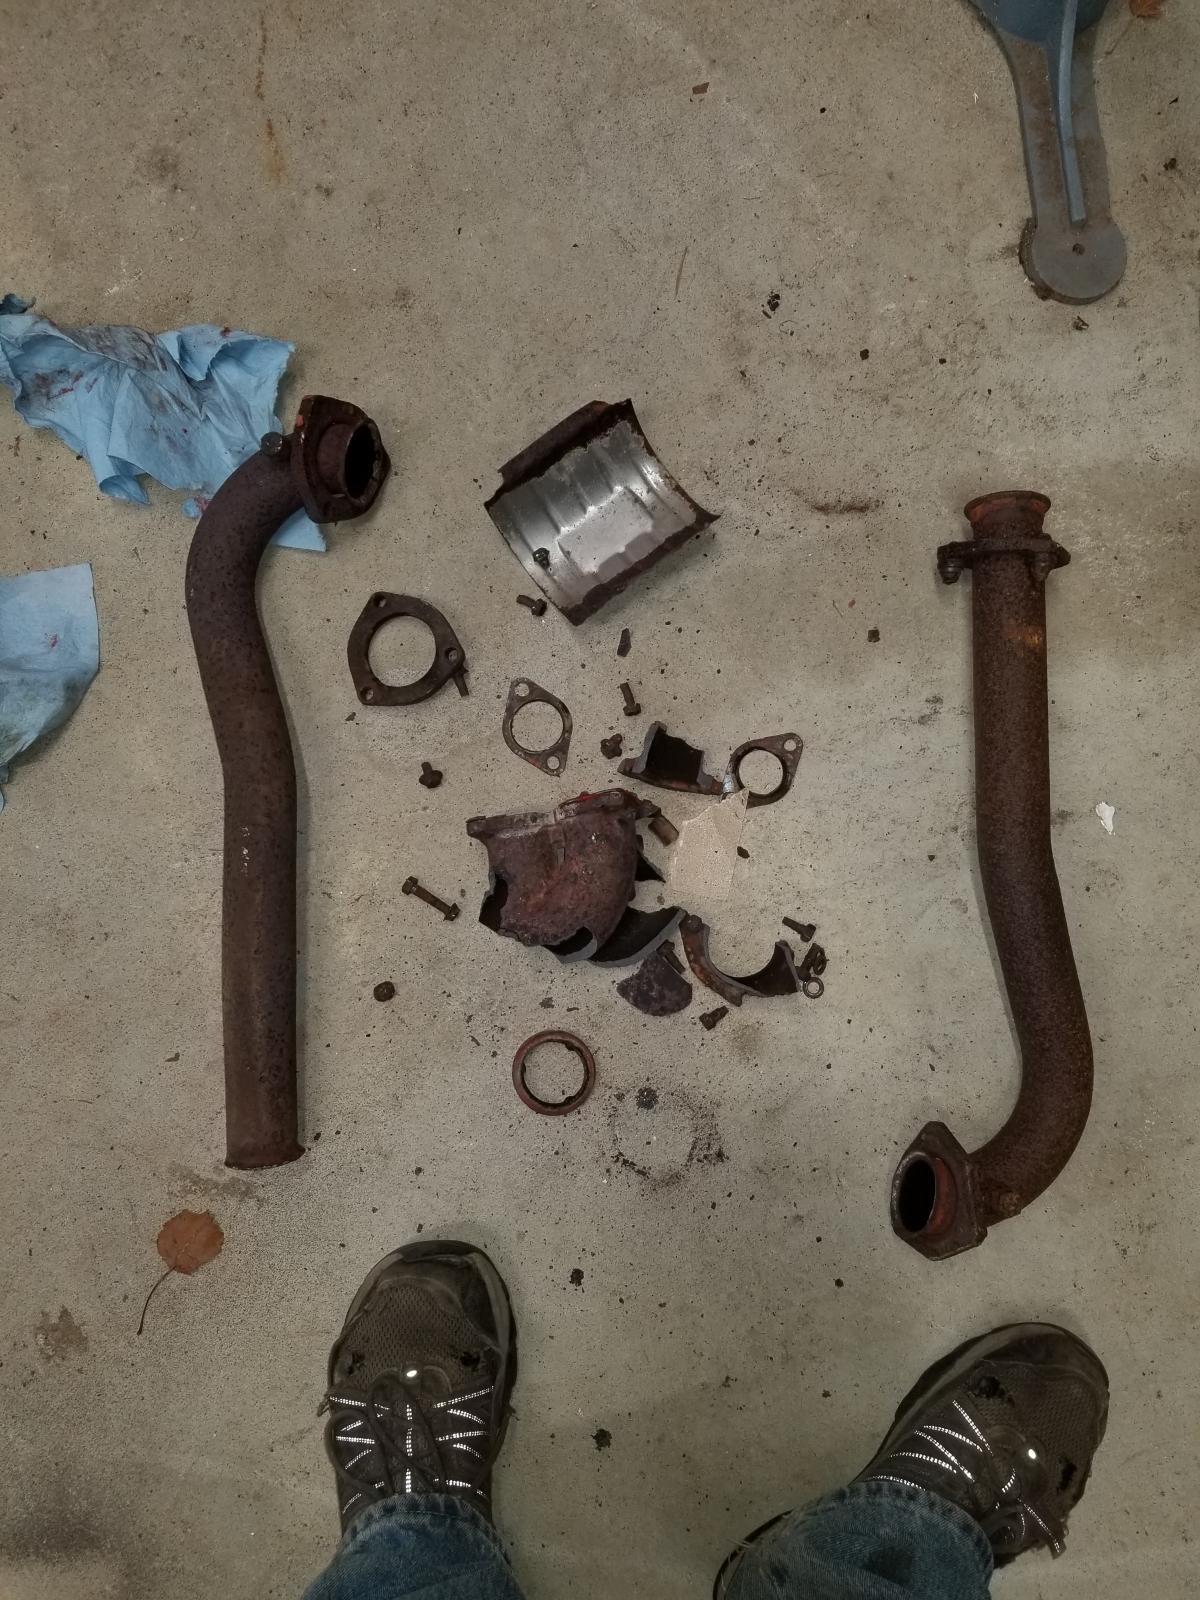
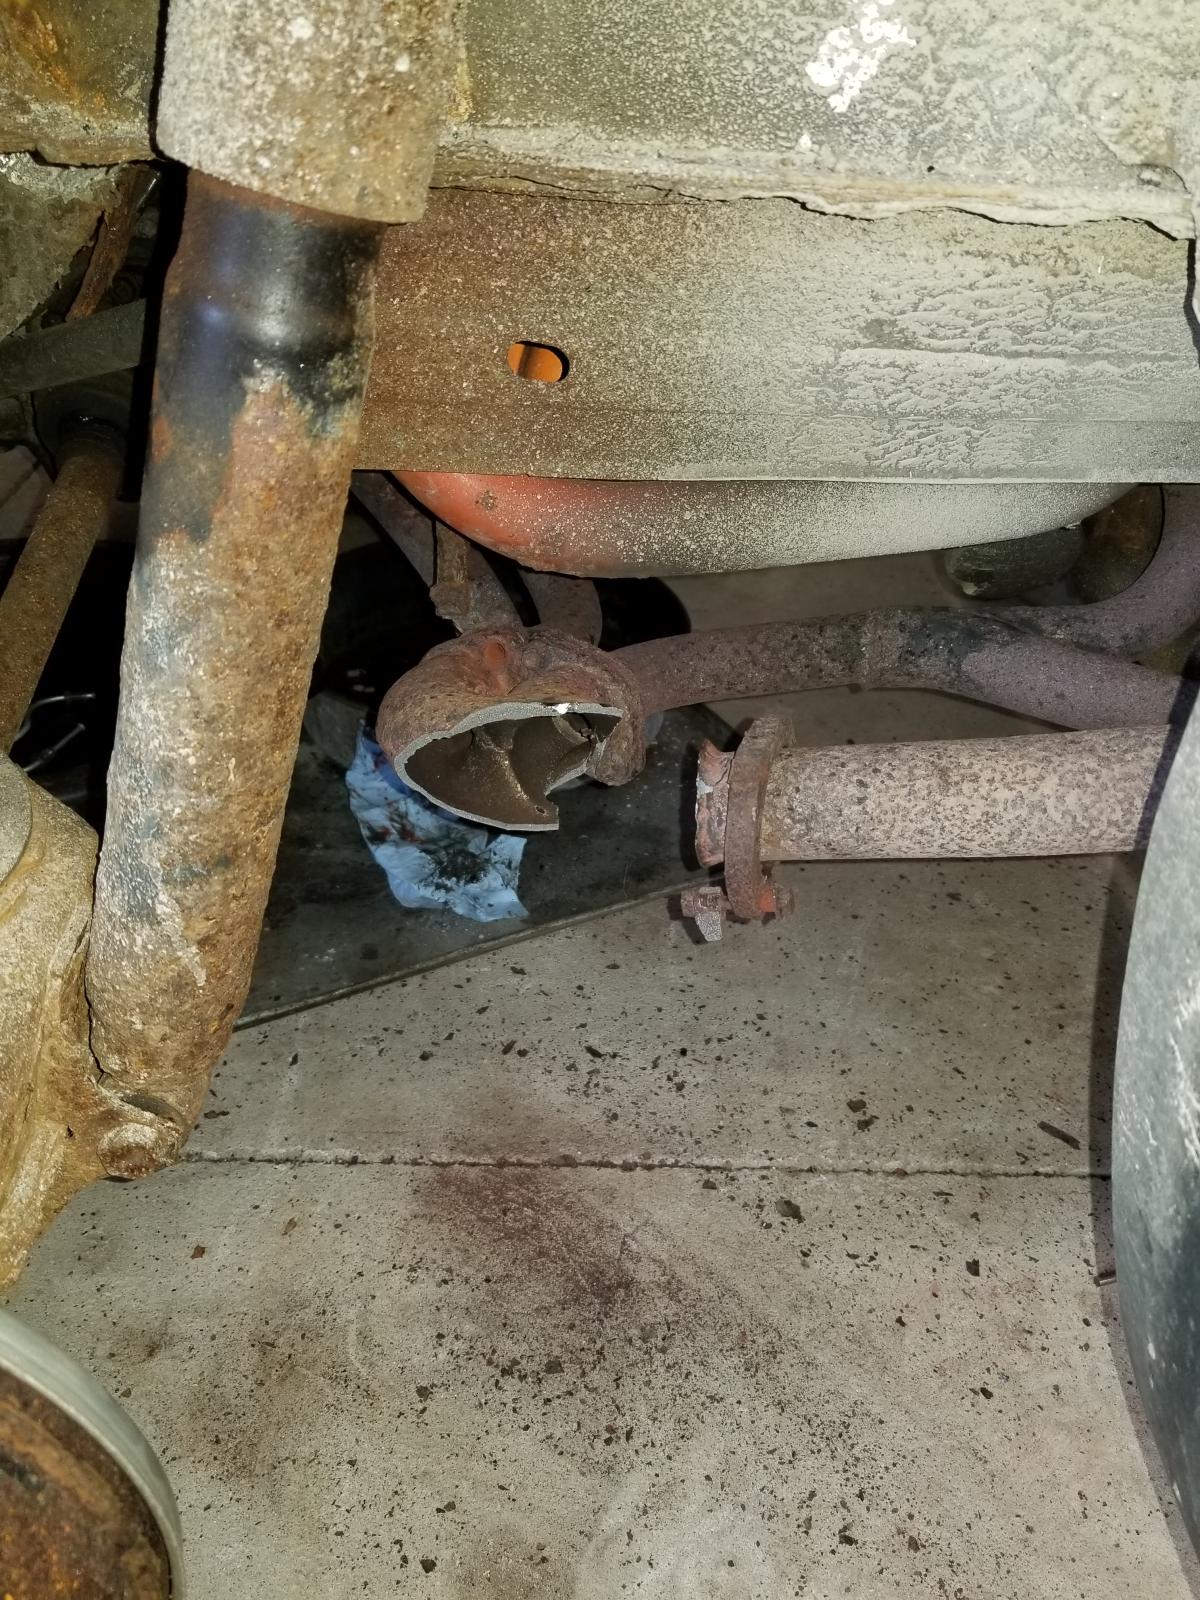
I knew I had a brand new collector somewhere but did not know if it was at my hose or my parents I lucked out and had it in the tub of new parts, after a little frustration release aka smashing the cast collector with a hammer I finished removing the collector and J pipe and got the new collector bolted to the header pipes:

Image

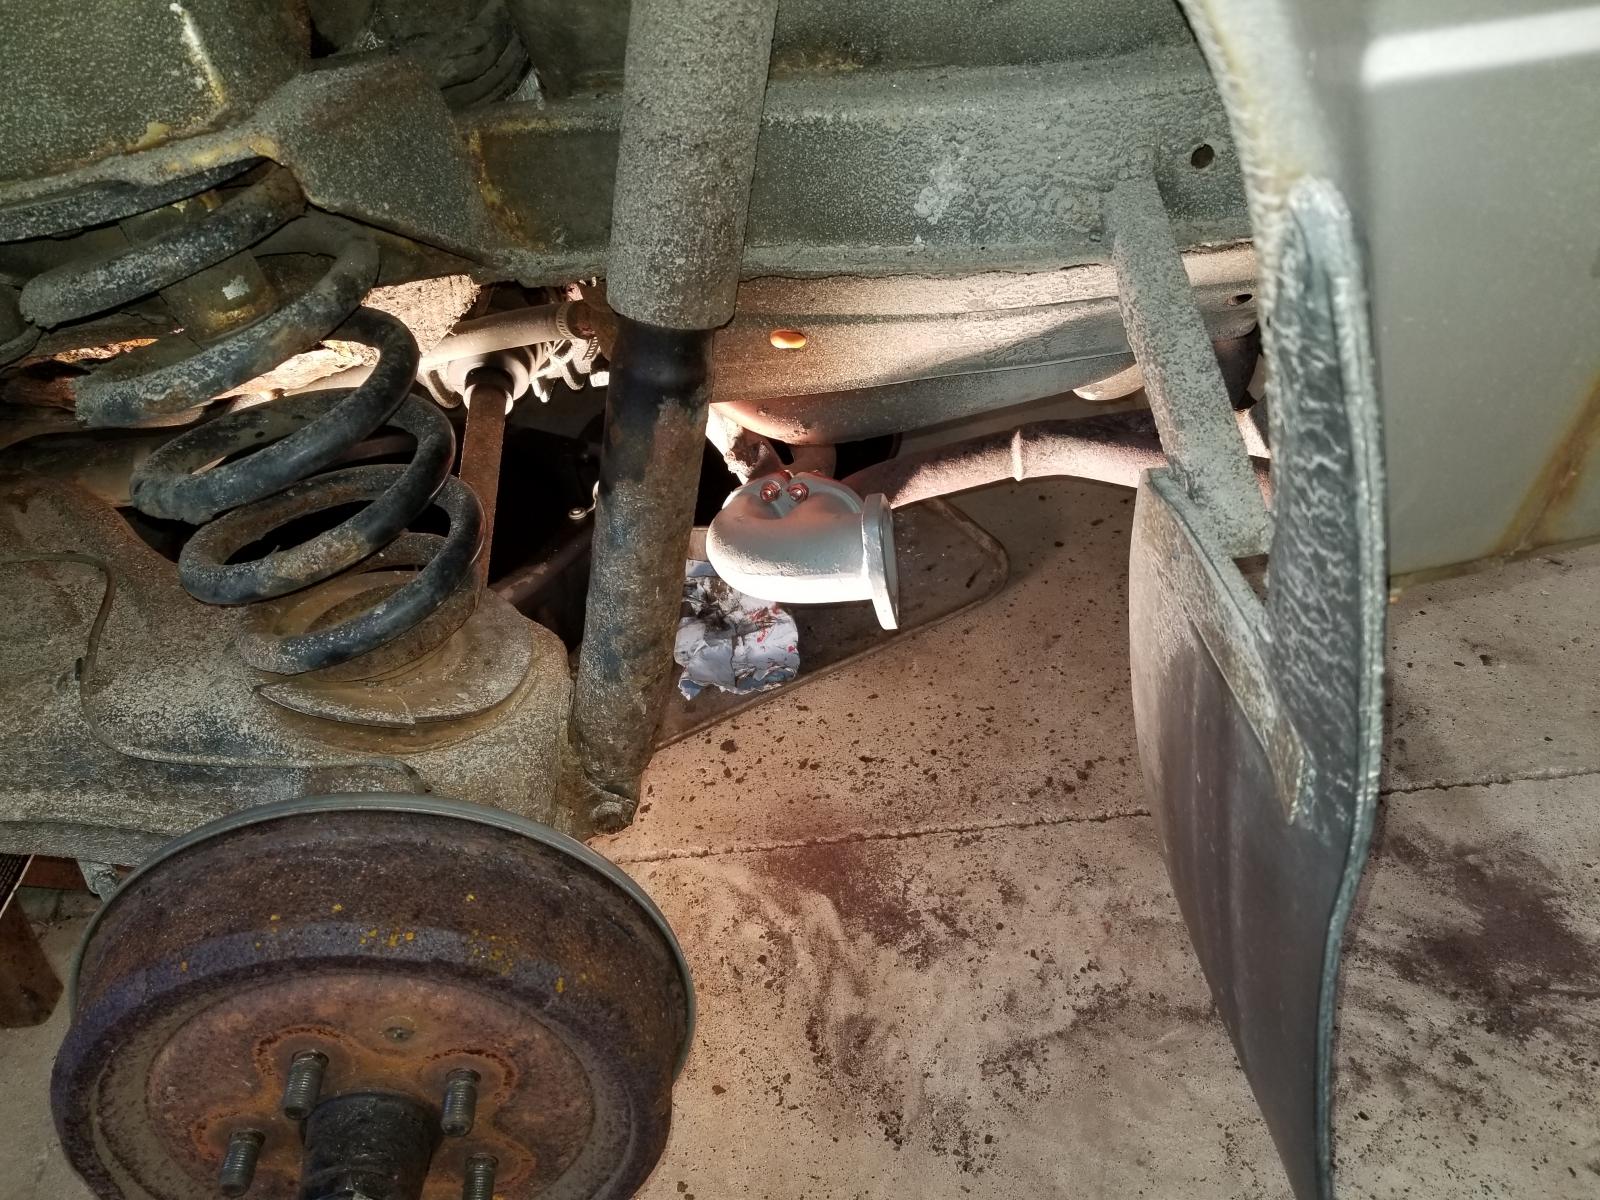
I still needed a J pipe and some gaskets I tried the local Napa but no listing for either I posted some photos Facebook and a fellow Vanagon guy John offered up a used elbow I just had to go get it. after getting it I was able to get it all buttoned up and it is running good still not off to inspection.

Image

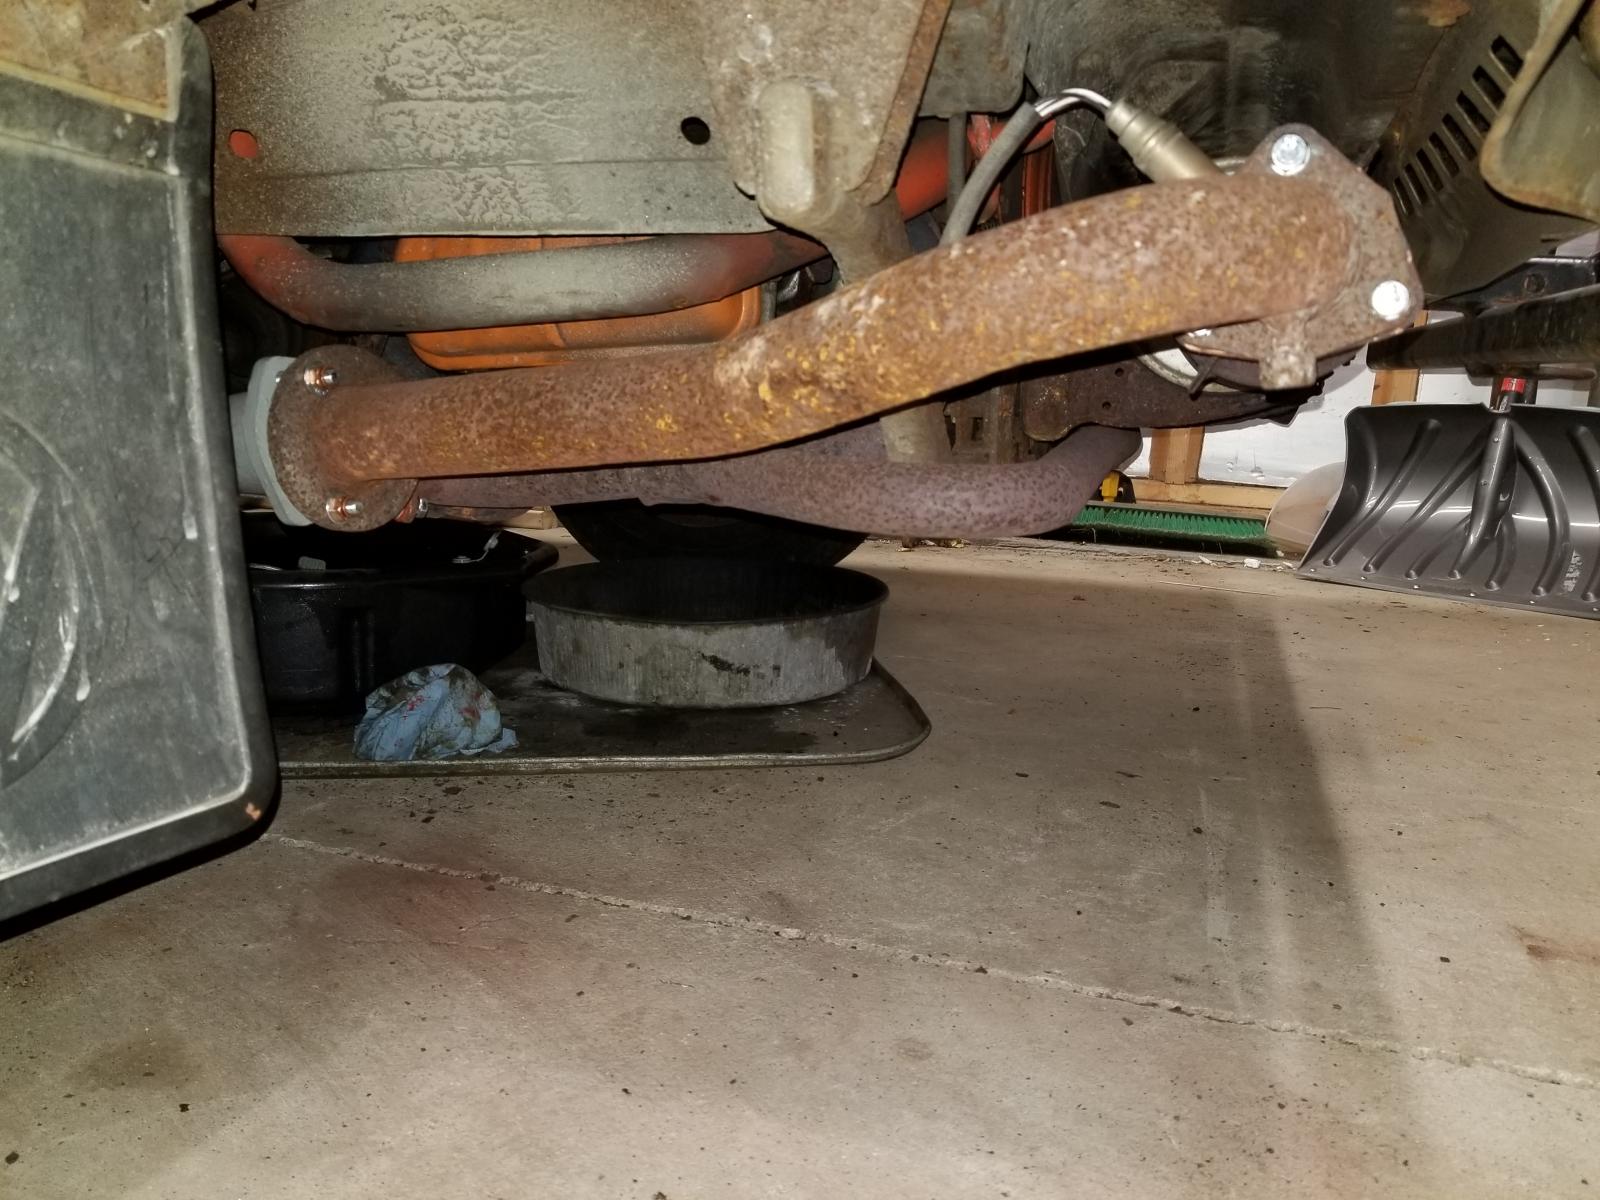
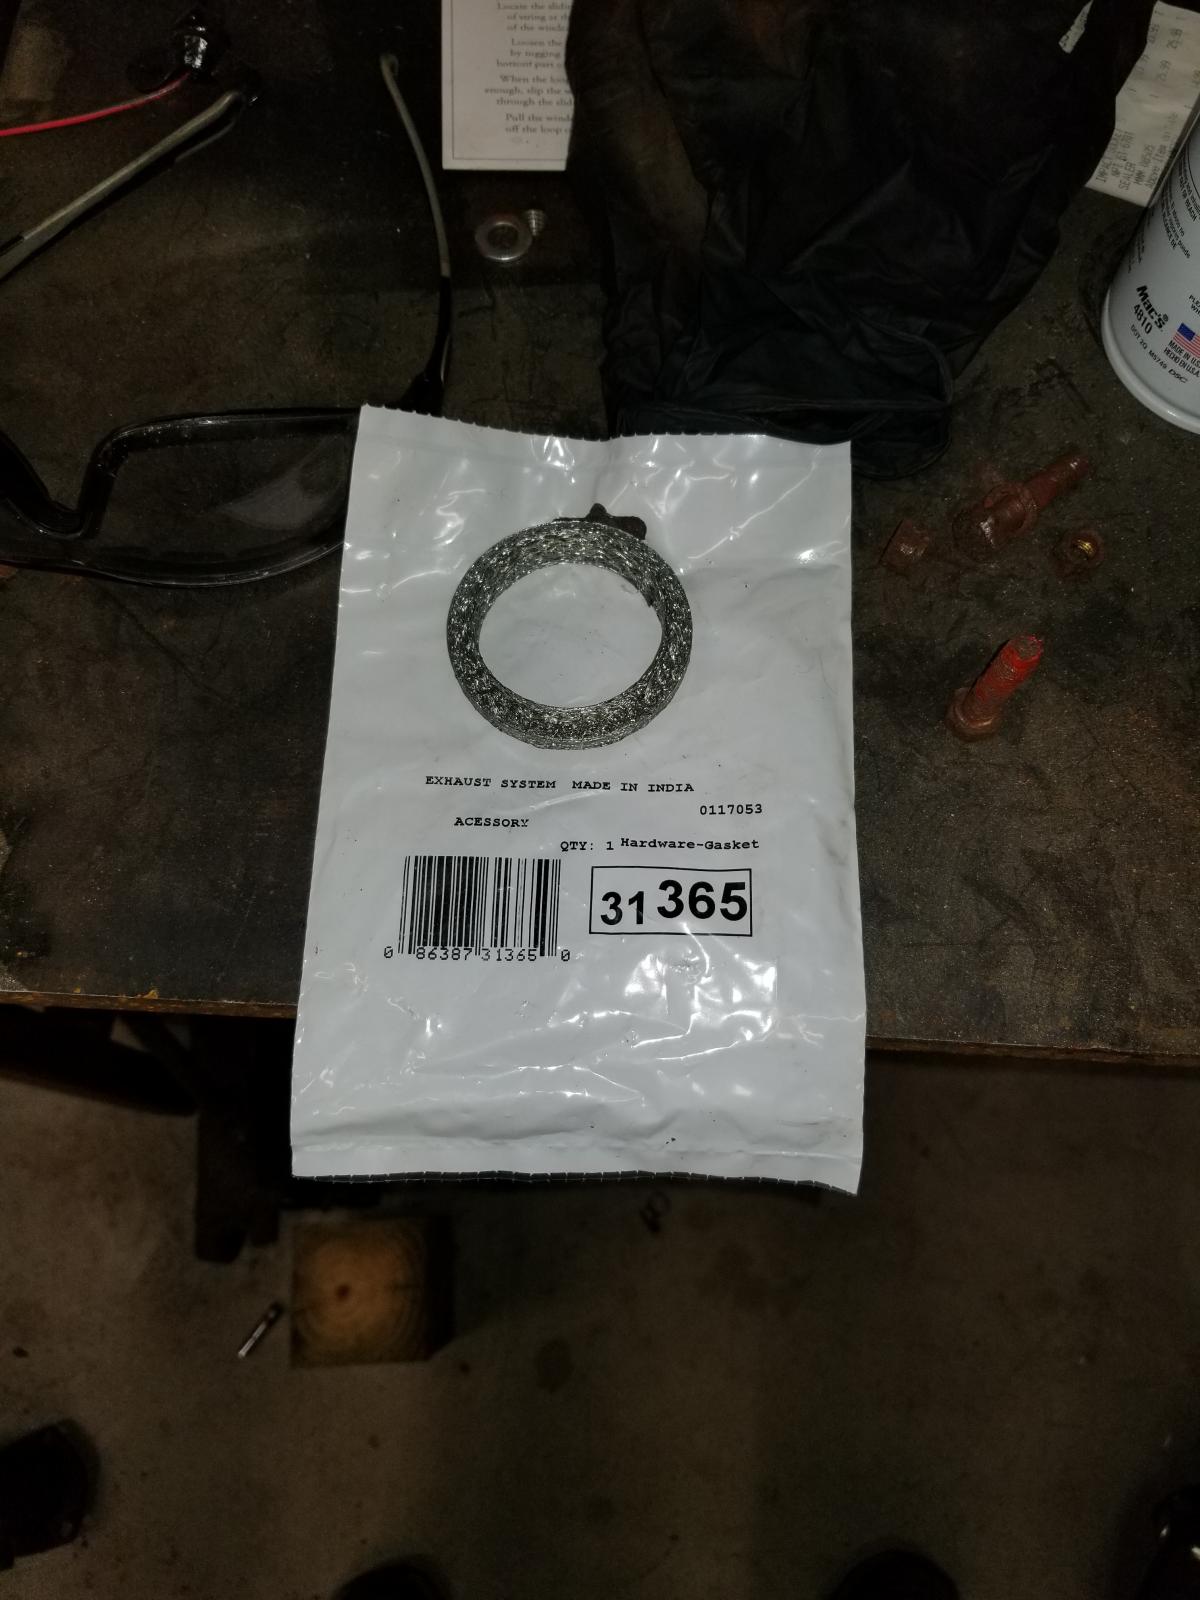
I did do some cross referencing online and found a few different part numbers but these are the ones that they were able to get. I used some gasket maker to seal the wire mesh to the pipes to hopefully make a long term seal. Catalytic Converter to Elbow - Donut 855.253.137A 855-253-137A cross references to Walker gasket 31-365

Image
Alex

|_________oo_oo
/ /__/____[_____\
I I======[]IIIIIII[]
()_)-----()_)----)_)
User avatar
ajdenette
Posts: 717
Joined: Wed Jan 20, 2010 1:18 pm

Re: Getting the syncro back on the road

Post by ajdenette »

Well I finally got around to installing the Carat curtains I picked up a little bit ago so now I have a full set of curtains for the Syncro even though I have the full westy I am putting together

Image

Image

Image

for the rear window I started with the center top snap located in the center of the hatch and then worked to the top corners and the bottom corners putting a bit of stretch and locating the snaps in sensible locations. I do have to open the hatch to install the curtain so maybe a little lower would be a good idea. for the side curtains I started in the middle and worked my way out I did find I had to pre drill the holes to screw in the male snaps.
Alex

|_________oo_oo
/ /__/____[_____\
I I======[]IIIIIII[]
()_)-----()_)----)_)
Post Reply