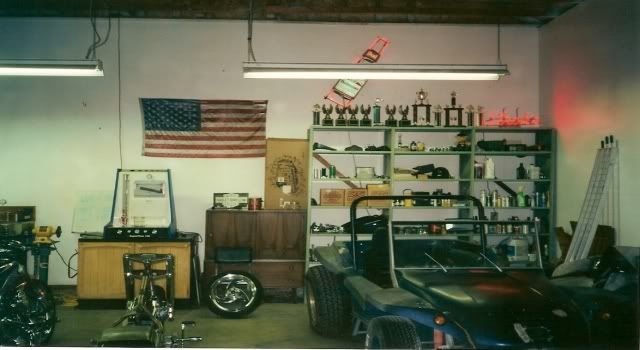
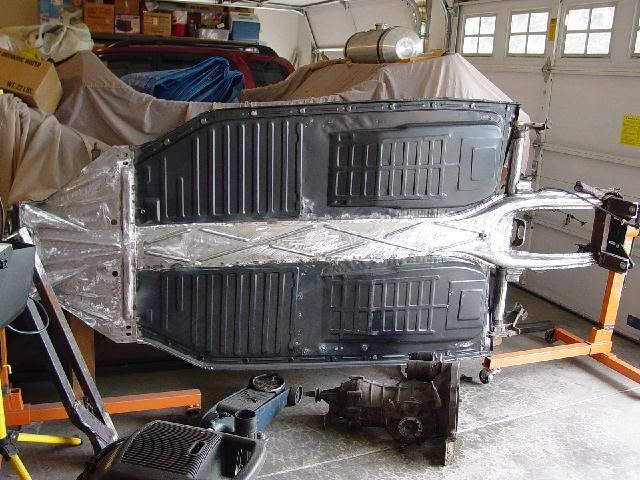
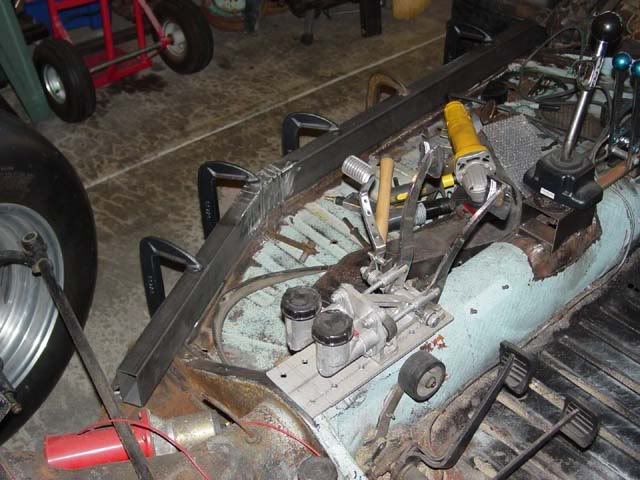
This is before shot
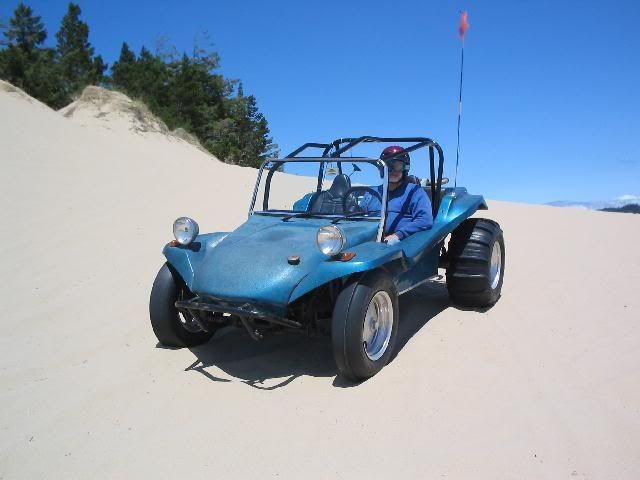
Now we start working on it. Well in this case Lee, I just get to post the pics. BTW Lee is in Oregon
I am learning a so much about this and now have some definite things I would do different. I would never build another buggy using a VW pan without reinforcing it, especially based on what I have been seeing and going through. The outside perimeter (channel the body mounts on) channel just is only a small bit of support and the glass body doesn't add much help. There are two different pan thickness you can buy. One is twice the cost of the other one but it is also so much thicker in material. Spend the $$$. Beading, stiffening flanges, channels do help reinforce the pan in a small way, but not nearly as much as the original VW body does. Fiberglass is not a substitute... for sure.
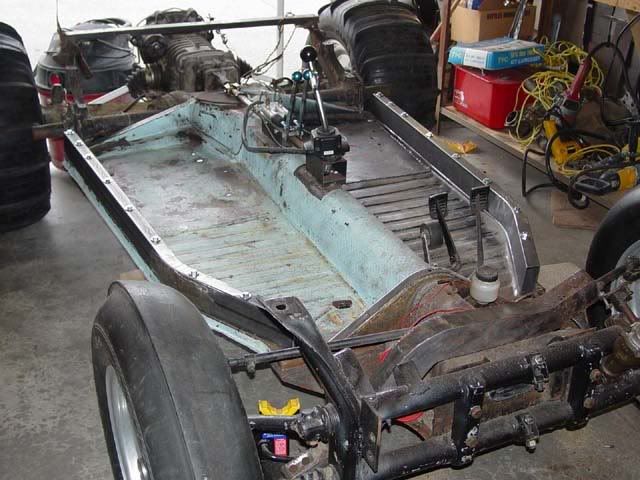
I have run into several problems with the black buggy other than money (lol). It is sitting on the pan which is rotisserie I built. Without the rectangular tubing on top of the channel (or in the channel itself), the floor deflects so easily. I was standing up and leaned on the channel on the panel and the outside of the whole floor deflected several inches. With out the VW body on it the floor pan is so flimsy.
I was welding on new pan halves when I ran onto some problems I made when I started this over ten years ago. When we cut off the old pan halves, I cut too far into the flange when we cut the floor and reduced the amount of material to weld to. Welding wasn't the only problem. the new floor pans were so warped from stamping that in order to flatten them out I spend over two hours per side dollying them out. Even then I was getting blowout during welding mainly caused by not being in contact with the flange. Also, there was a couple of other welding problems. One was that there is something on/in the metal (at sometime) that doesn't take a weld very well. Another problems is the paint they put on the pan halves. It is difficult to remove to get a good weld. Since I could not get a set of tongs for a spot weld that were long enough, and there was not enough edge margin to punch or drill holes for fill welds, I was left welding a long the edge of the pan halves and against the tunnel and flange. Because of the problems I had with blow-out I finally made a clamp that would reach across pan half and pull the pan to the flange. It worked better but I am still having a hard time welding it.
When I was working on the black buggy to see if I wanted to build a lift for it I discovered something I had not noticed before. The forward firewall section of the body does not match the forward cross-piece of the he body. This will require a fully custom template to be made. Can be done but irritating. I expected the rear to be like that but not have to do the front in a custom manner.
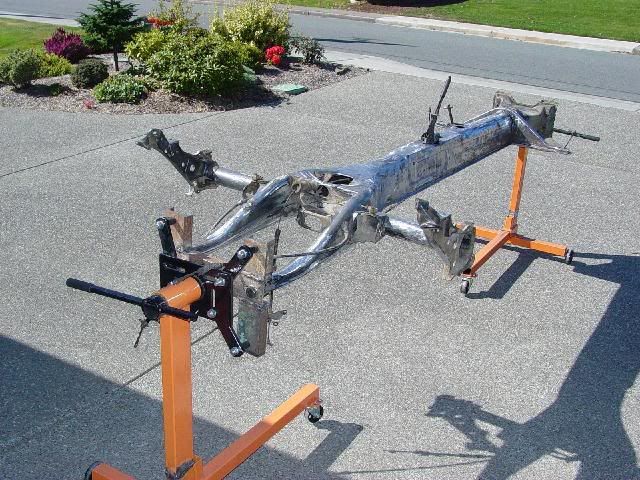
On to the blue buggy. I wanted to do a 4 inch lift. Everything I have read and people I have talked to say that four inches of lift it right. When going to get metal for the side rails, my metal supply place only stocks rectangular tubing in 4 X 2 sizes. I wanted to have a .080 wall thickness but they don't stock anything less than .125 wall thickness. For a 14 1/2 inch shortened pan, a five foot piece of stock is required to make the bend and have something left to cut off to fit. I could get 3 X 1 1/2 but only in /125 wall thickness. The ten feet of 4 X 2 tubing was $45 which is $1 per pound. The ten feet of 3 X 1 1/2 tubing was $36, still a dollar per pound. A net savings of $9 and 9#. I went for the three inch lift.
I just found out that I may have made a slight error in not putting some over lap at the rear of the side rail.
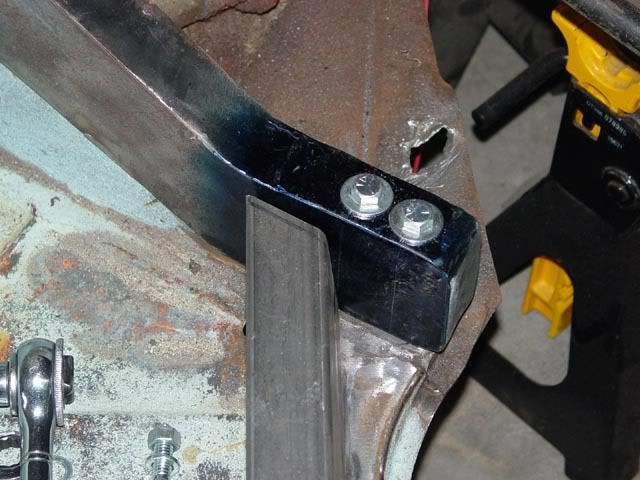
The kits I have seen have the side rail going all the way back to the end of the pan and then having the rear cross-piece coming down to meet it. I went the other way and stopped the side rails where the rear cross-piece comes to the edge of the pan. My way works, it just is more work to accomplish. I will weld this all into one piece and strengthen the joints with gussets. Recommended. One guy I know has not done this. I just asked him and he told me he didn't do it. His situation is a little different as his cage mounts to the pan where mine doesn't.
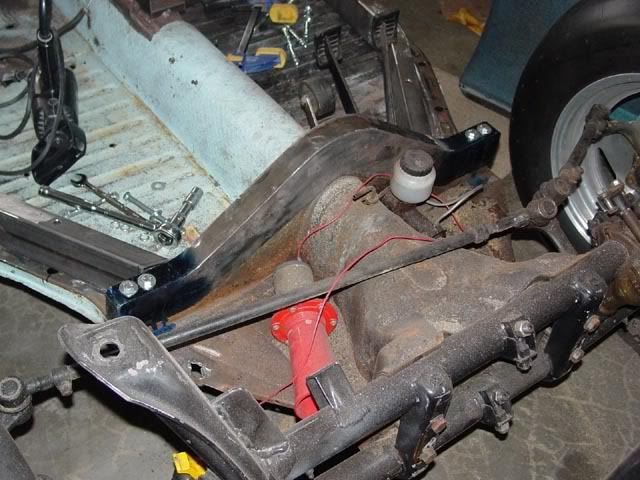
You will notice, my pan has problems. It had started to sag and is in need of this extra structure. The end of the lift is farther back than when this was taken. I am not sure if I will rebuild this section or live with it. The new structure will be much stronger so I am still debating whether to take the time or not. No decision yet.
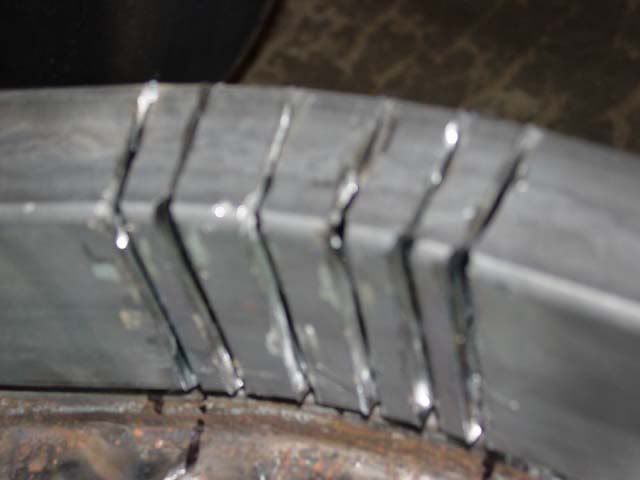
To make the bends was easy. The left (passenger side) was done first. I made the kerfs closer together than I did on the right side. The right side took some finessing with a body hammer, not much but some. More on that later.
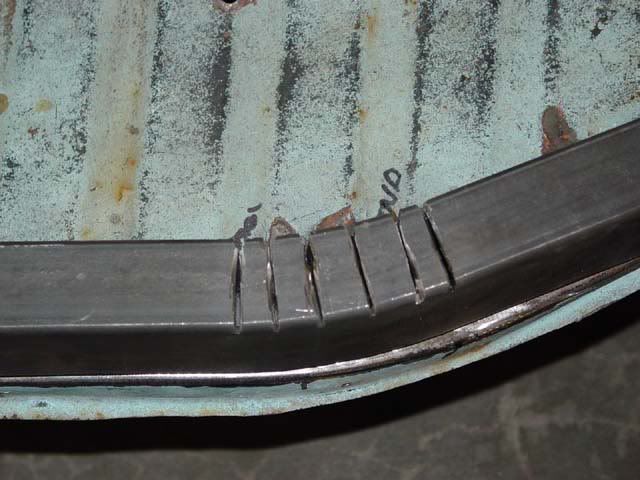
Kerfs. Done with a cut off tool. (by the way, I am going to state the obvious. this way I don't miss anything) The other side with done with a grinder with a cutoff wheel in it. Bigger, faster. You have to cut through both radiuses on the outer wall. The kerfs are then widened at the inner wall and the upper and lower wall's kerfs are tapered to the outer wall kerf thickness.
Original cut on kerfs before they were widened too much. The two long black marks are the start and end of the bends (IML). The shorter mark is the location of the fastener hole in this area. I ended up having to add two more kerfs past the fastener mark (forward) to make the bend correct.
I clamped the whole thing where I wanted it and started welding the kerfs shut. I got the upper ones welded (a whole story in itself) then took the clamps off to see if it was going to hold (I forgot to add that I put a mark in the back where the end of the tube should sit when finished) its shape. It did then I continued to weld up all the kerfs. I then ground the welds smooth.
The right side was done pretty much the same except there were less kerfs and they were spread a little farther apart. The four and a half inch grinder with a cut off wheel worked much better. The cuts were faster and smoother, the welds were better which made their clean-up easier. I clamped the side rail in place and clamped it leaving the clamps at the bend and forward not as tight as the other clamps, tight but not as tight. The bend wasn't quite right so I smacked it a couple of times with a body hammer where I wanted to tighten the bend up. It slid in place so nicely I finished tightening the clamps and welded the kerfs closed.
Once bent, I got under the car and marked the holes with a Sharpie. I took the side rail off and using a combination square and a carbide marker I marked the center of the holes (note that most of them are not in a line). I marked the center of the holes around the edge and over to the upper surface. Using the combination square I transferred the center of the hole to the upper surface and marked them. I used a center punch before drilling the pilot holes. To drill the holes from the pilot holes I tried using a step drill. It worked great but next time I will drill the pilot hole a second time to make the hole a little bigger for the step drill.
Clamping it in place again, I marked and trimmed off the overhang to just inside where I wanted it to end. Easier to take material away than to add it.
Once the holes were made top and bottom I did a temporary bolt down as you see it now.
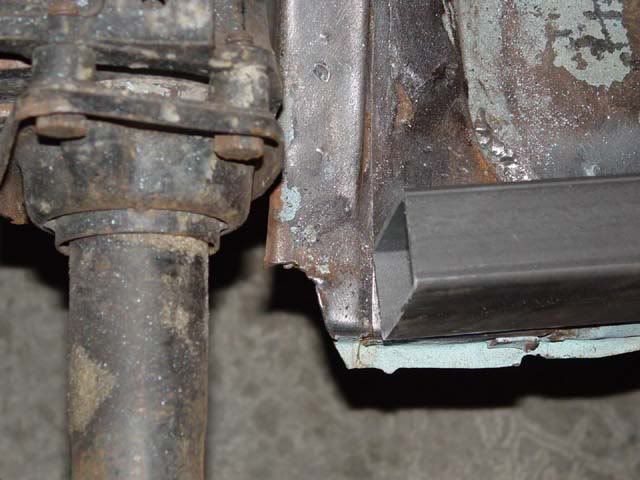
I was lucky to find a front cross piece but it was rusted on the bottom and over tightened to the point of collapsing the holes on the top. I am now working on that. I had a partial sheet of 14 ga flat stock which I cut a piece 1 1/2 inches wide. Not perfect but good enough. I finally decided not to re-wrap the whole thing but to just fix the bad spots. The existing material used for the wrap was .006 and this is a little thicker. Tomorrow, if we have time (we are still working on the email problem. It didn't get fixed so we are going to have to make some changes we did not want to do.) I will finish cutting the old material away and start to re-do the wrap.
This is where I am now. Did I give you too much or not enough. If you need or want more, let me know. Lee.
By-the-way, making the rear template (the front would be the same) is not just a matter of bending three inch stock. The key is to remember that you are going up. I made this mistake years ago and really looked dumb but then I found out I was not the first one to do it so I felt a little better. There also has to be a relief made for the rear access plate. We can discuss it if you want to. L.
Thought you might like to know where I am on the lift kit. We have taken a couple of days off, partly due to the high winds and partly getting ready for the holiday season. Last night I got the holes in the cross piece drilled.
I am not fully happy with the fit, but it should be OK. I now know why the front cross-piece fits over the front cross member. It would be hard to make everything fit up, it is easier to make it fit over and just cut for the tunnel. That way, you only have to worry about the one surface fitting.
This is showing the blueing I had to add to mark the holes top and bottom. I tried to only blue the bottom but after trying to put the mark in on the top it became obvious that the blueing was needed all around.
I need to get longer bolts for the front piece as there is not a tunnel to use like there is for the side pieces.
I will work next on the rear.
To be continued hopefully, Lee if ya get a chance chime in here, if not send me what you have. Looks great!