I've been working on my 57 pretty steady and I though that I would share some of what I've been doing with STF.
Anyway, let me update. I bought this 57 last Aug. It sits on an IRS pan. The body was ok...somewhat, but, it did come with these items. Some of the stuff was brand new, still in boxes:
1- a complete Airkewld air suspension system, front and rear.
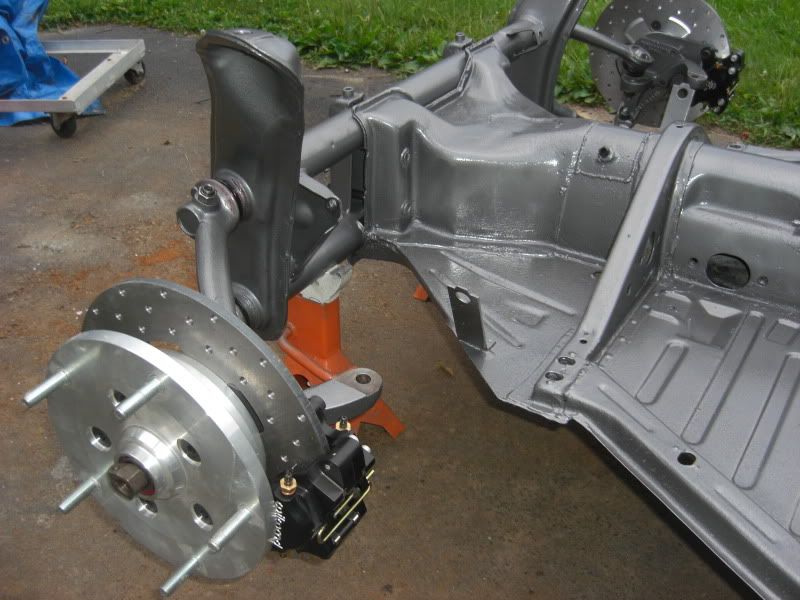
2- a set of Airkewld Bad Disc brakes with Wellwood calipers, for the front,
3- A freshly rebuilt Pro Street Trans, with 3:44 R&P.
4- extra W deck lid.
5- New 2" narrowed front beam
6- dropped CB spindles
7- steering box
8- new pioneer stereo
and a bunch of other stuff, that the PO threw in.
Basically, I got the body for free ( since I sold off some of the stuff)
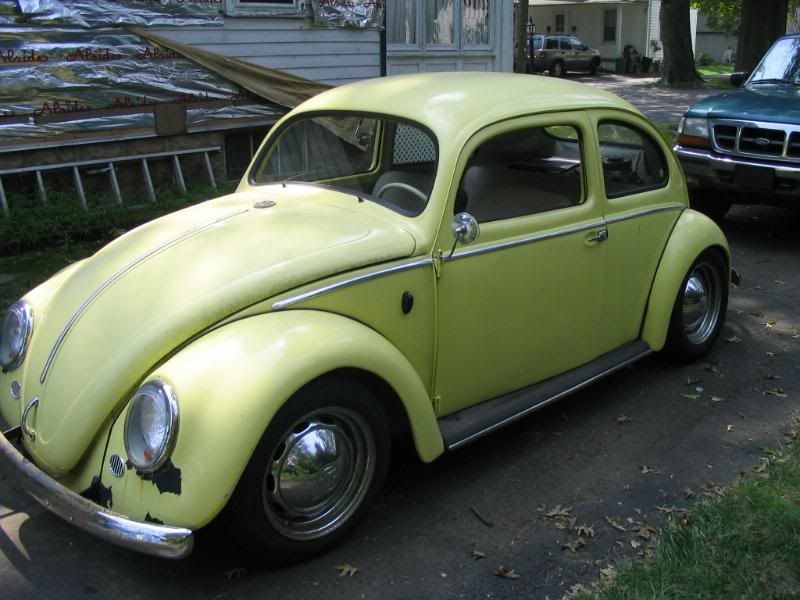
Here is the car when I brought it home...
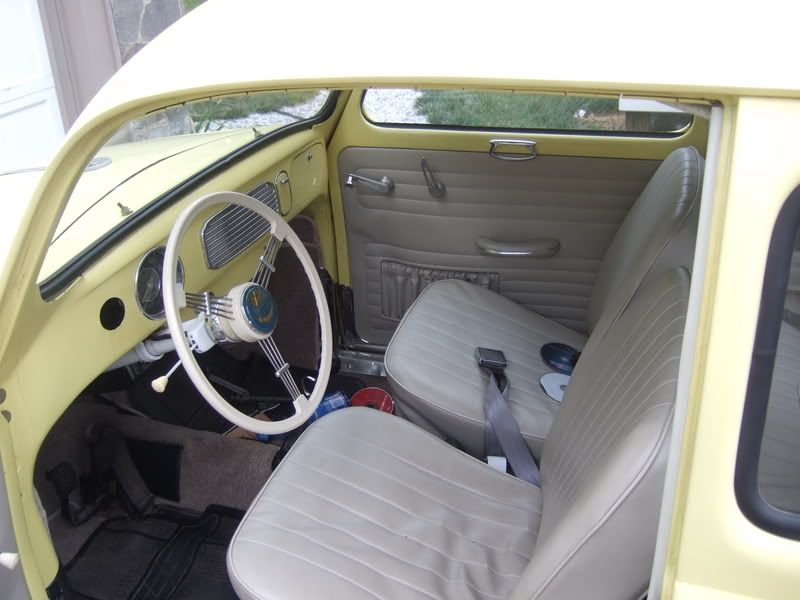
The interior...
The oval was hit in the front, needed a drivers side heater channel and the luggage tray was shot. The fenders were repro's and the pans were put in kinda shabby. Also, the doors were cut for one piece glass.
I started with the heater channels. This is some of the PO's work.
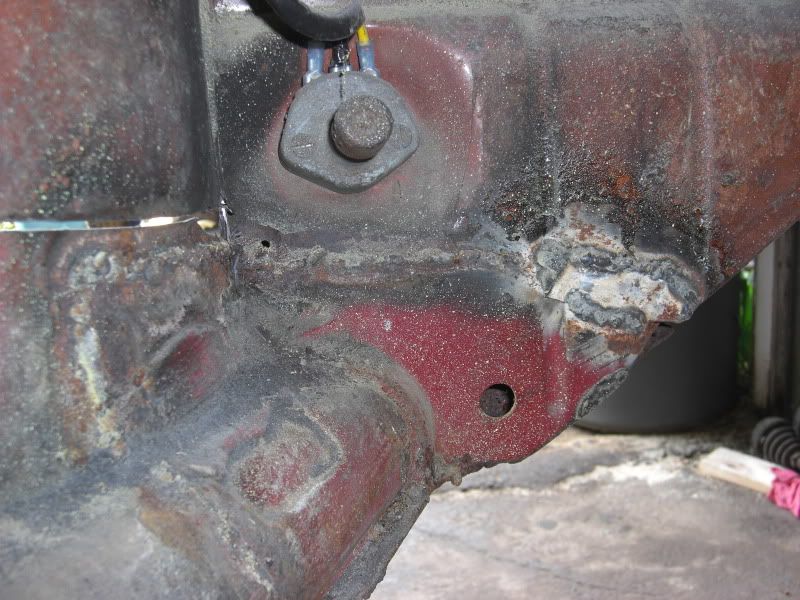
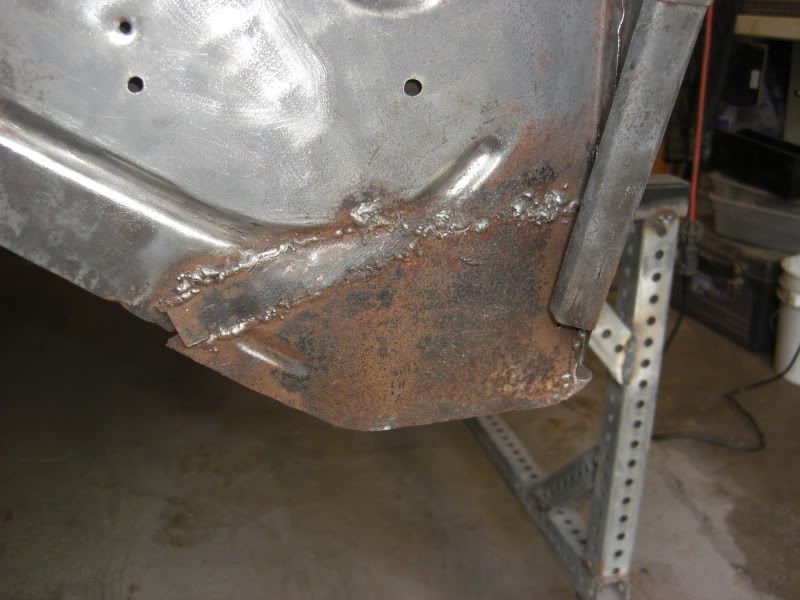
These are the only shots of the heater channel repair, that I took
After the channels, I tackled the luggage tray. I was able to get an OG tray, but, only the bottom half. Fortunately, only the bottom half was toast on the 57.
Here's the tray before install....
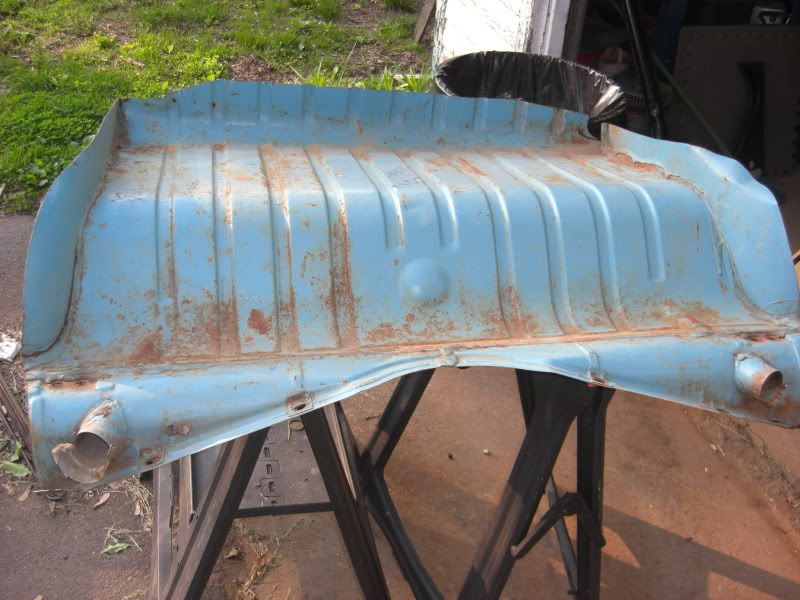
I sand blasted the bottom and coated it ( except for the edges to be welded) with Masterseries Silver before installing it. It's that much less I have to paint on my back
Here's a shot of the old tray cut out...
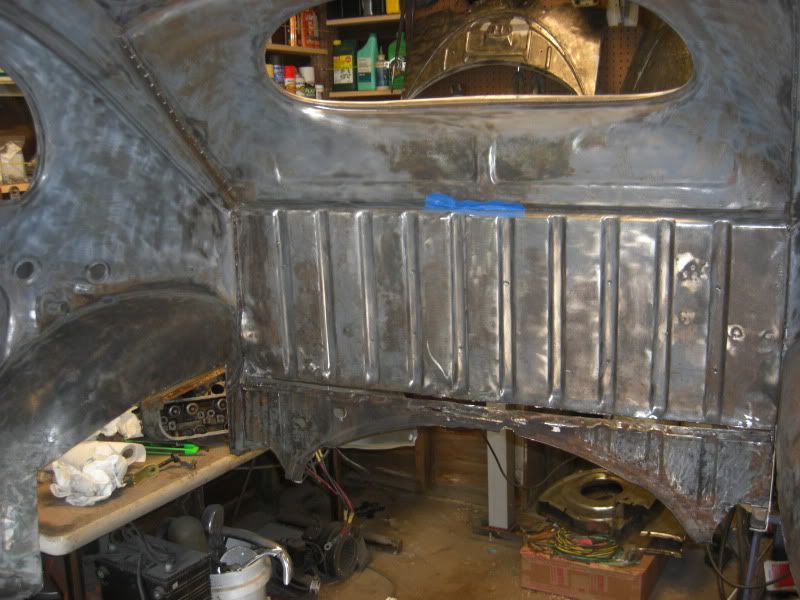
After a bunch of measuring and trial fittings, here's the tray tacked in...
and completely welded in...
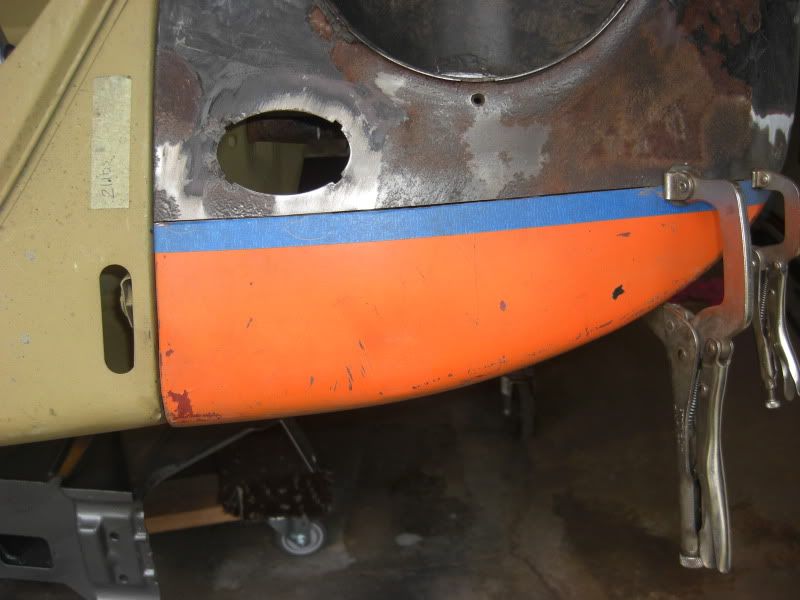
I also changed out both lower rear quarter panels, repaired the rear H apron and removed about 5 lbs of bondo off the deck lid.
With this being the 4th of July weekend, the wife is down the shore and my son in Boston for the weekend... I'm home alone
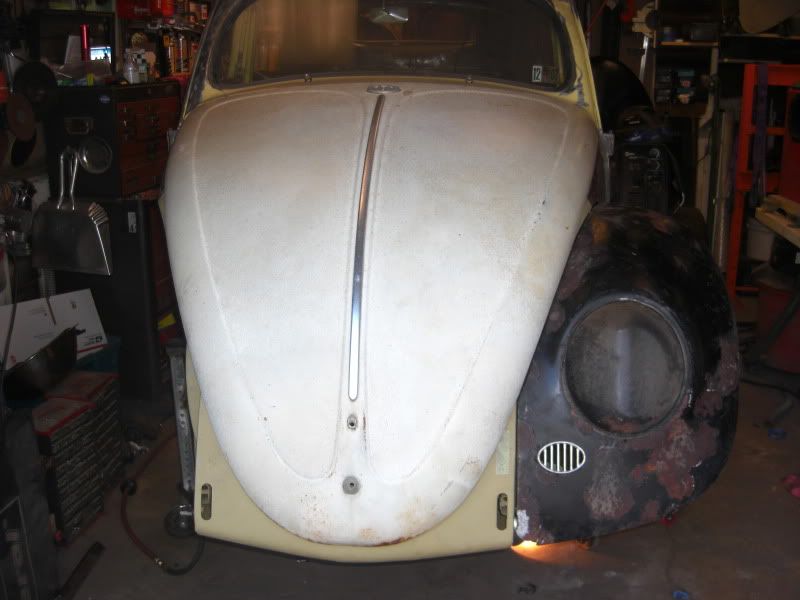
I worked on the front clip.....here's the 57 with no nose...
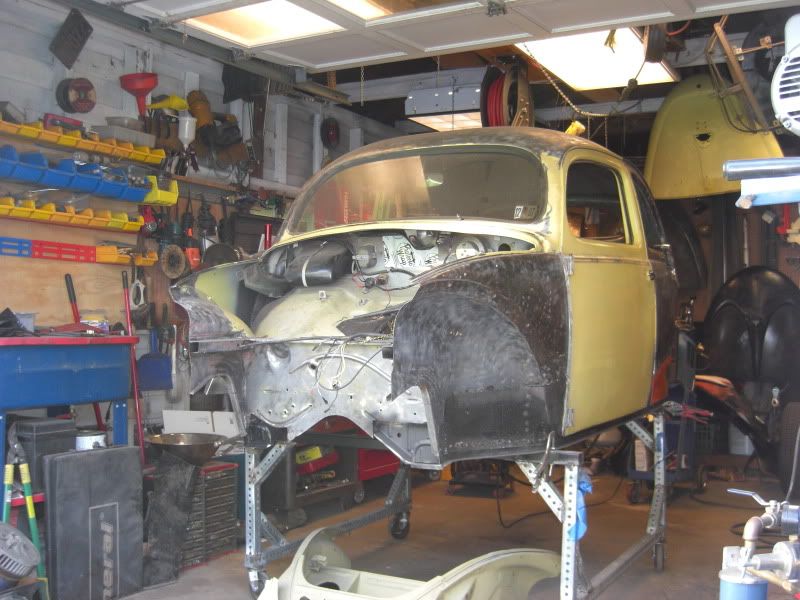
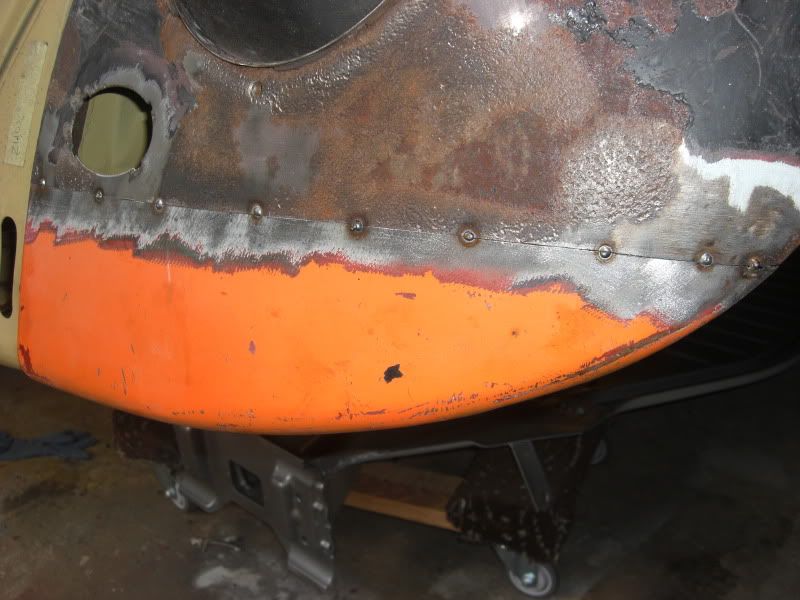
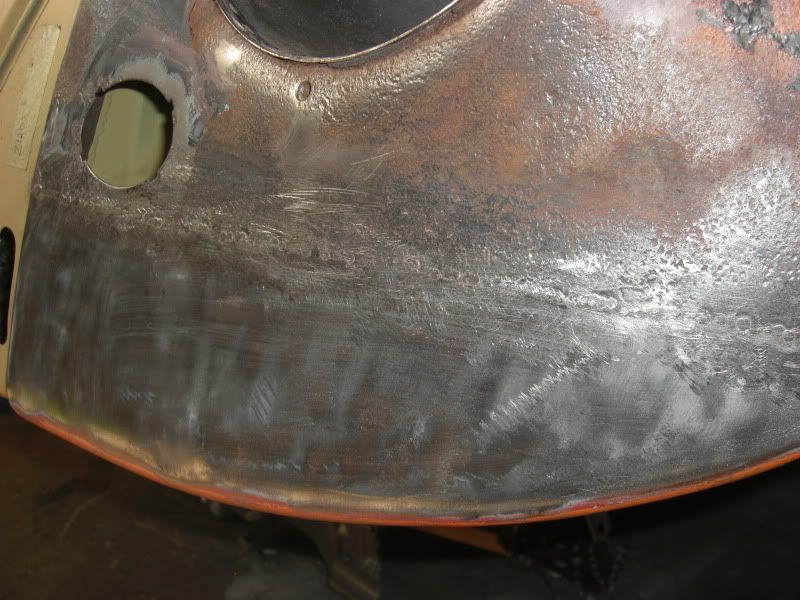
After measuring about 100 times and double checking again. I tacked on the new front clip..
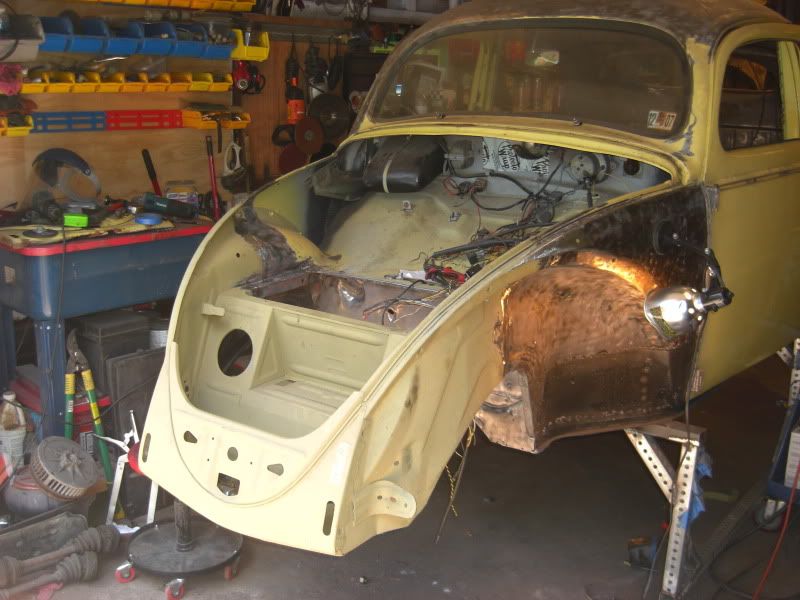
I did use the hood and fenders as guides... Here is the completed product.
Everything fits very nicely
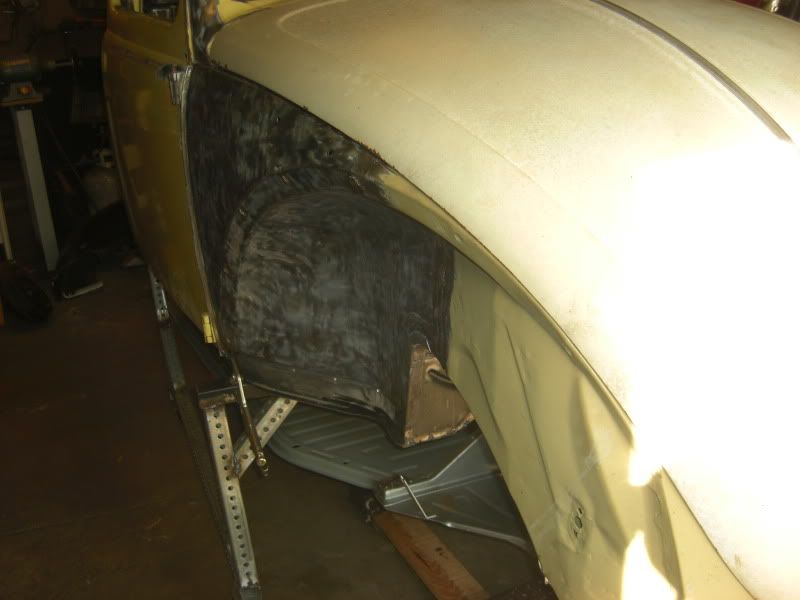
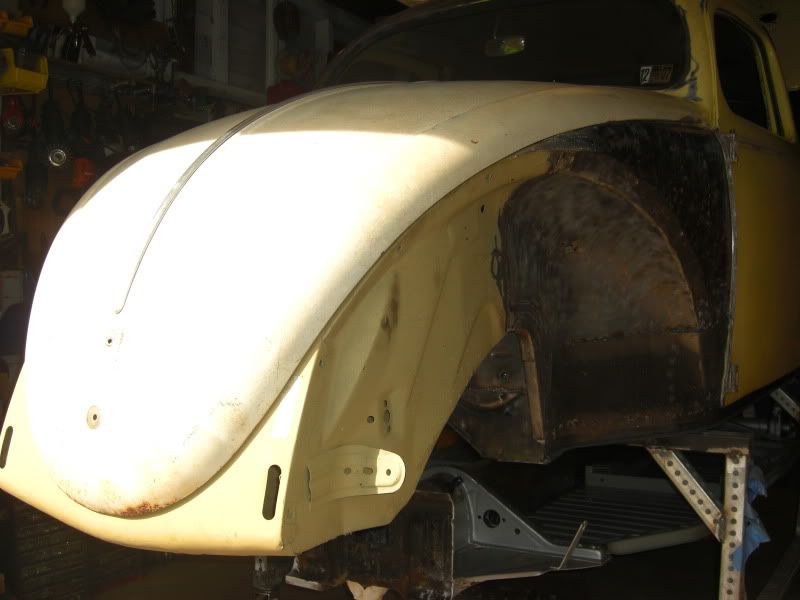
Last weekend, I was able to score a set of 54 oval fenders for $75
Here's what one of them looks like on the car...
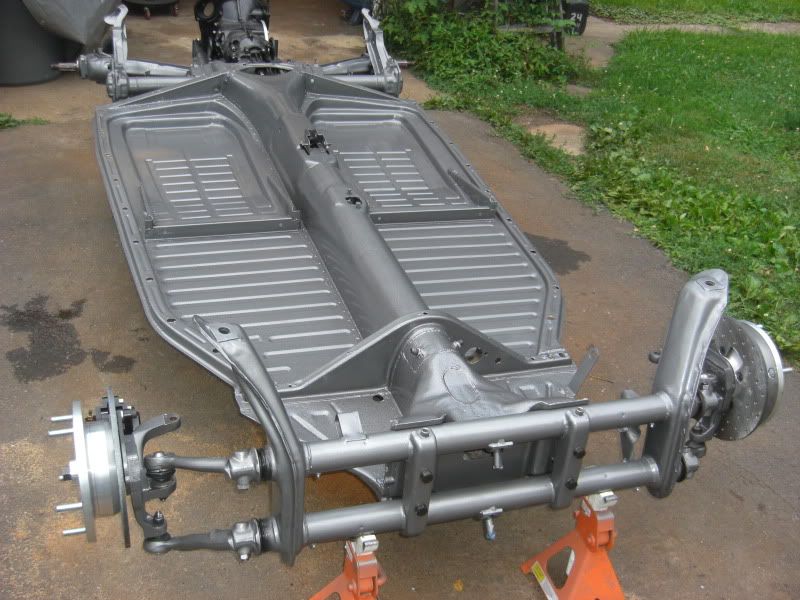
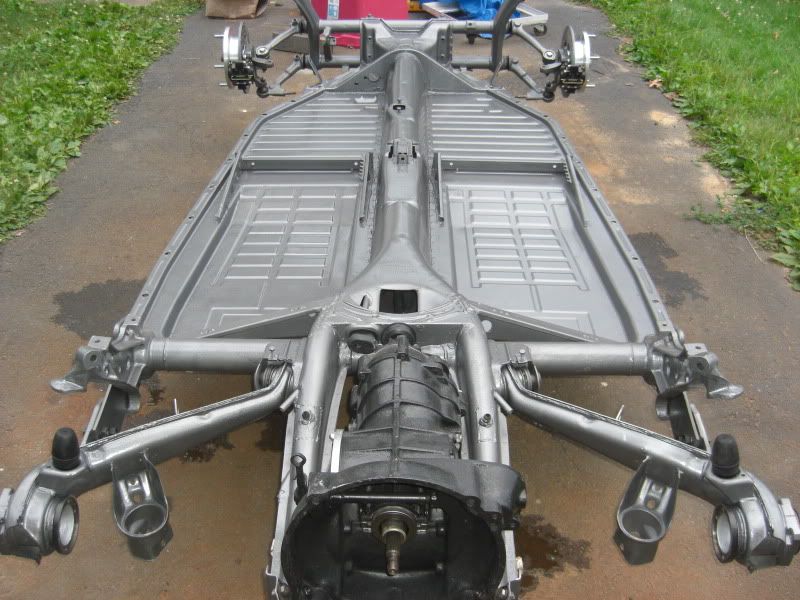
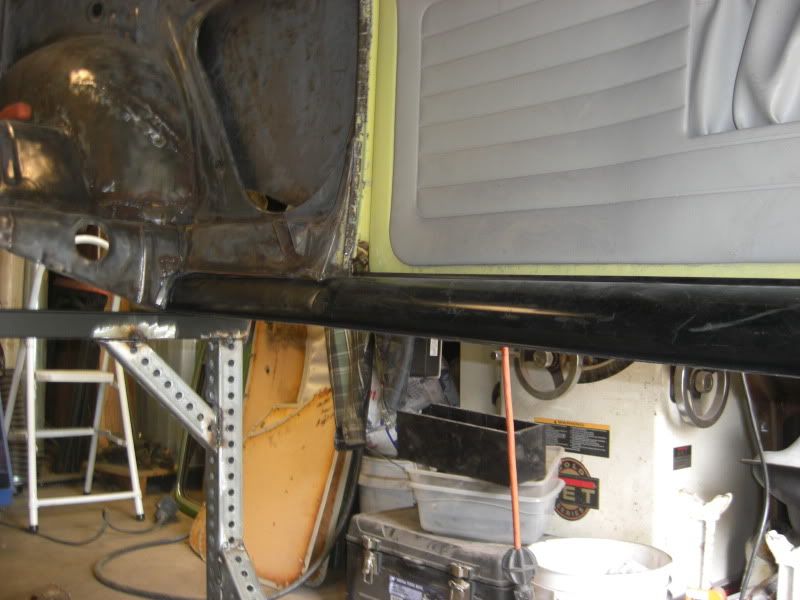
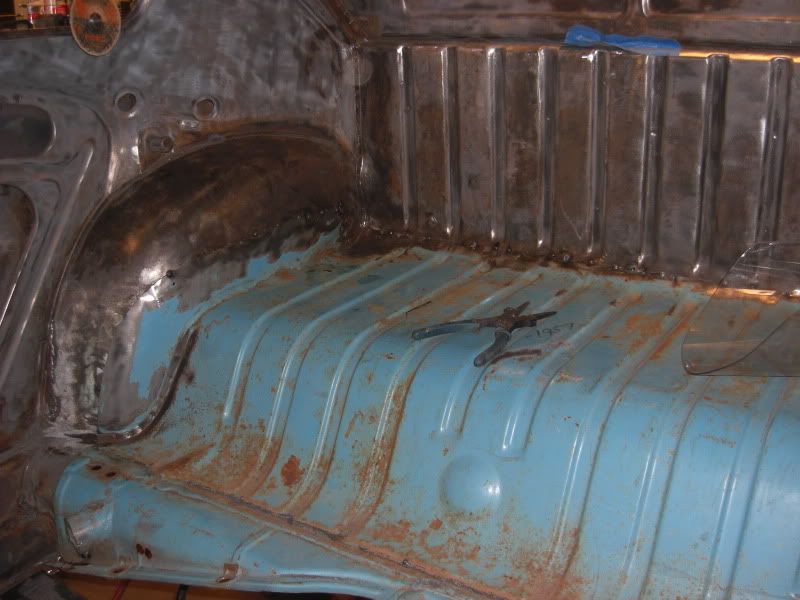
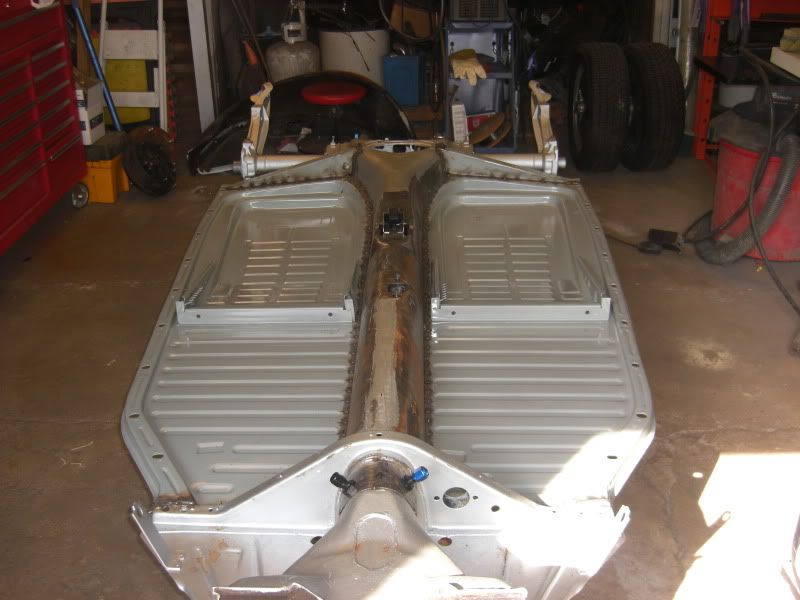
I also worked on the pan this weekend. I had cut out the old pans, sometime ago. But, before installing the new pans, I wanted to install new gas lines...that's right, two new lines...in the tunnel...with AN fittings!!!! Talk about being masochistic
This is for my , if and when, fuel injection plans...
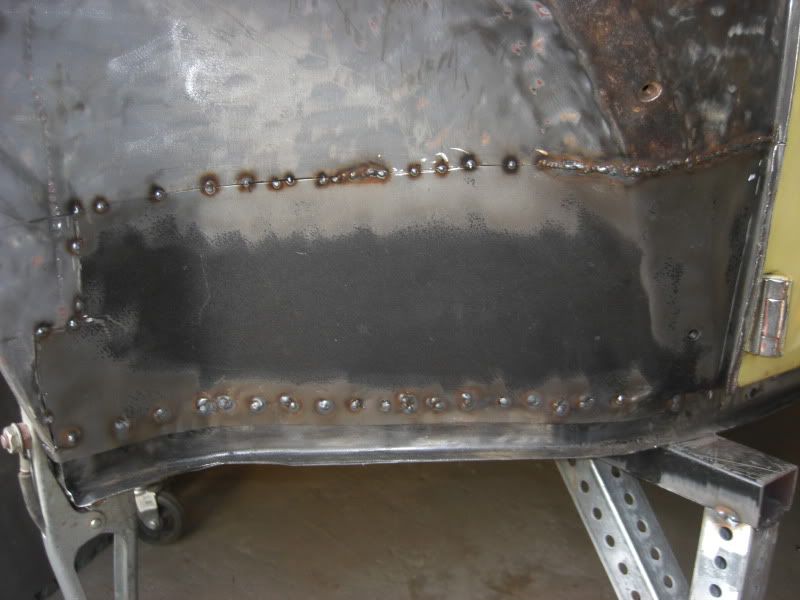
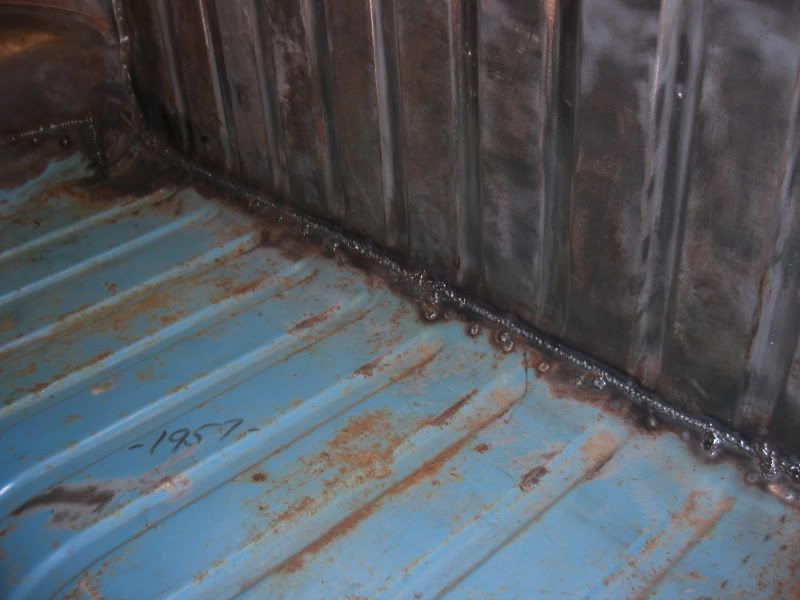
It took some doing, but, I did get it done. I also installed new pans. These are the 18 gauge, Wolfsburg West pans. Boy, are they nice....worth every penny.... Here is the somewhat finished product..
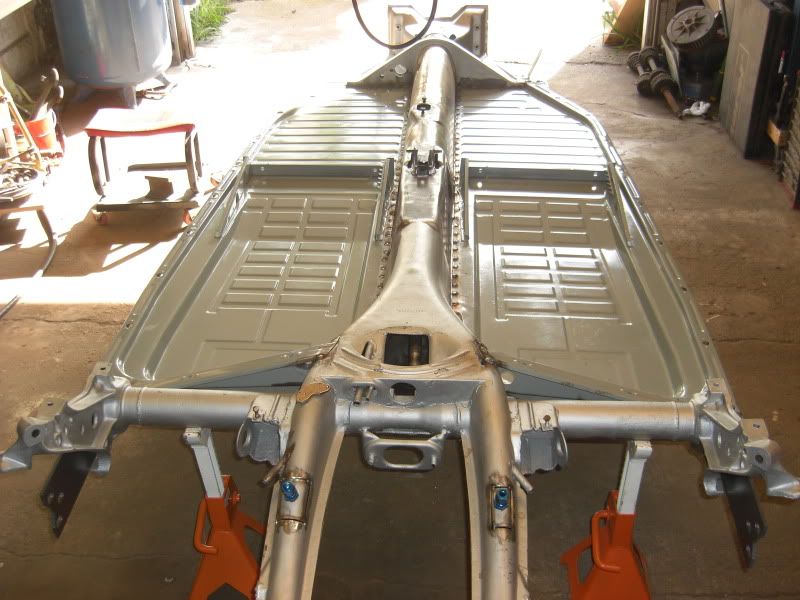
and that's where i stand, as of now.
Tonight after work, I'm going to pressure test the gas lines and then work on the pan. I will be coating the entire pan with masterseries silver, then truck bed liner on the bottom side of the pan.
Next up, body prep and paint, I'm leaning towards a gray/silver paint. The reason being, that I already have a light gray headliner and gray carpet. We'll see what happens
Good to be back...