Not reversing the coolant manifold. This setup will have a 1.5" stainless pipe running around the engine bay from the stock Subaru outlet location to the stainless front to back coolant pipes. Then back to the Tstat from the rad. with another stainless pipe. The owner at North Westy has tried just about every swap out there and found some problems with reversing the coolant manifold. He designed the stainless engine bay pipes to leave the stock Subaru flow unchanged for better temp control.panel wrote:Are you leaving the coolant cross over water manifold alone or relocating the end so it faces forwards?
'89 Blue Star Vanagon Project
-
turbobaja

- Posts: 2826
- Joined: Fri Sep 14, 2007 4:56 pm
Re: '89 Blue Star Vanagon Project
Karl
DON'T QUIT
DON'T QUIT
-
turbobaja
- Posts: 2826
- Joined: Fri Sep 14, 2007 4:56 pm
Re: '89 Blue Star Vanagon Project
For the record, my personal experience with these Vans as well as Subaru swaps in general is literally limited to roughly 6 months of doing engine swaps, syncro conversions, and various other custom and repair/service work to these Vans while I was the Lead Tech for a local conversion shop called North Westy. I purchased my Van from the shop my first day on the job, having not purchased a "new to me" vehicle in over 11 years. I don't buy and sell cars, I keep them around, take care of them and make them mine. I had no idea what I just got myself into, but I'm committed to making this thing into something that will maintain it's value as well as be a very usable vehicle for my family. I gained a ton of experience and had the opportunity to learn a LOT about these vehicles and what can be done with them while working there, but a stable future was not in the cards for me there, so I had to leave. I did what I could to make sure I had a "complete conversion" in my hands before moving on. The owner and I had a mutual understanding/respect for each other and he helped me get what I needed to make the swap happen down the road some time. Now the only van I have to work on any given day, is my own  .
.
Karl
DON'T QUIT
DON'T QUIT
-
blaze80
- Posts: 2
- Joined: Sat Jul 23, 2016 2:21 pm
Re: '89 Blue Star Vanagon Project
Can you tell me where you found the matching interior fabric and/ or a "model" name of it? I have a '90 that I put an '89 Bluestar interior into... would love to find the same upholstery fabric to repair some.
Thanks!
Thanks!
-
turbobaja
- Posts: 2826
- Joined: Fri Sep 14, 2007 4:56 pm
Re: '89 Blue Star Vanagon Project
I got the fabric from Kirk at North Westy. He had a couple yards of it from ??? He might be willing to part with a bit more of it.
Karl
DON'T QUIT
DON'T QUIT
-
blaze80
- Posts: 2
- Joined: Sat Jul 23, 2016 2:21 pm
Re: '89 Blue Star Vanagon Project
Ah got it, Thanks!
-
Steve Arndt
- Posts: 7404
- Joined: Sat Mar 10, 2001 12:01 am
Re: '89 Blue Star Vanagon Project
Are you working for a GM dealer now, I think I saw that on facebook?
Steve
My Baja Build
My Baja Build
-
turbobaja
- Posts: 2826
- Joined: Fri Sep 14, 2007 4:56 pm
Re: '89 Blue Star Vanagon Project
Not a dealer, but a nice, clean, busy shop much closer to home.
Karl
DON'T QUIT
DON'T QUIT
-
turbobaja
- Posts: 2826
- Joined: Fri Sep 14, 2007 4:56 pm
Re: '89 Blue Star Vanagon Project
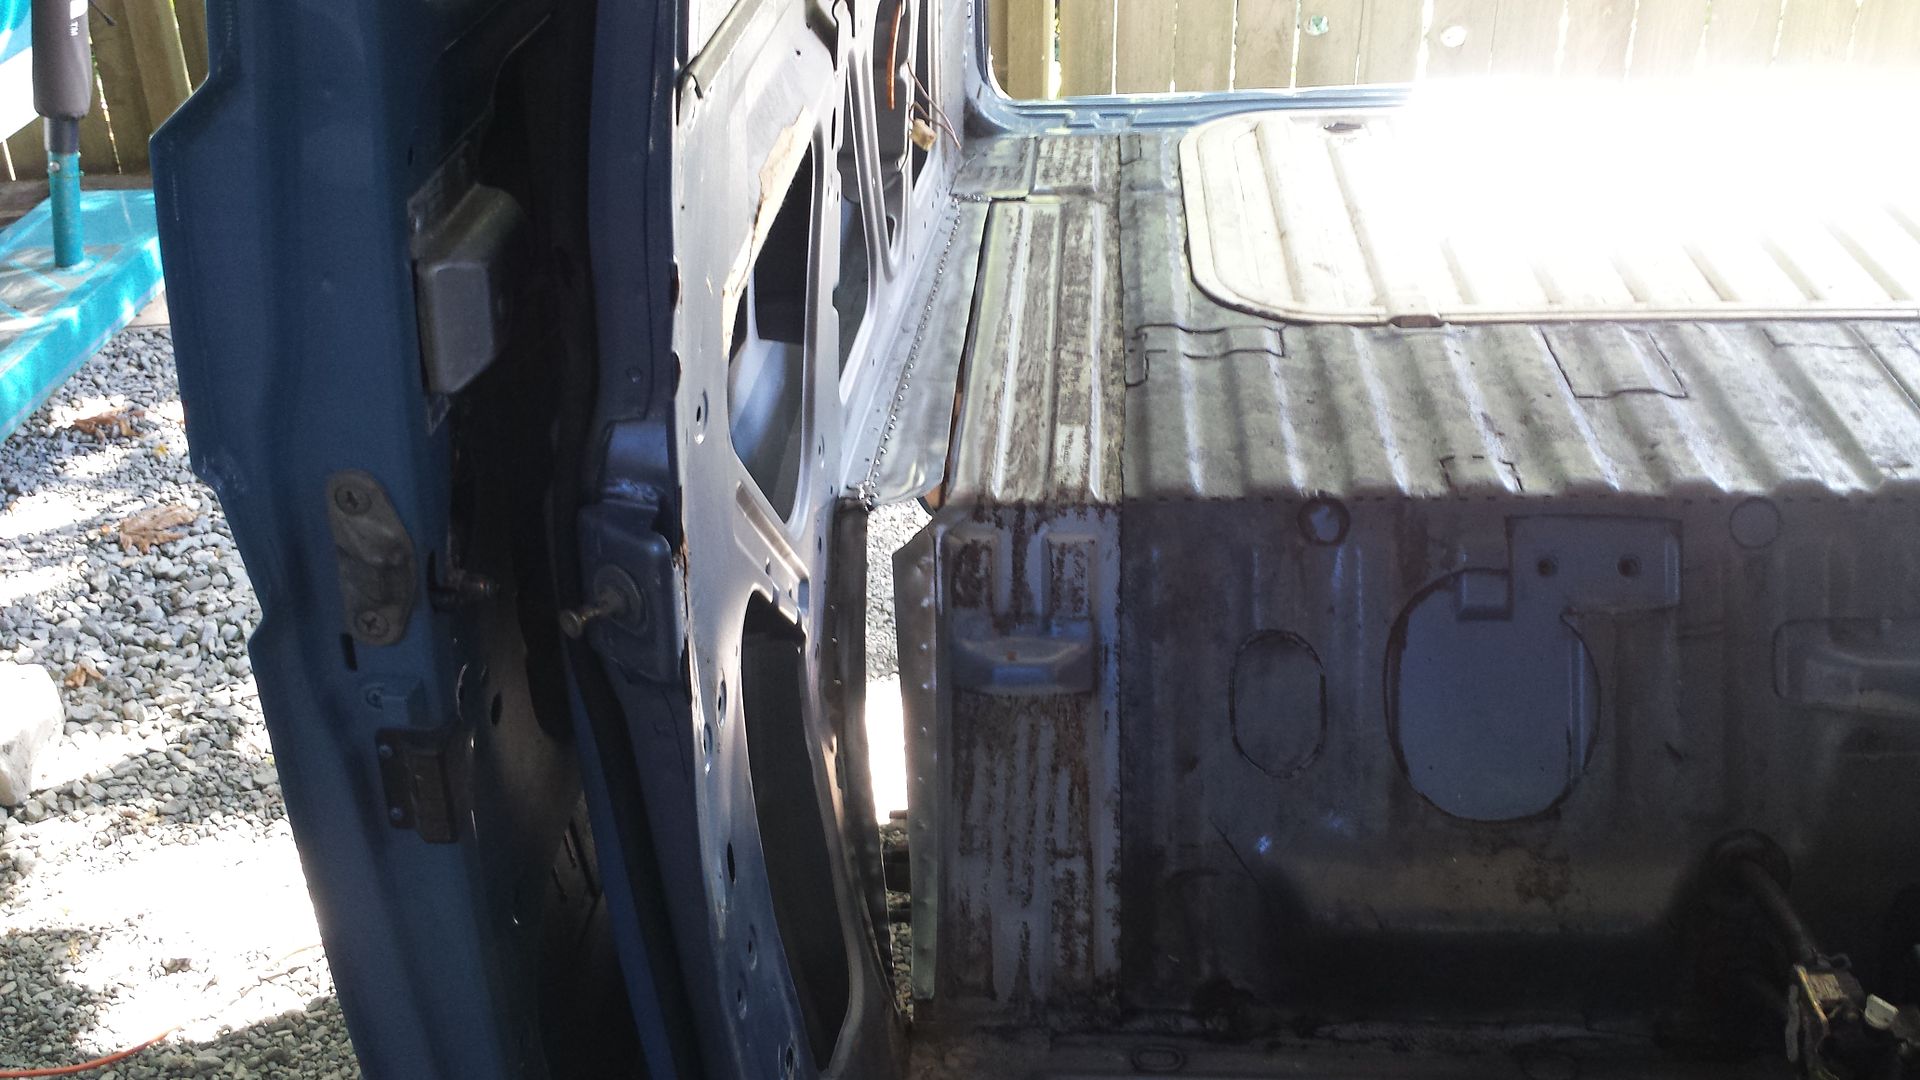
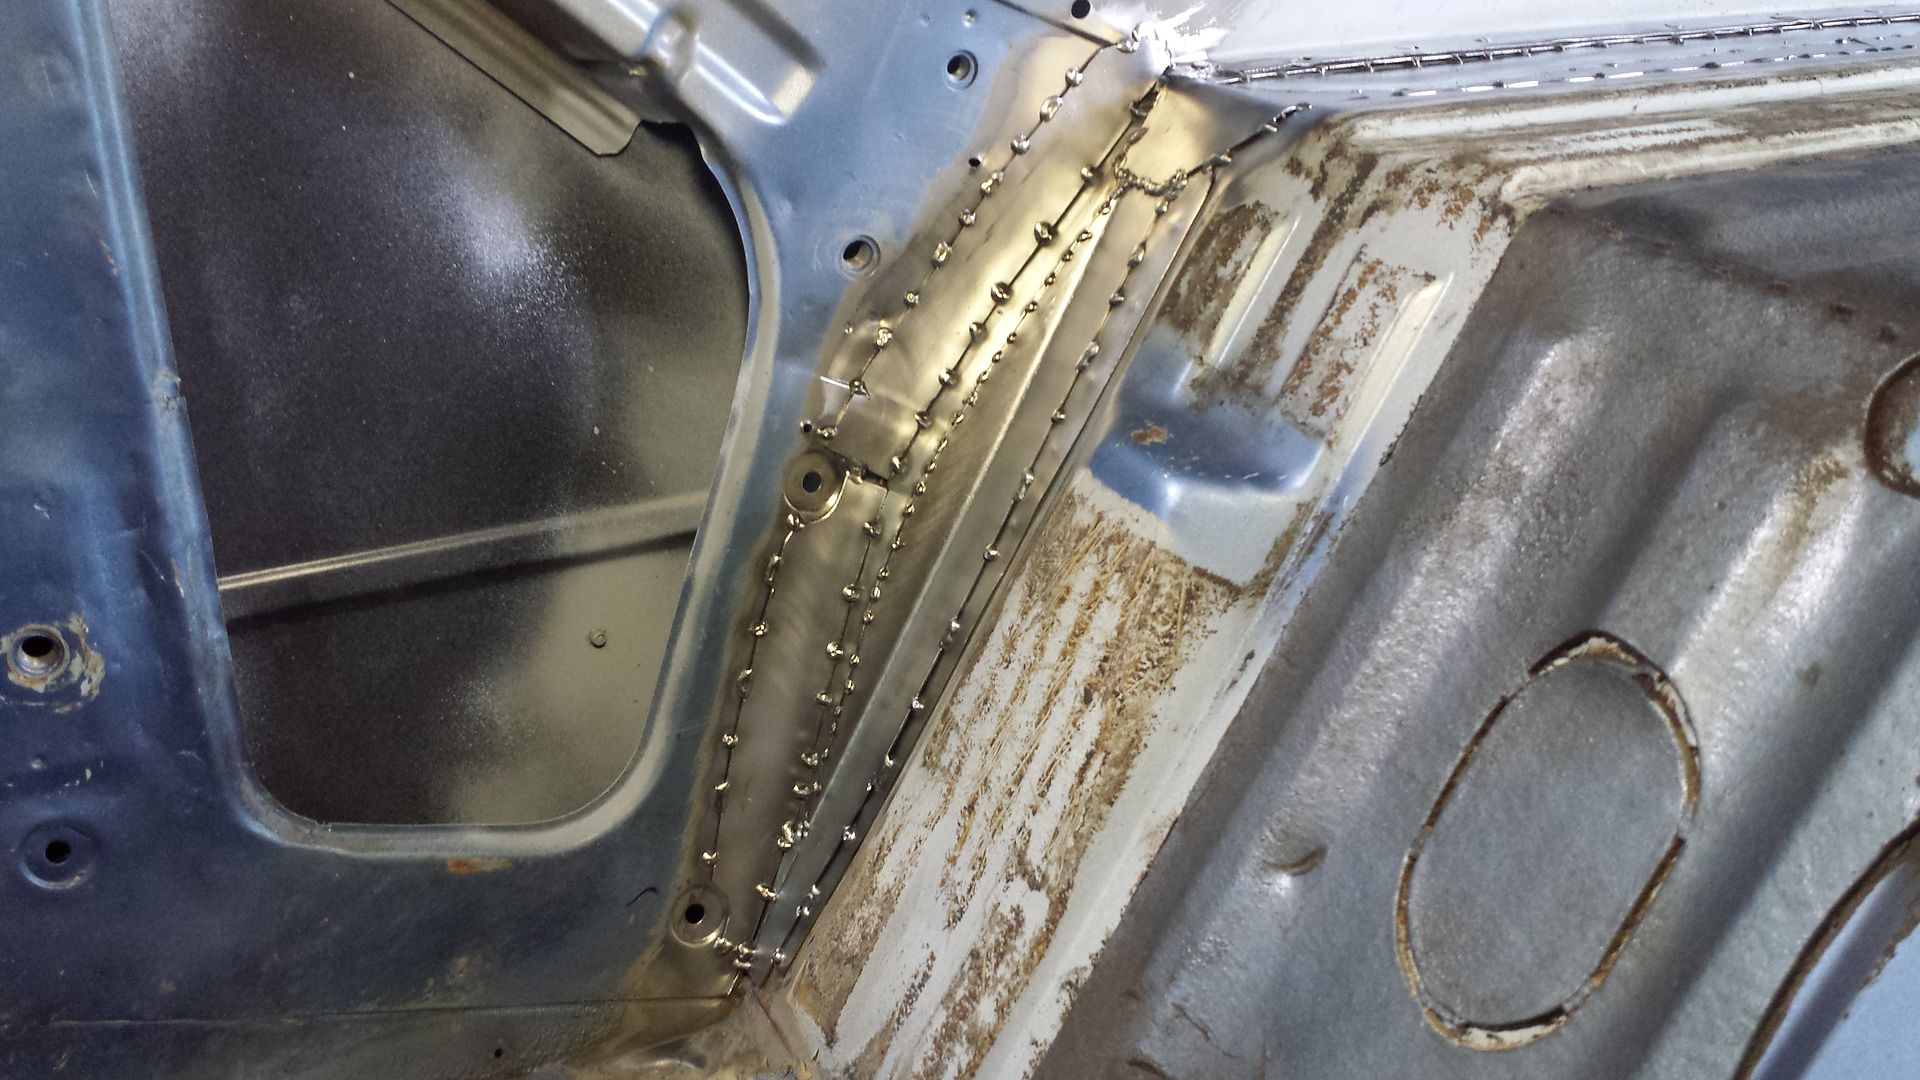
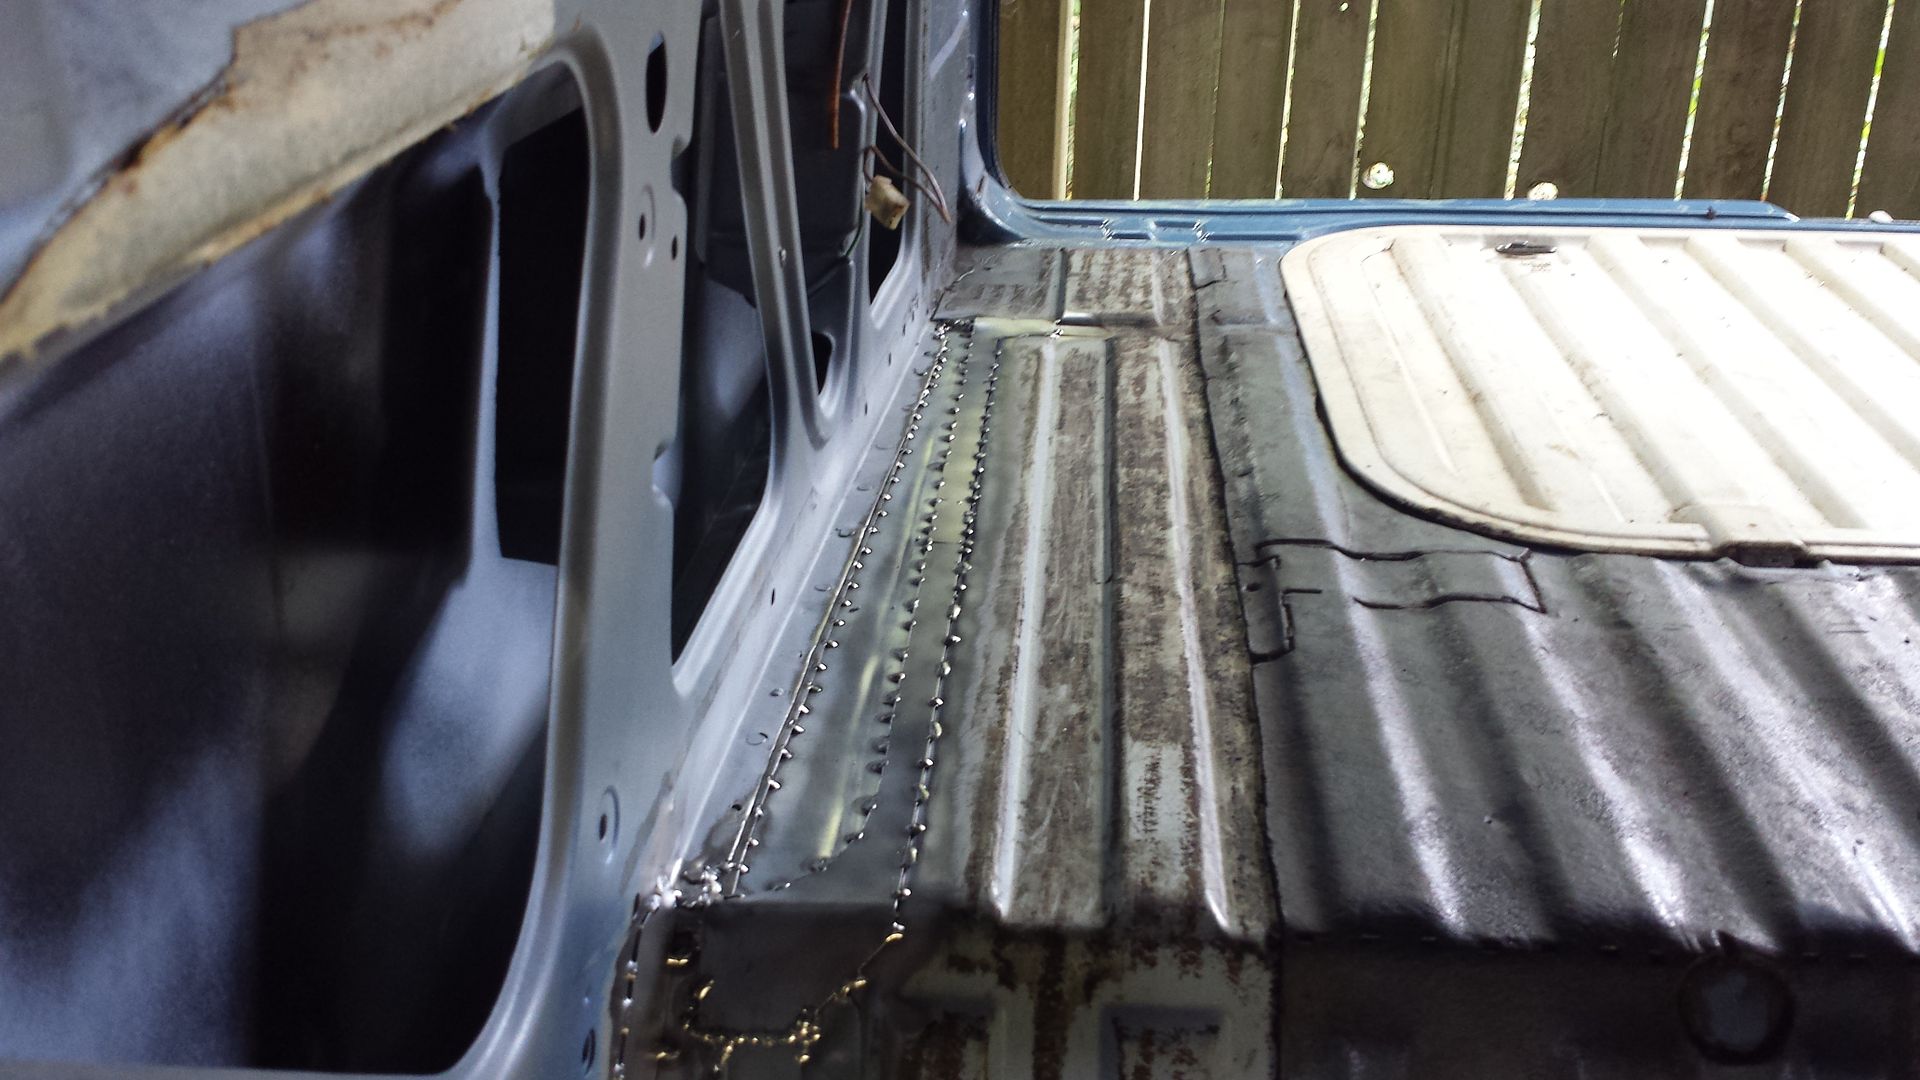
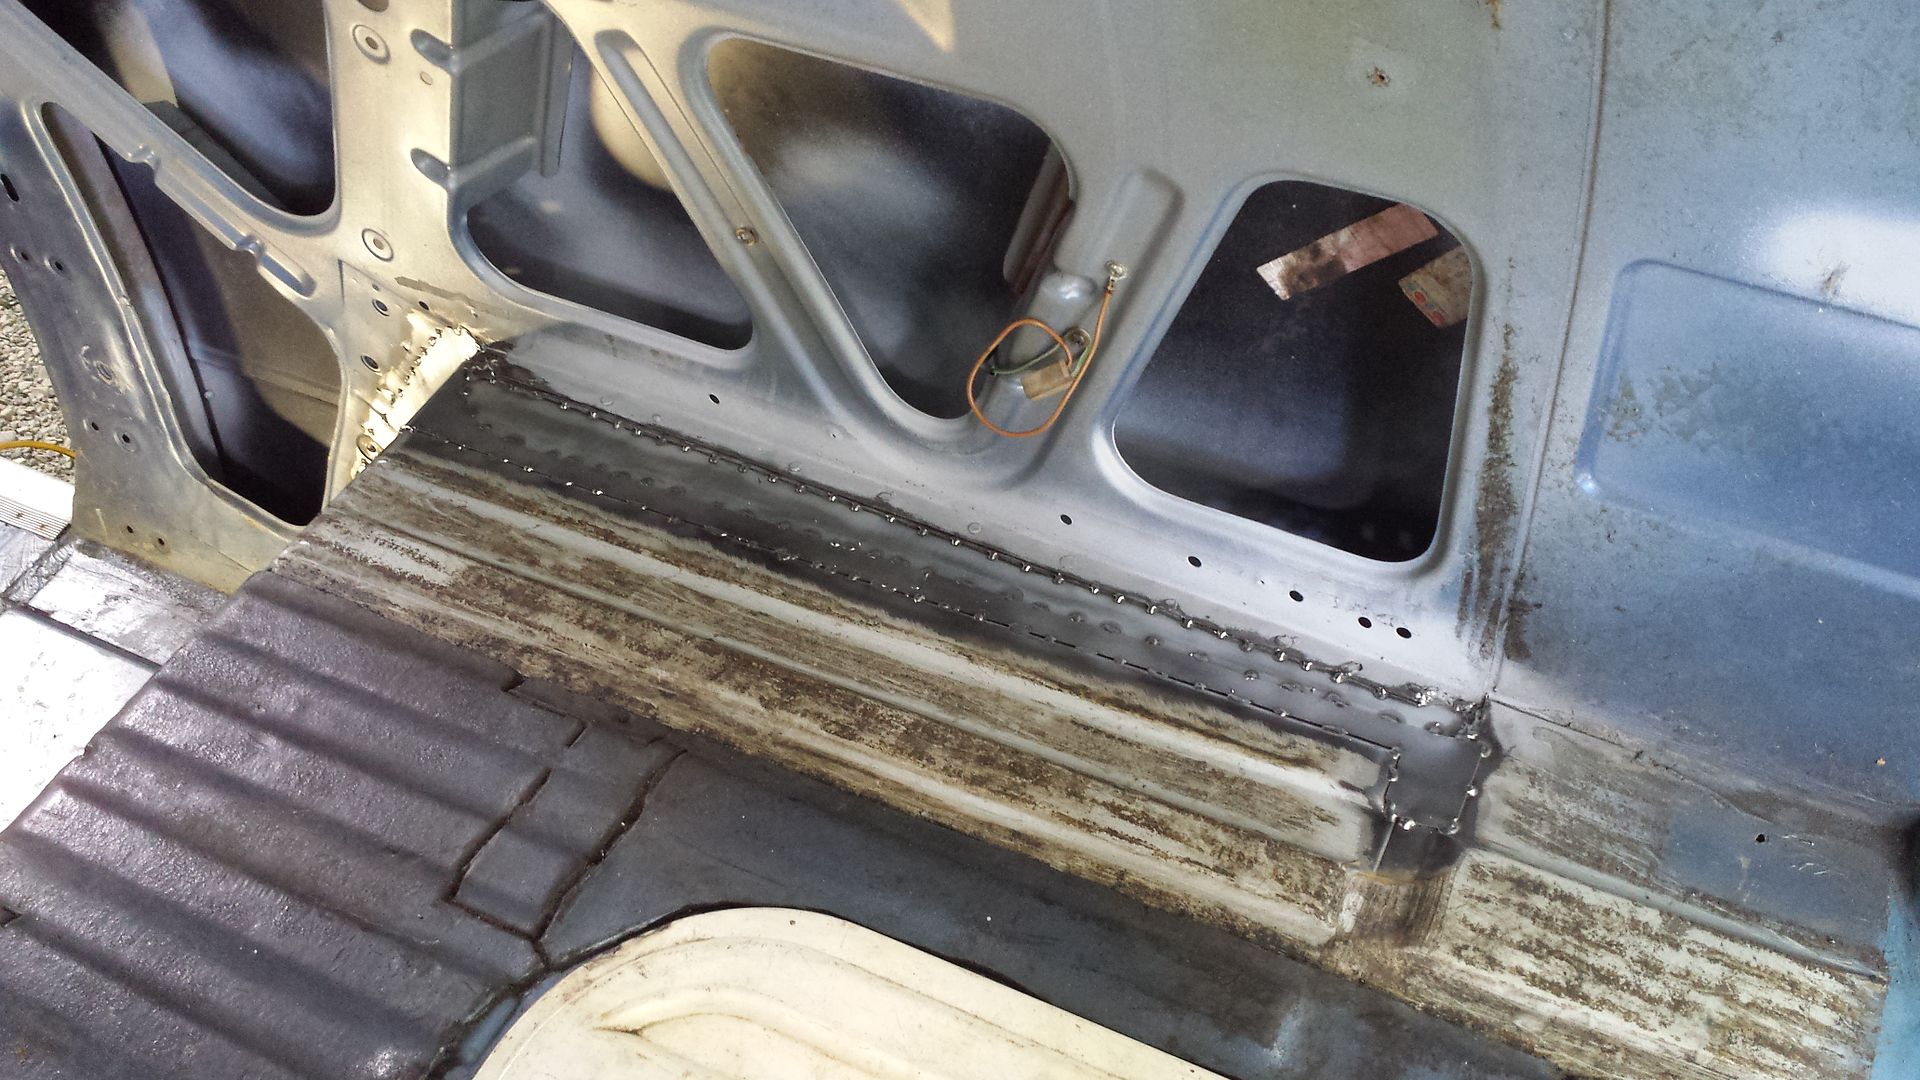
I managed to get the worst of the rust replaced and treated the rest pretty well. I had a partial replacement panel that almost crossed the gap, but had to make quite a few smaller pieces to reconstruct the missing sheet metal. Gonna prime it and spread on plenty of seam sealer inside and out.


Karl
DON'T QUIT
DON'T QUIT
-
turbobaja
- Posts: 2826
- Joined: Fri Sep 14, 2007 4:56 pm
Re: '89 Blue Star Vanagon Project
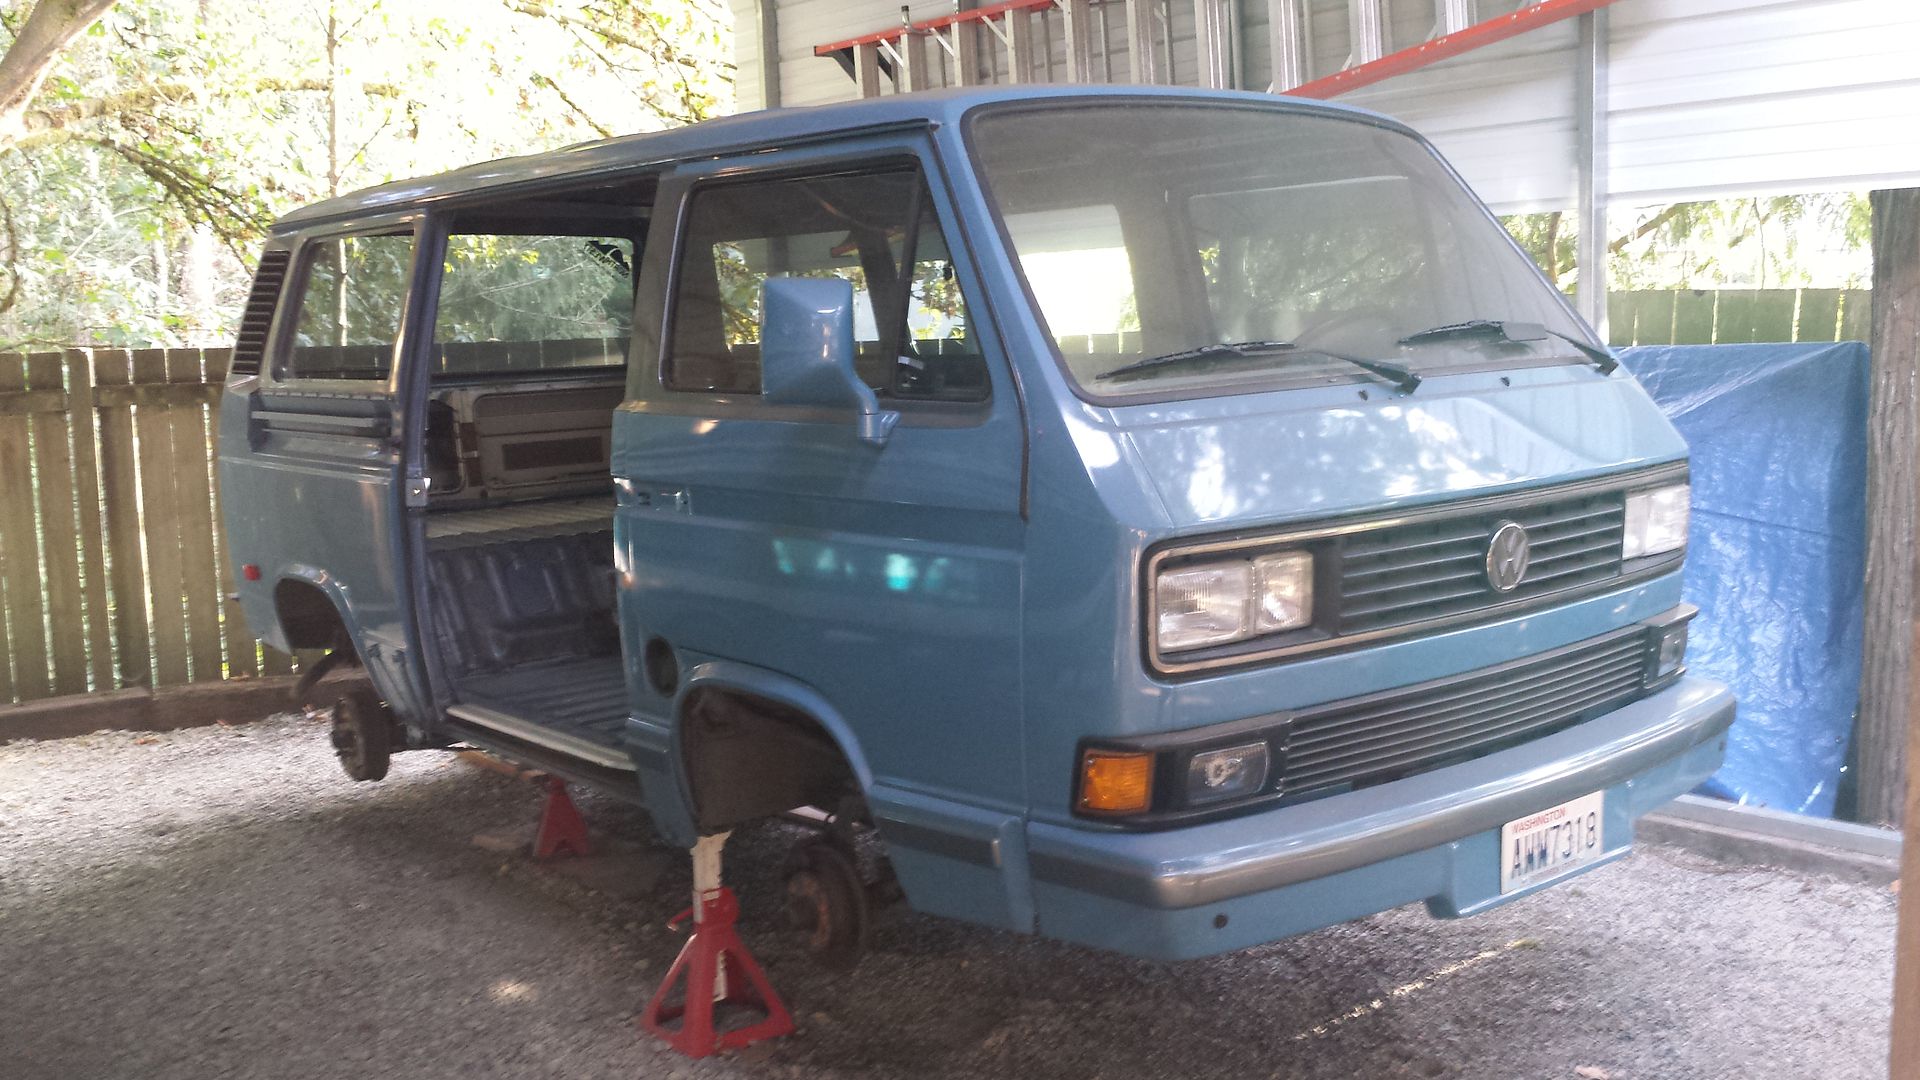
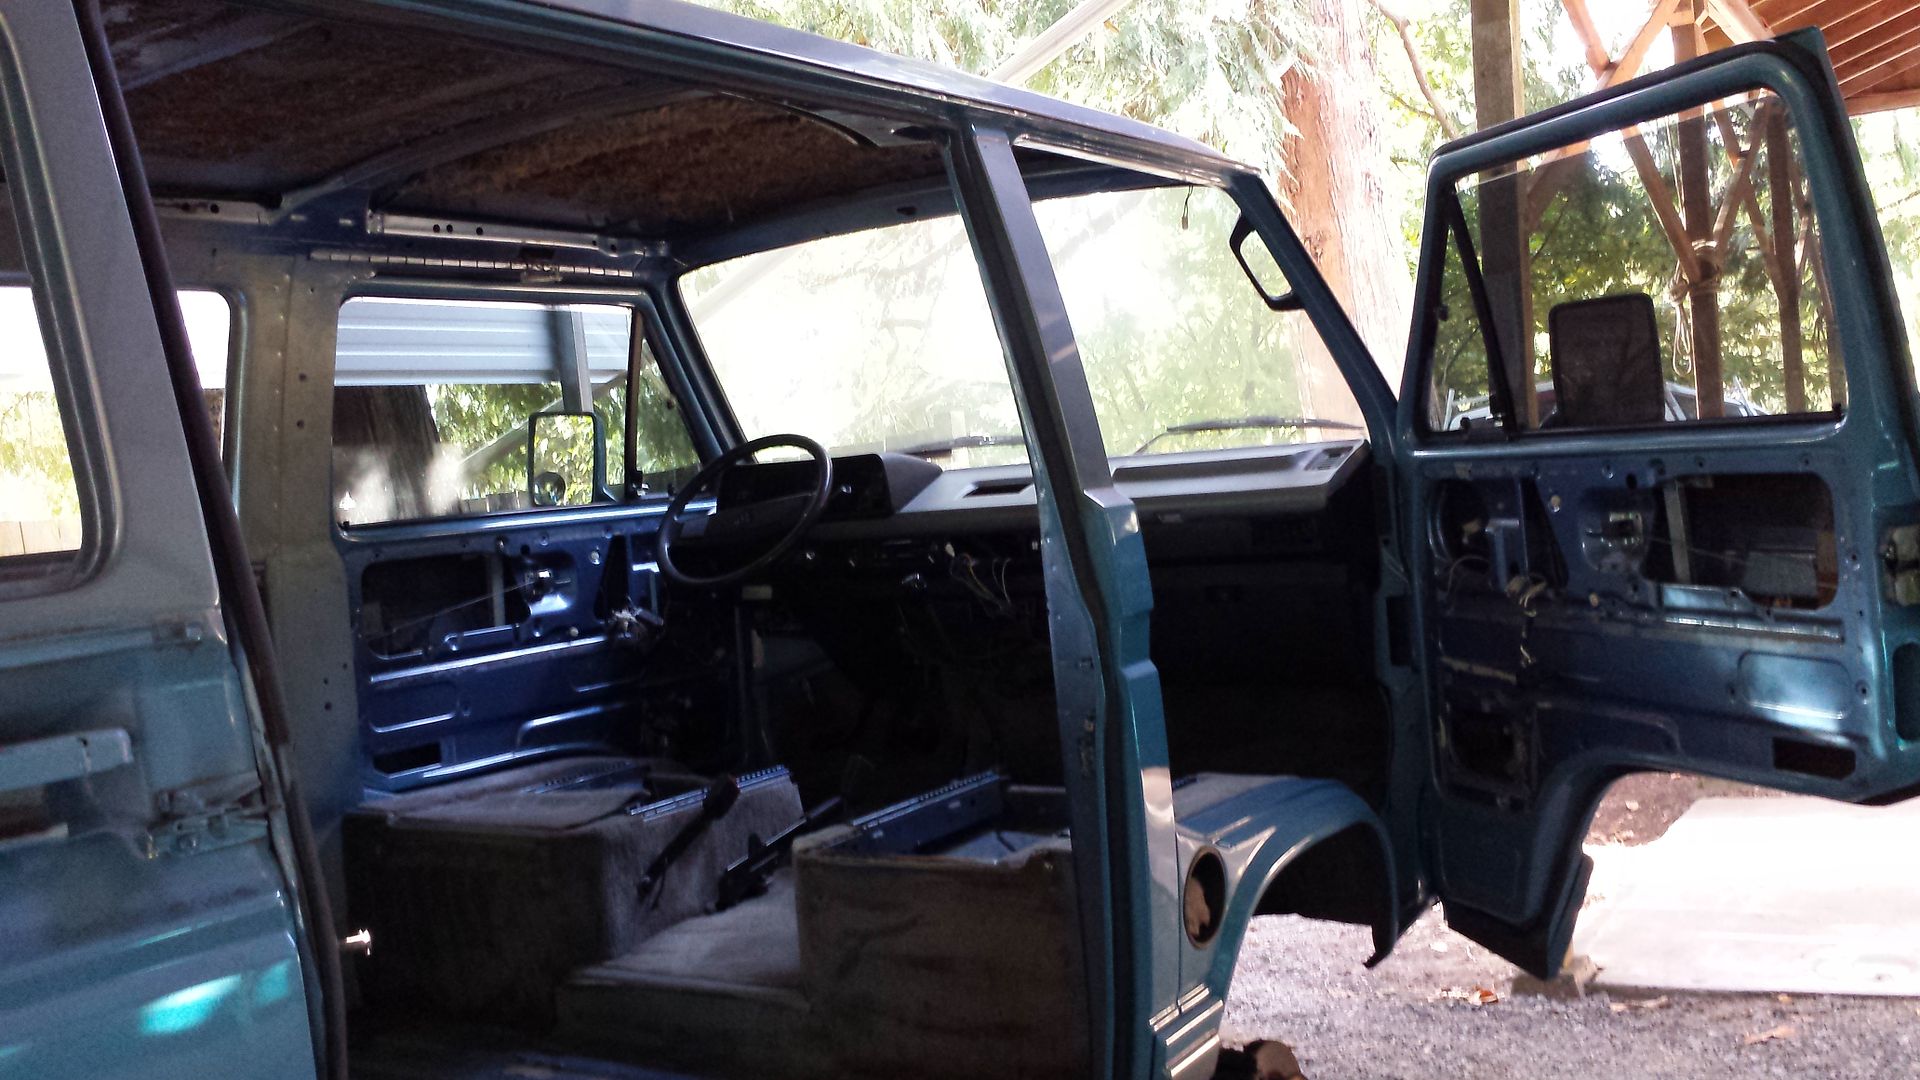
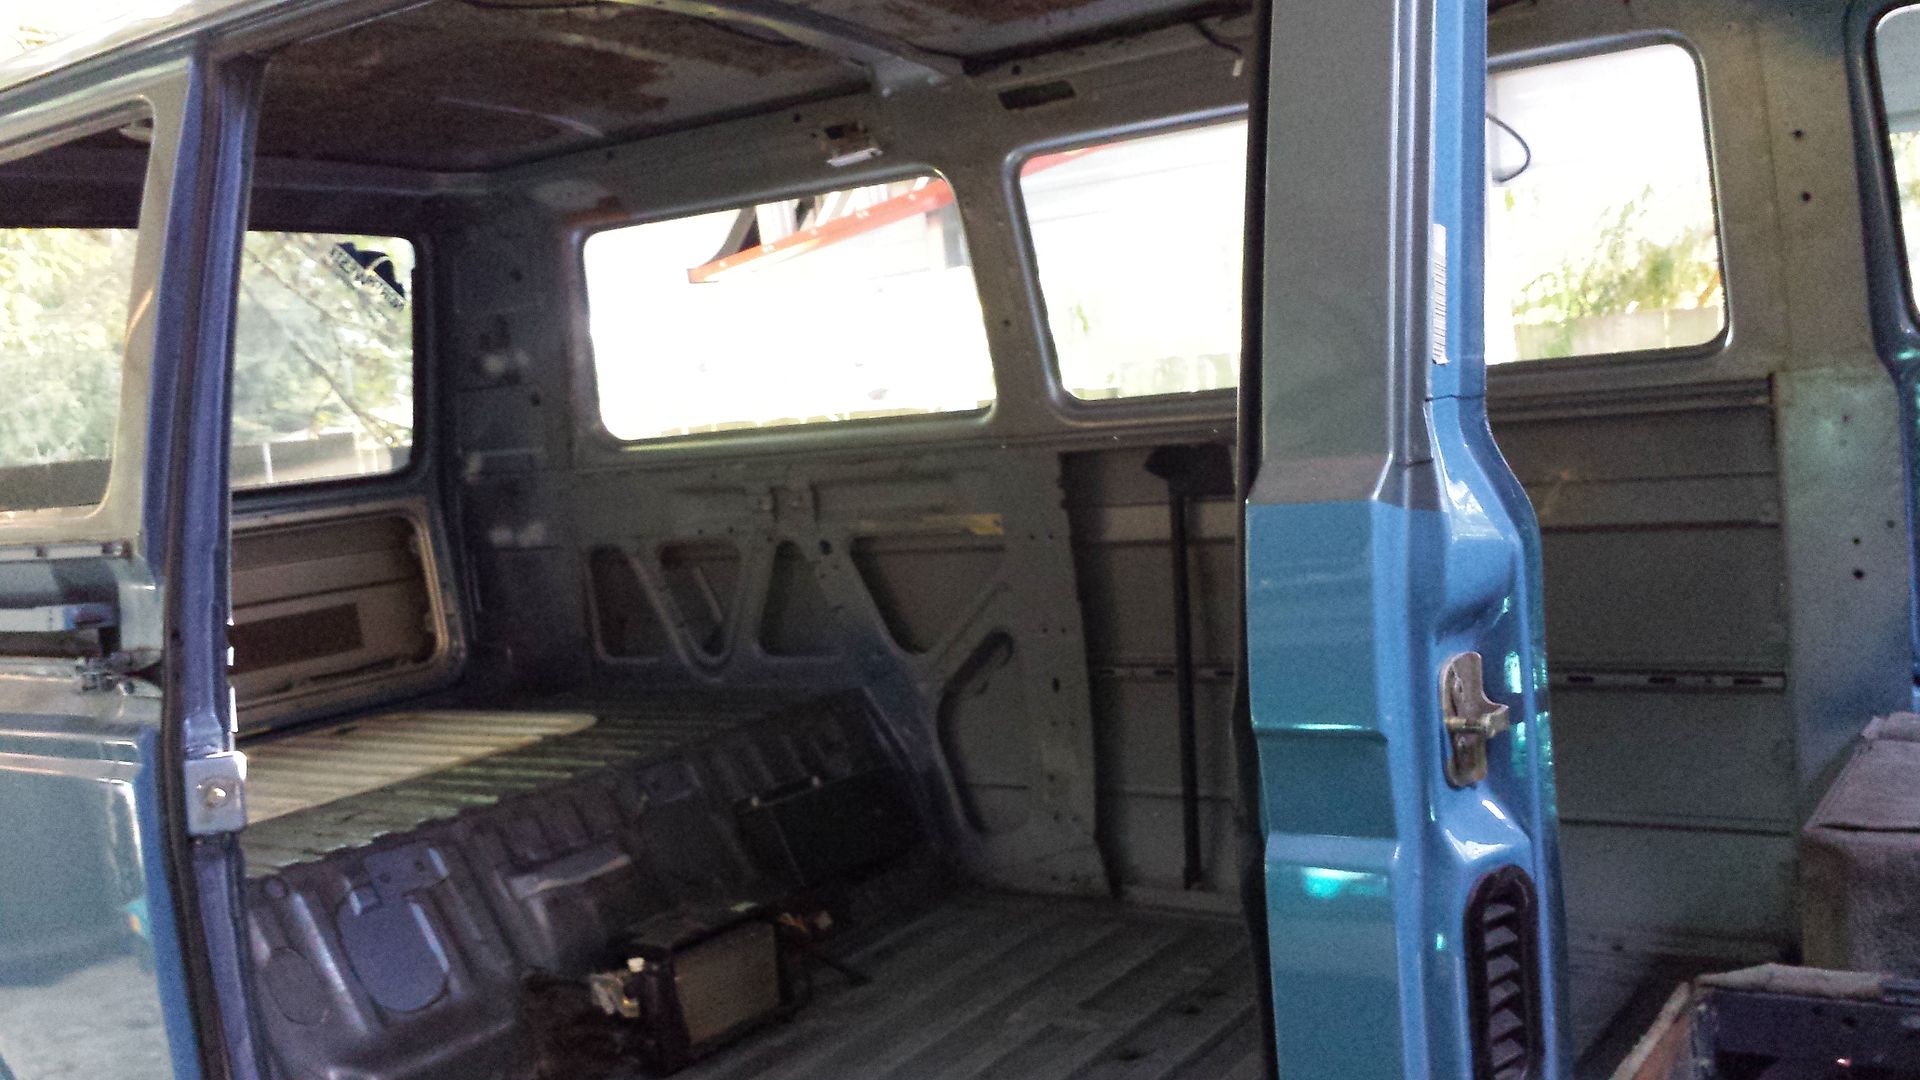
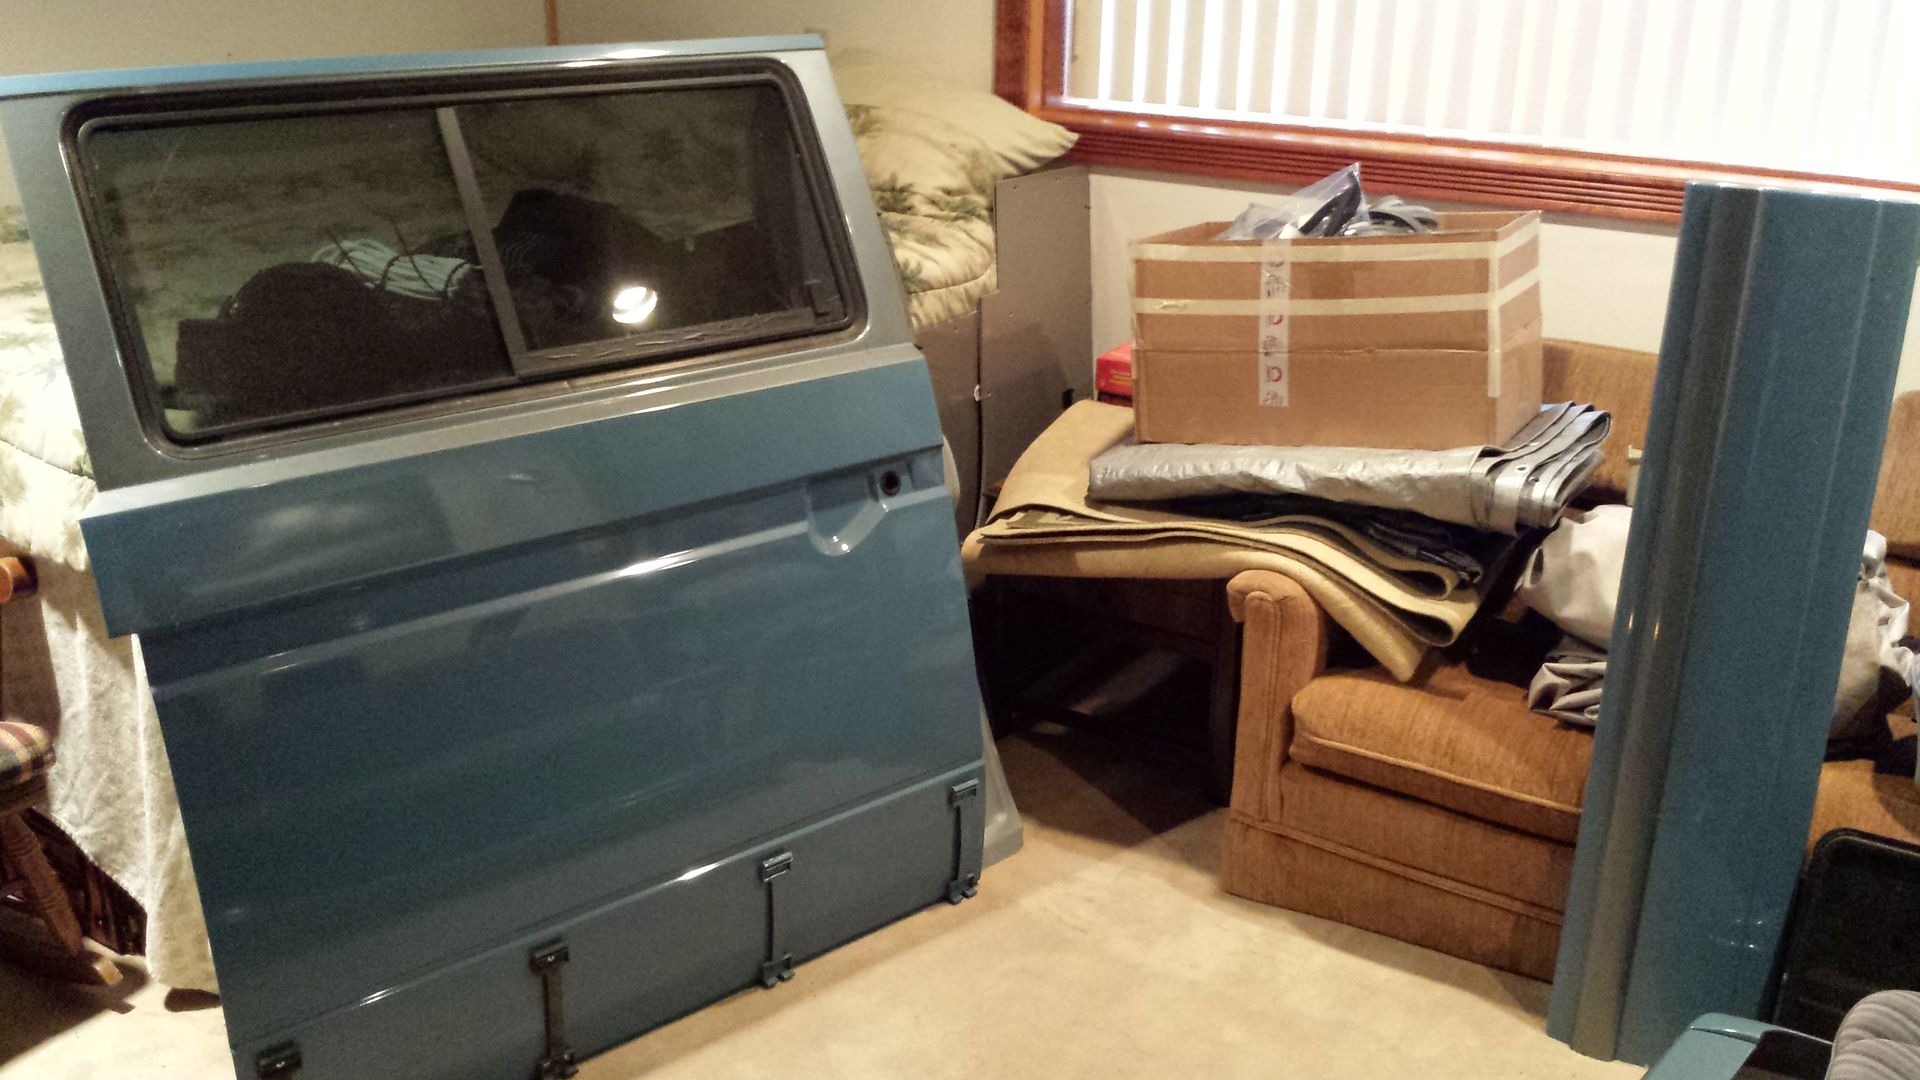
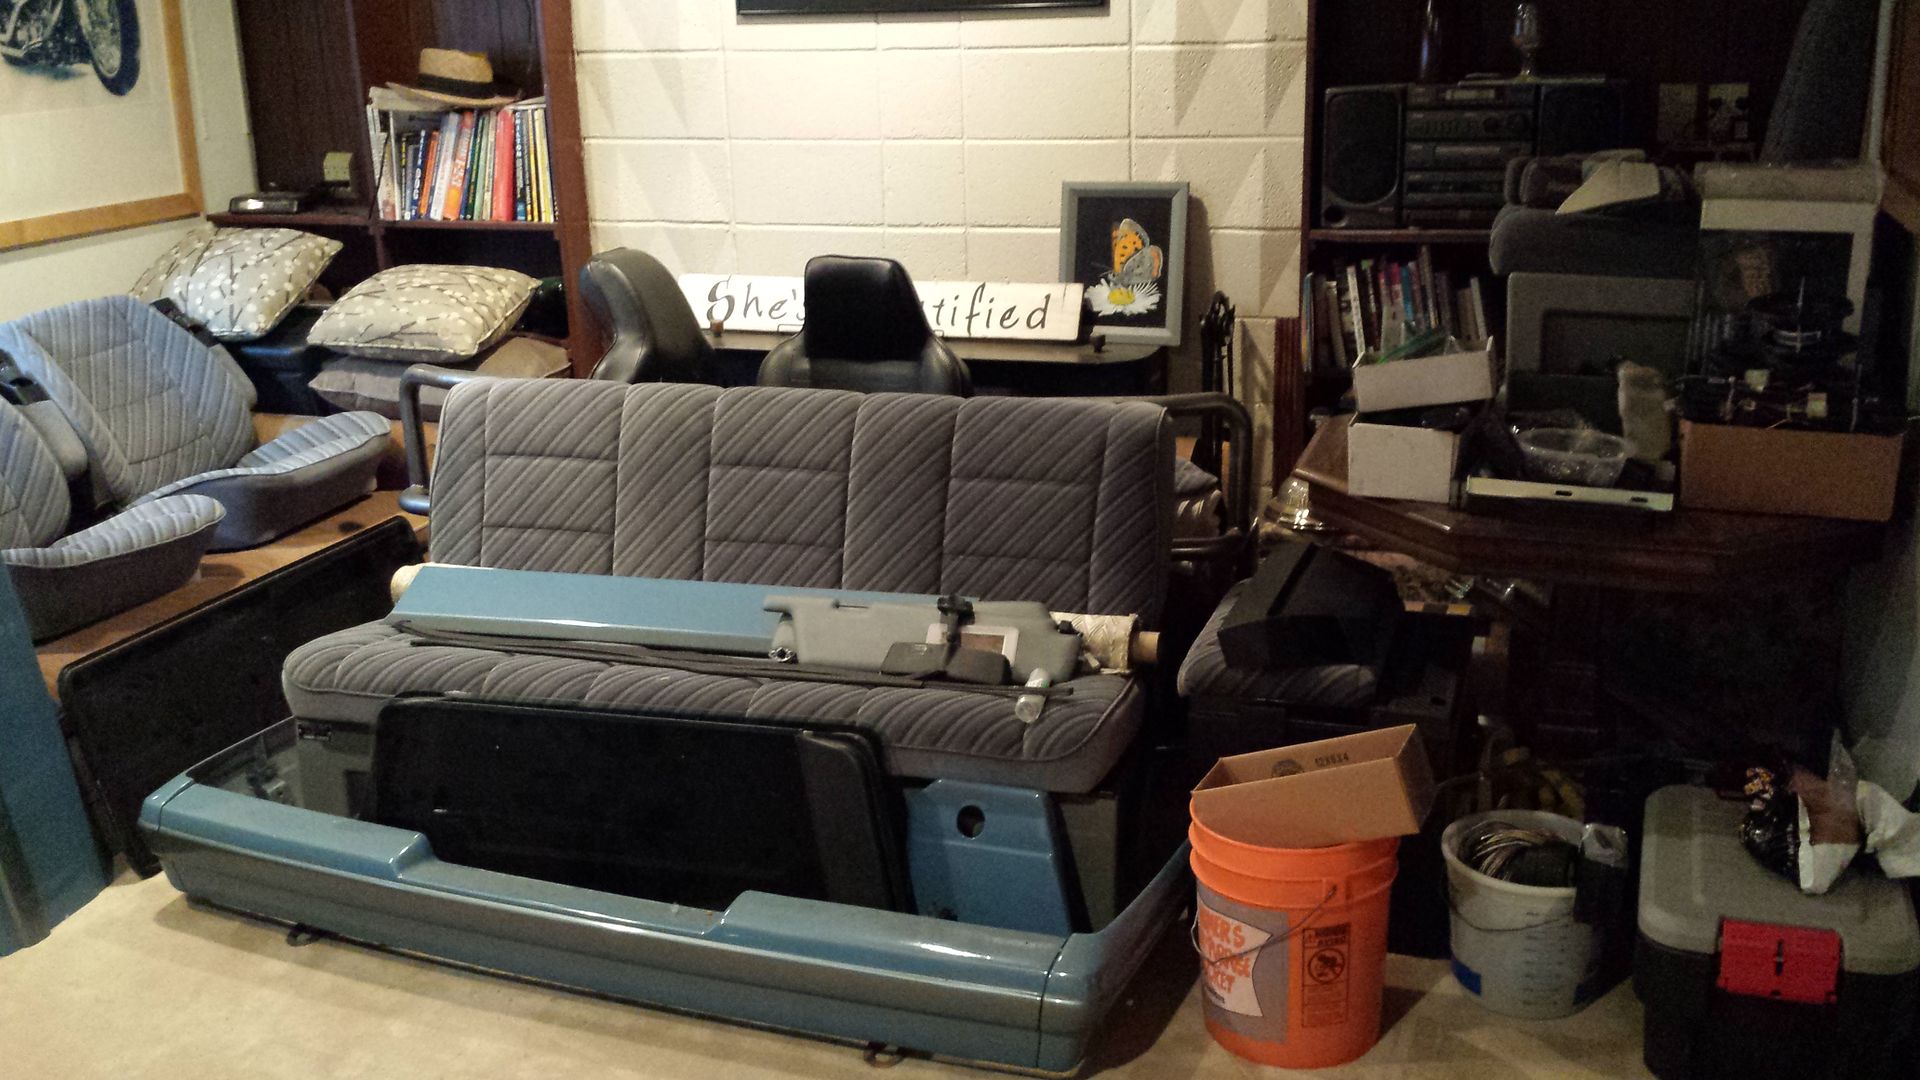
The Van is mostly empty right now. Pulled the rear side glass out and yanked the nasty old headliner along with all the smelly insulation. Every interior panel is getting replaced as well as most of the window and door seals. We're painting the interior sheet metal and making our own headliner(s) and painting some stock Brown side panels to match our grey interior. I've got all new sound deadening and insulation to put behind and inside ALL the wall cavities. The bench seat and jump seat need to be mounted and front seat heaters need to be wired in. New ignition lock cylinder and I'm re-keying all the other locks to match the new ignition keys. Power windows, locks and mirrors all need checking out. Relocate the battery, loose the rear heater, pull the dash and run through the hvac housing, rebuild a few parts of the shift linkage, full stock brake replacement front/rear, inspect/repack the CVs, drain/inspect trans oil, rebuild front upper control arms, mount a spare tire somewhere, replace the radiator fan assembly and repair its wiring. Maybe one or 2 other minor issues to deal with...the Van lives outside, but it's taken over my basement!


Karl
DON'T QUIT
DON'T QUIT
-
ajdenette

- Posts: 717
- Joined: Wed Jan 20, 2010 1:18 pm
Re: '89 Blue Star Vanagon Project
Turbobaja, that is an interesting interior with the Westfalia weekender interior instead of the typical carat interior with the wooden seat frame and latch in the seat bottom instead of the steel seat frame with the latches in the back yet still has the special fabric. was a real head scratcher for me when you said you were going to use the brown panels painted grey because of the difference in the latching methods.
Alex
|_________oo_oo
/ /__/____[_____\
I I======[]IIIIIII[]
()_)-----()_)----)_)
|_________oo_oo
/ /__/____[_____\
I I======[]IIIIIII[]
()_)-----()_)----)_)
-
Steve Arndt
- Posts: 7404
- Joined: Sat Mar 10, 2001 12:01 am
Re: '89 Blue Star Vanagon Project
Awesome progress. I put some hard miles on my syncro this weekend. Over a vertical mile of climing off road.
Make sure to rebuilt or check your clutch pedal and pin. The pedal wears through the pin at the linkage point and you want to do it w the dash out.
Make sure to rebuilt or check your clutch pedal and pin. The pedal wears through the pin at the linkage point and you want to do it w the dash out.
Steve
My Baja Build
My Baja Build
-
turbobaja
- Posts: 2826
- Joined: Fri Sep 14, 2007 4:56 pm
Re: '89 Blue Star Vanagon Project
Yeah, this interior came from my old boss's syncro 16 that was a tin top with this weekender interior with 12/220V cooler originally delivered to Germany to a VW employee who had it made this way. An odd combo for sure, and not original to my "Blue Star" Van at all. The 16 got a poptop and full westy interior so had this stuff stored for years and years, minus the correct side panels unfortunately.ajdenette wrote:Turbobaja, that is an interesting interior with the Westfalia weekender interior instead of the typical carat interior with the wooden seat frame and latch in the seat bottom instead of the steel seat frame with the latches in the back yet still has the special fabric. was a real head scratcher for me when you said you were going to use the brown panels painted grey because of the difference in the latching methods.
Karl
DON'T QUIT
DON'T QUIT
-
turbobaja
- Posts: 2826
- Joined: Fri Sep 14, 2007 4:56 pm
Re: '89 Blue Star Vanagon Project
Thanks Steve! I'm sure I'll find some more surprises once the dash is out, I can already see the heater housing halves are caked with silicon and NO clips. I've got clips to hold it back together correctly, but most of the cables aren't working quite right either. This poor van, man...Steve Arndt wrote:Awesome progress. I put some hard miles on my syncro this weekend. Over a vertical mile of climing off road.
Make sure to rebuilt or check your clutch pedal and pin. The pedal wears through the pin at the linkage point and you want to do it w the dash out.
Karl
DON'T QUIT
DON'T QUIT
-
turbobaja
- Posts: 2826
- Joined: Fri Sep 14, 2007 4:56 pm
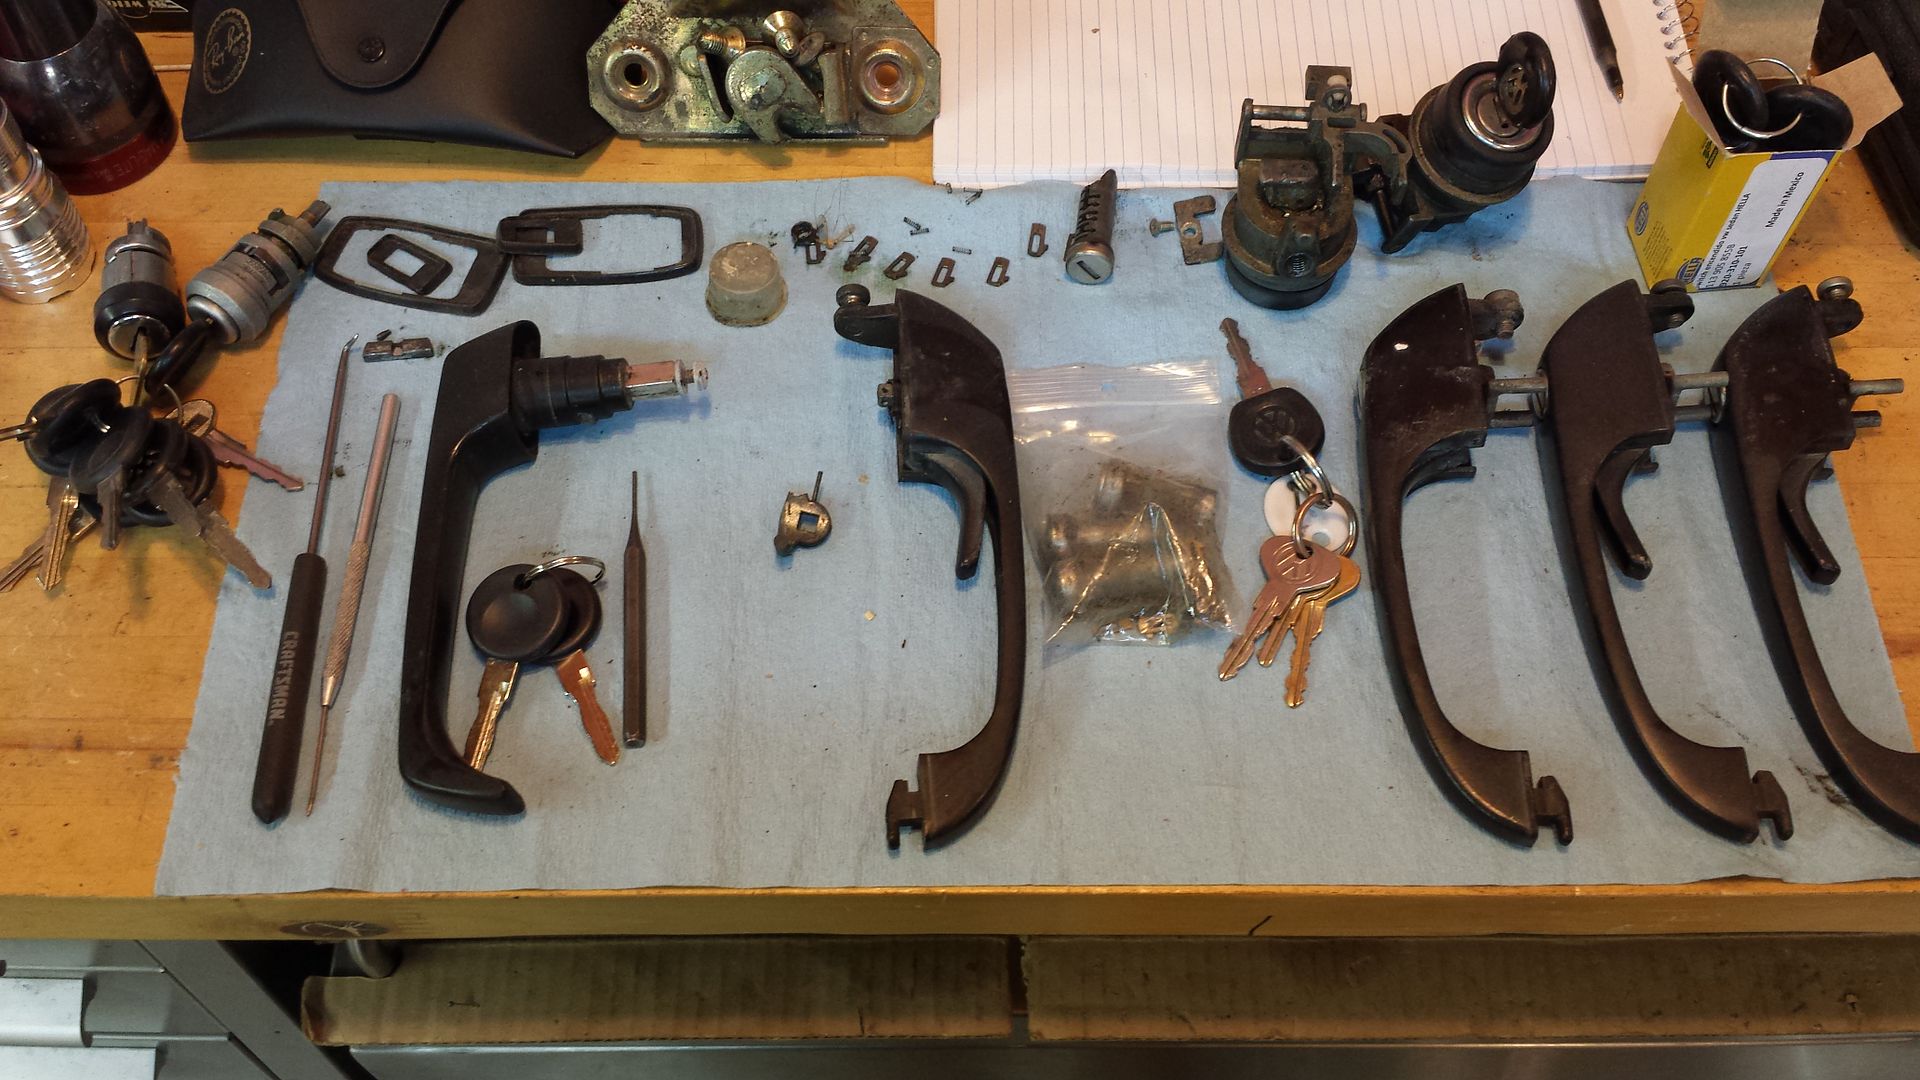
Re: '89 Blue Star Vanagon Project
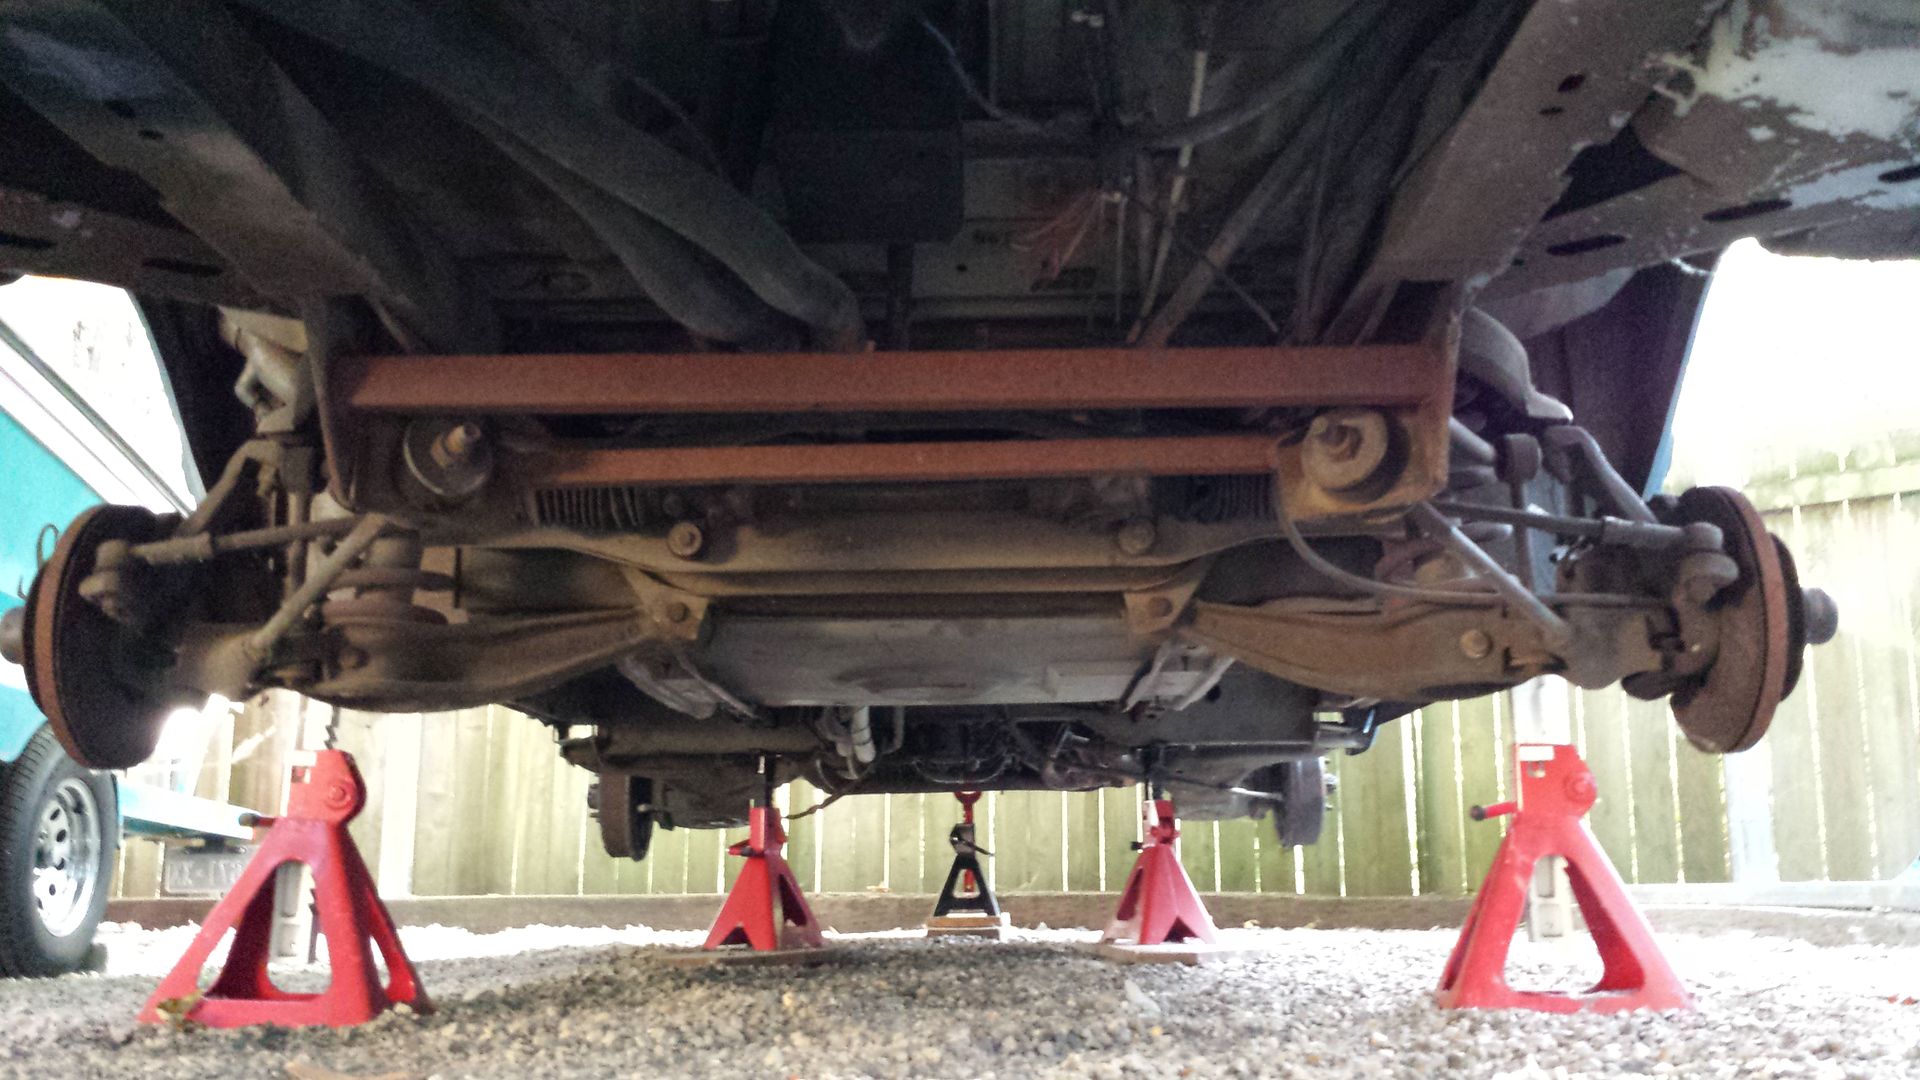
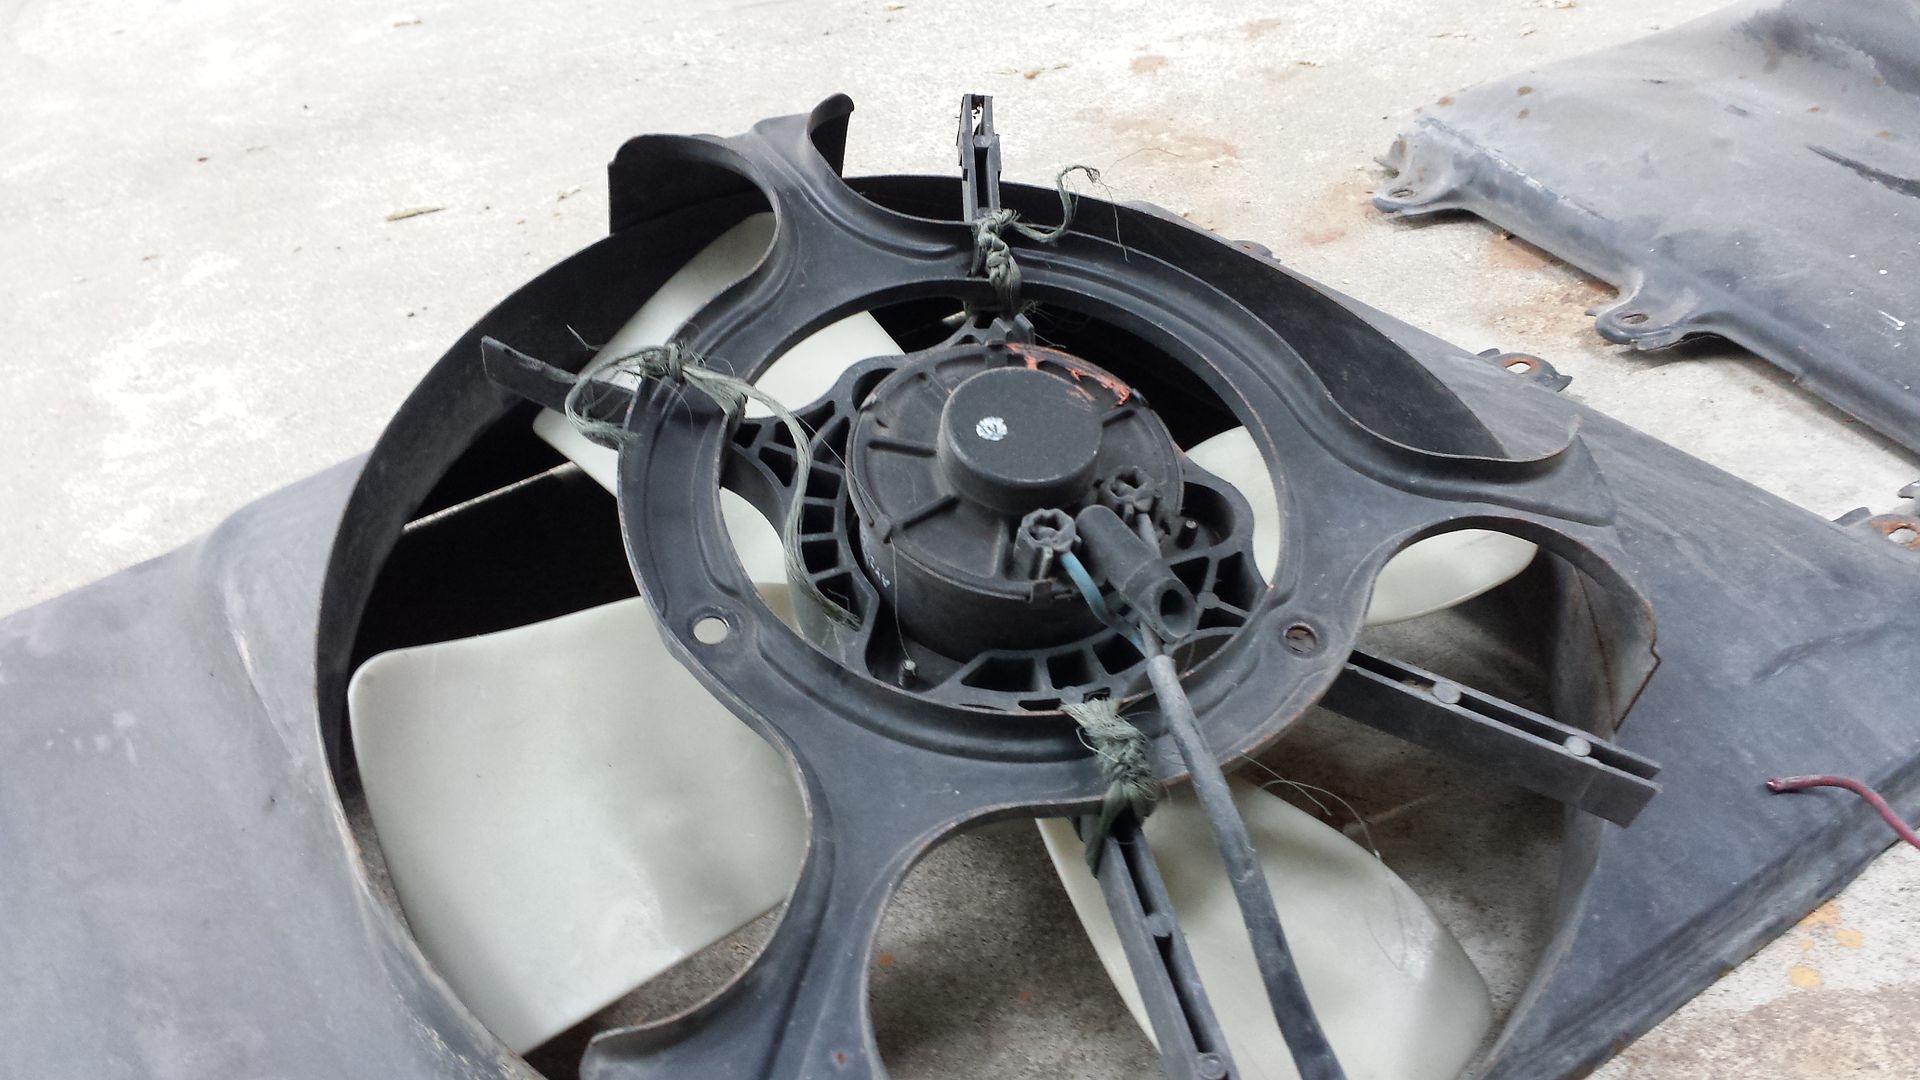
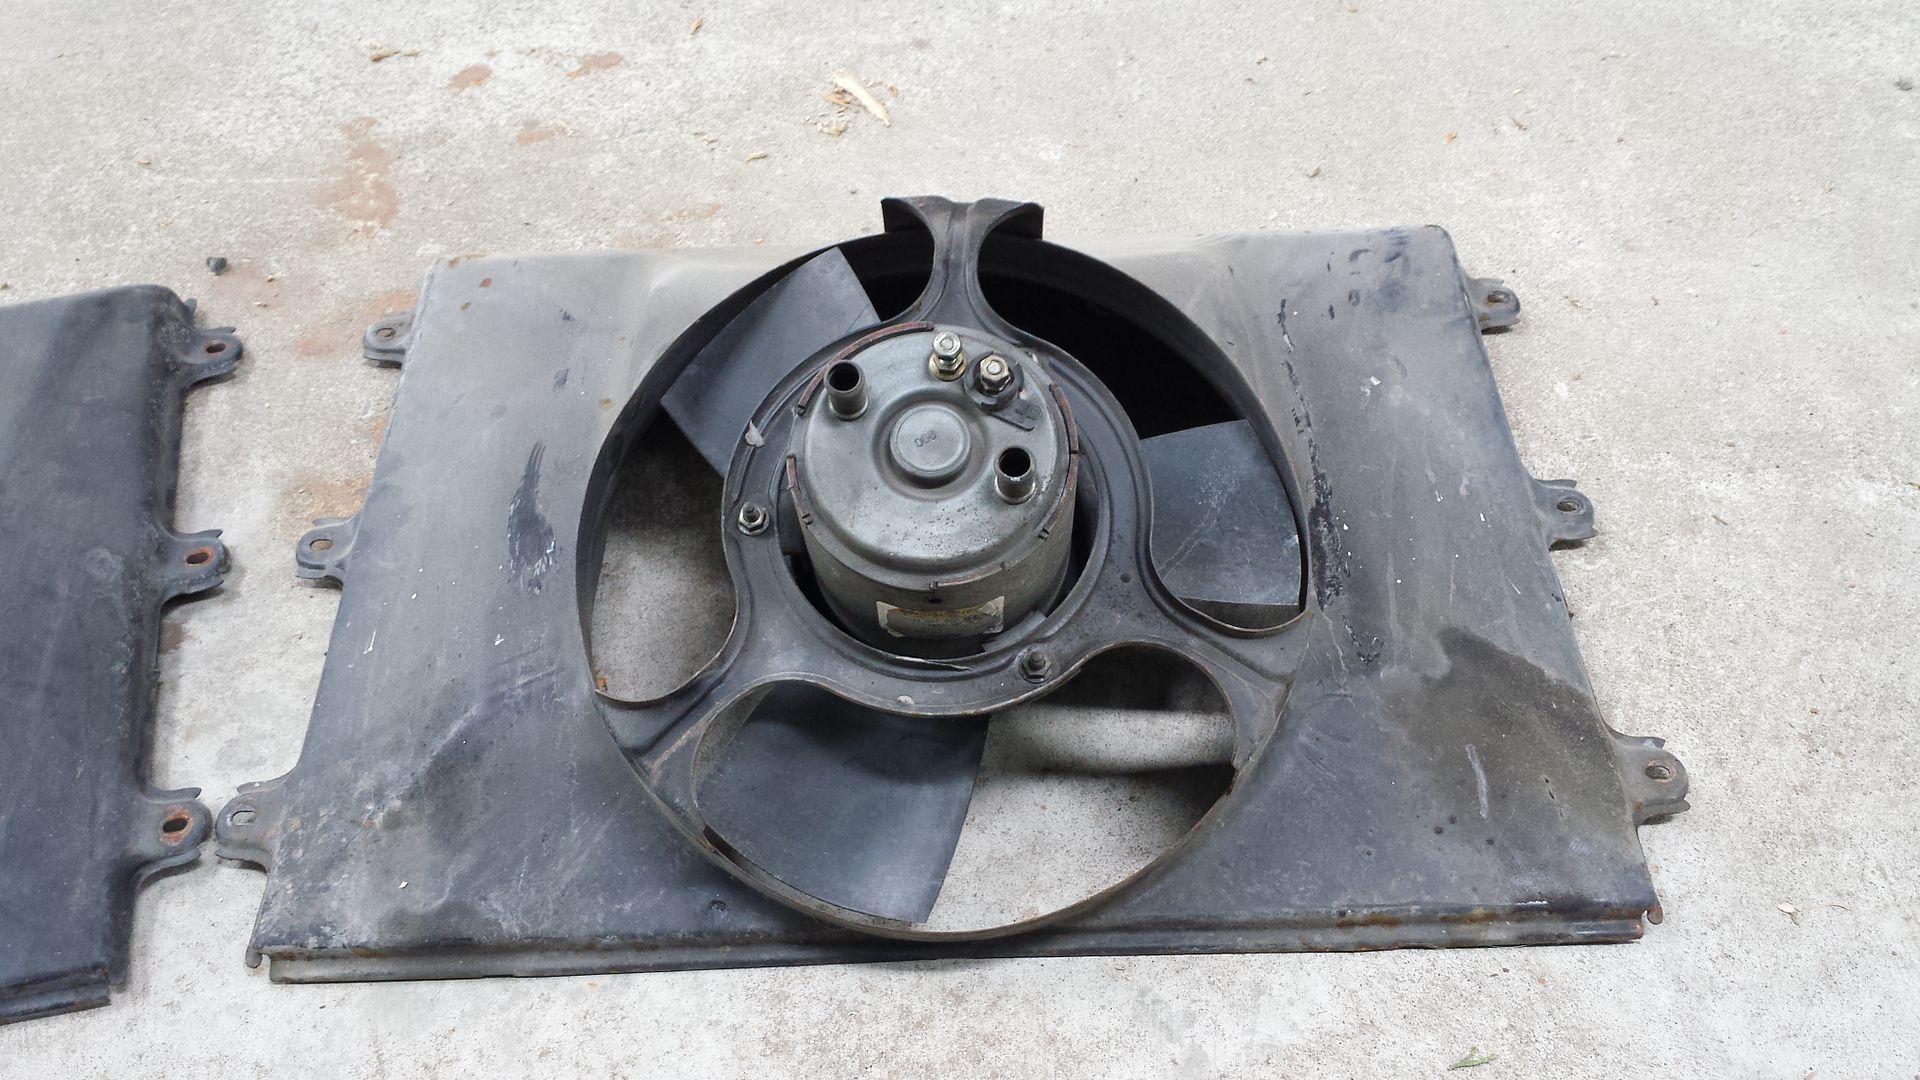
The door lock cylinders all use the same key as the new ignition lock cylinder now. I pulled the CV axles out to have a look and 3 of the 4 joints were too badly pitted to bother reusing. I've got the one usable joint/boot cleaned up and will keep it for a spare. Have 4 new joint kits and good grease to go back together with soon. I've also deleted the rear heater and purchased a small fortune of sound deadening and insulation to install before we start buttoning up the interior. I realized a while ago that the cooling fan in this Van was not factory and was being held to the shroud with bailing twine. It also had tiny little power wires that were simply twisted around factory ring terminal ends and wrapped with tape. I got my hands on a stock fan/shroud assembly and swapped it out just to be safe. The fan I removed had a 4 blade design, very similar to the 3 blade factory one.
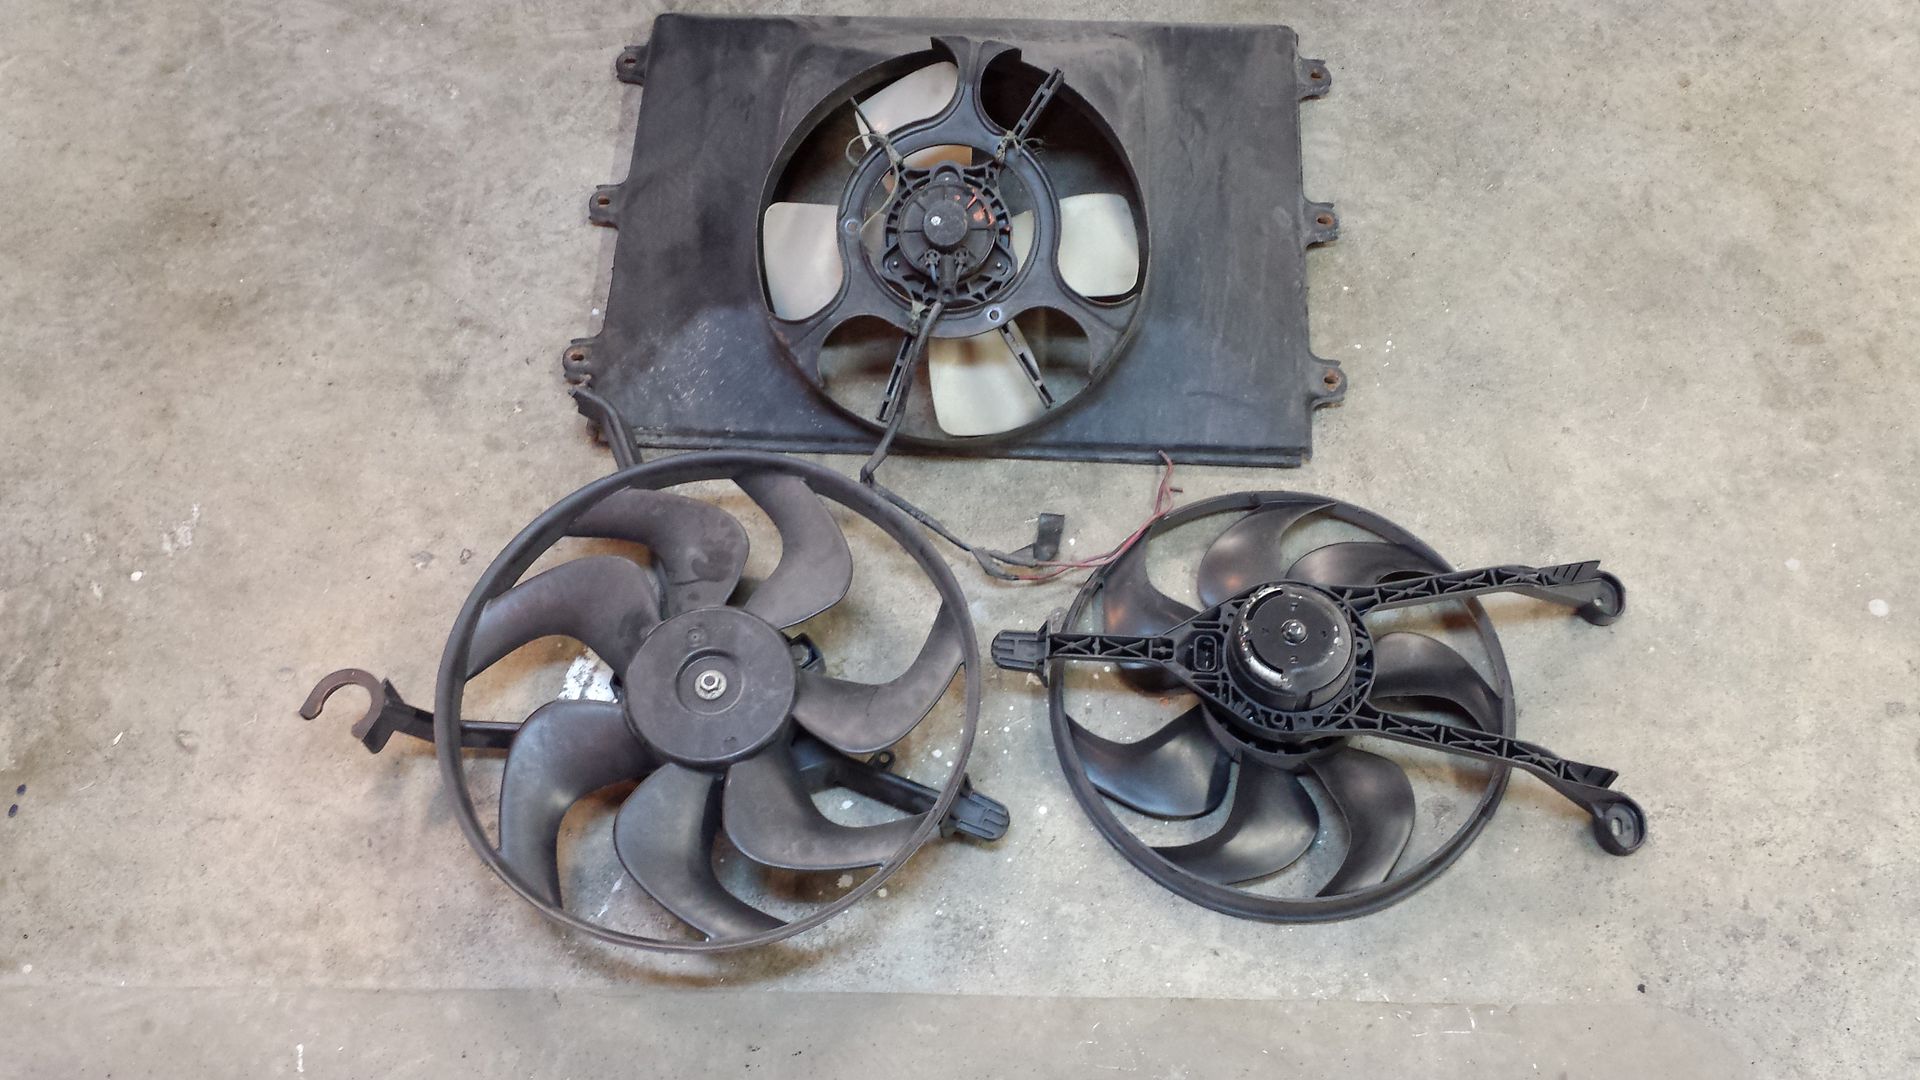
Some time I'd like to try one of these swept blade fans on this spare shroud. I'll have to monitor Amp draw and fan cycling time before and after the swap. These vehicles hold SO MUCH coolant it probably won't matter as much as it would on a standard 2-3 gallon 4 cylinder powered vehicle.
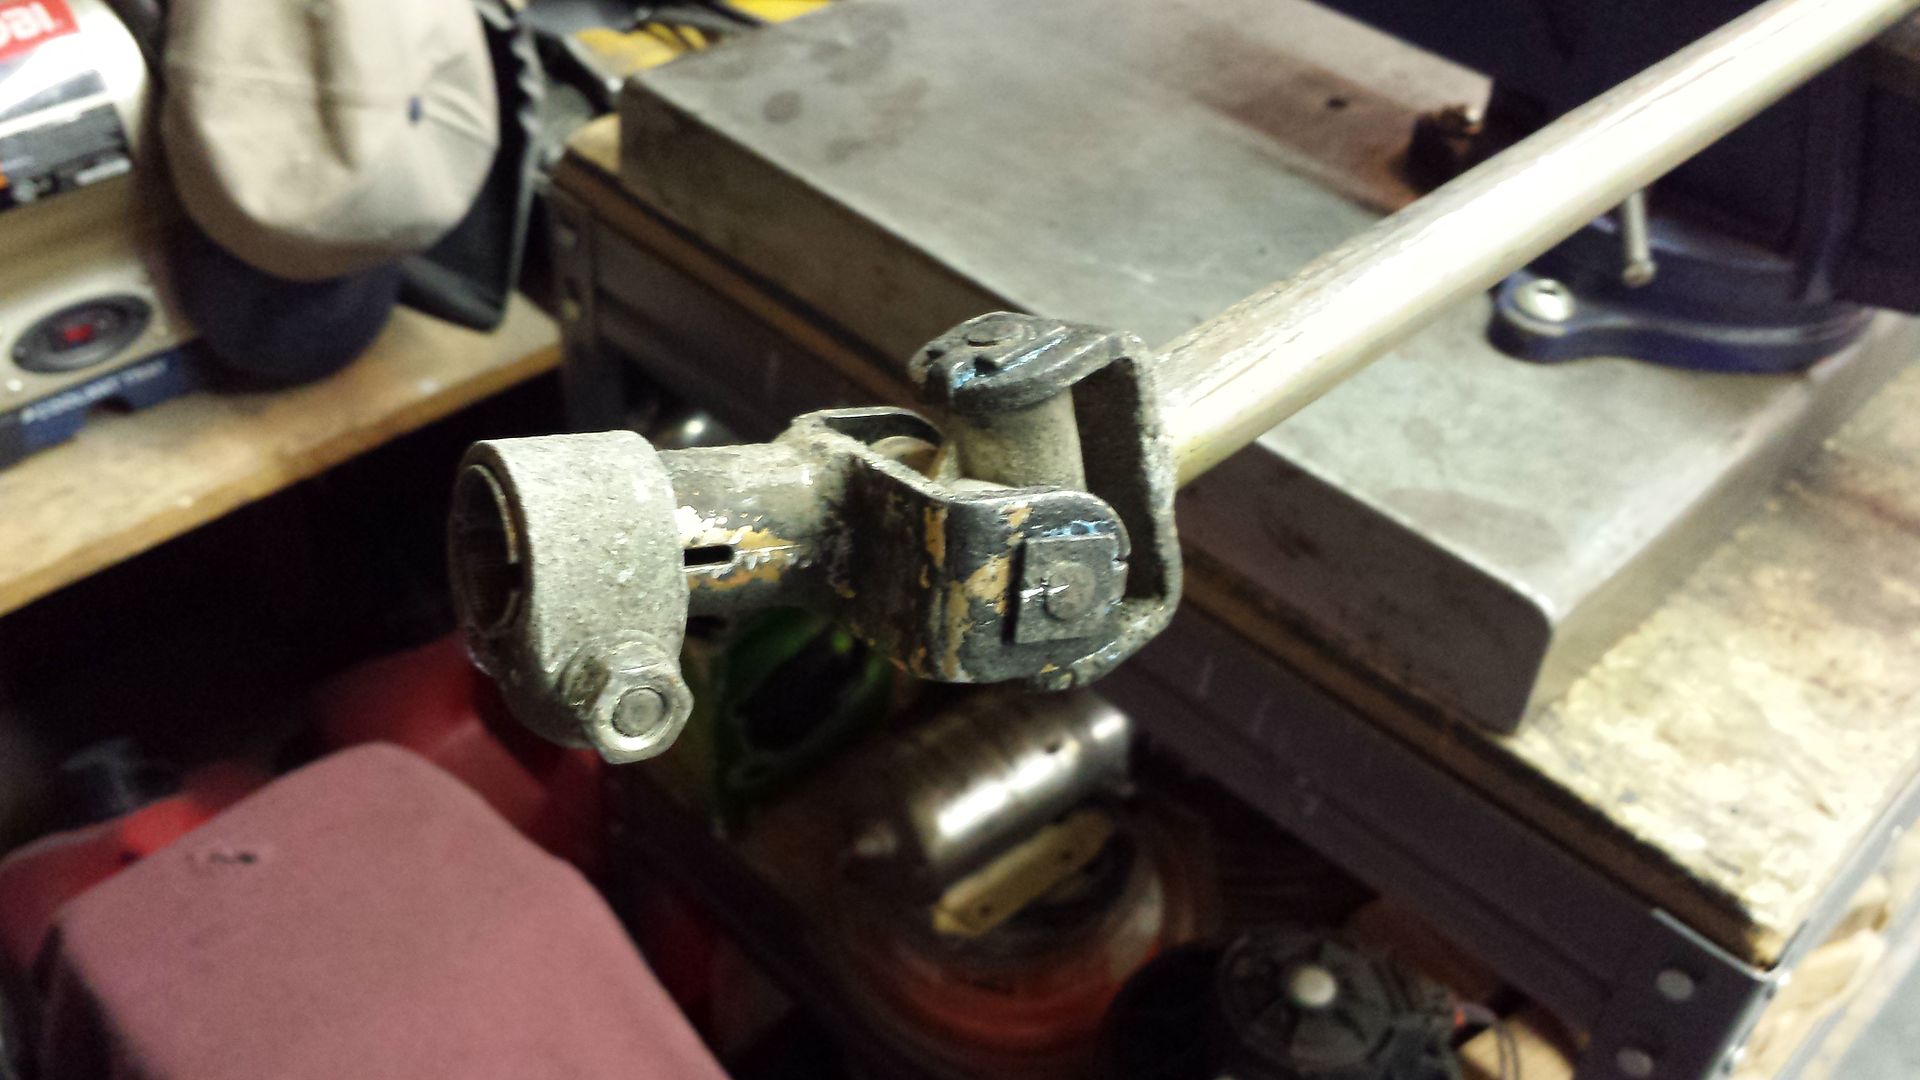
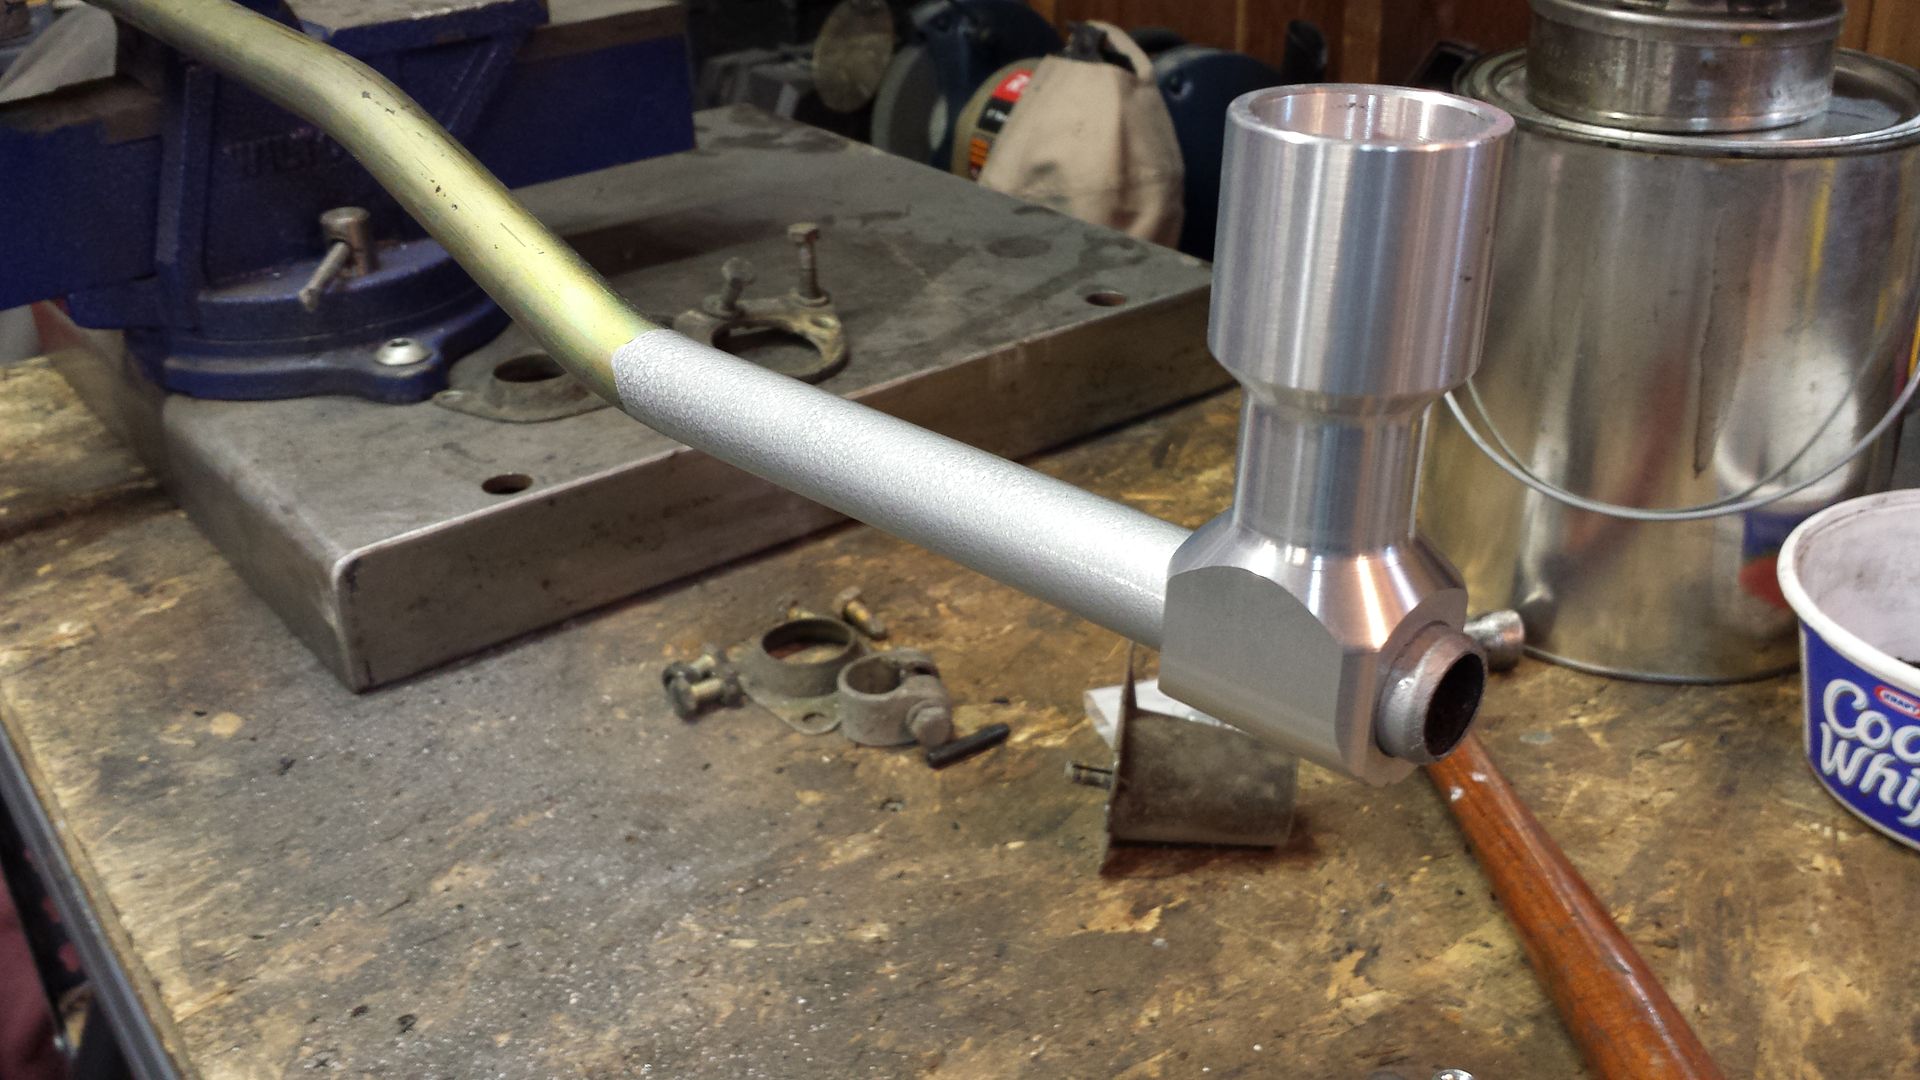
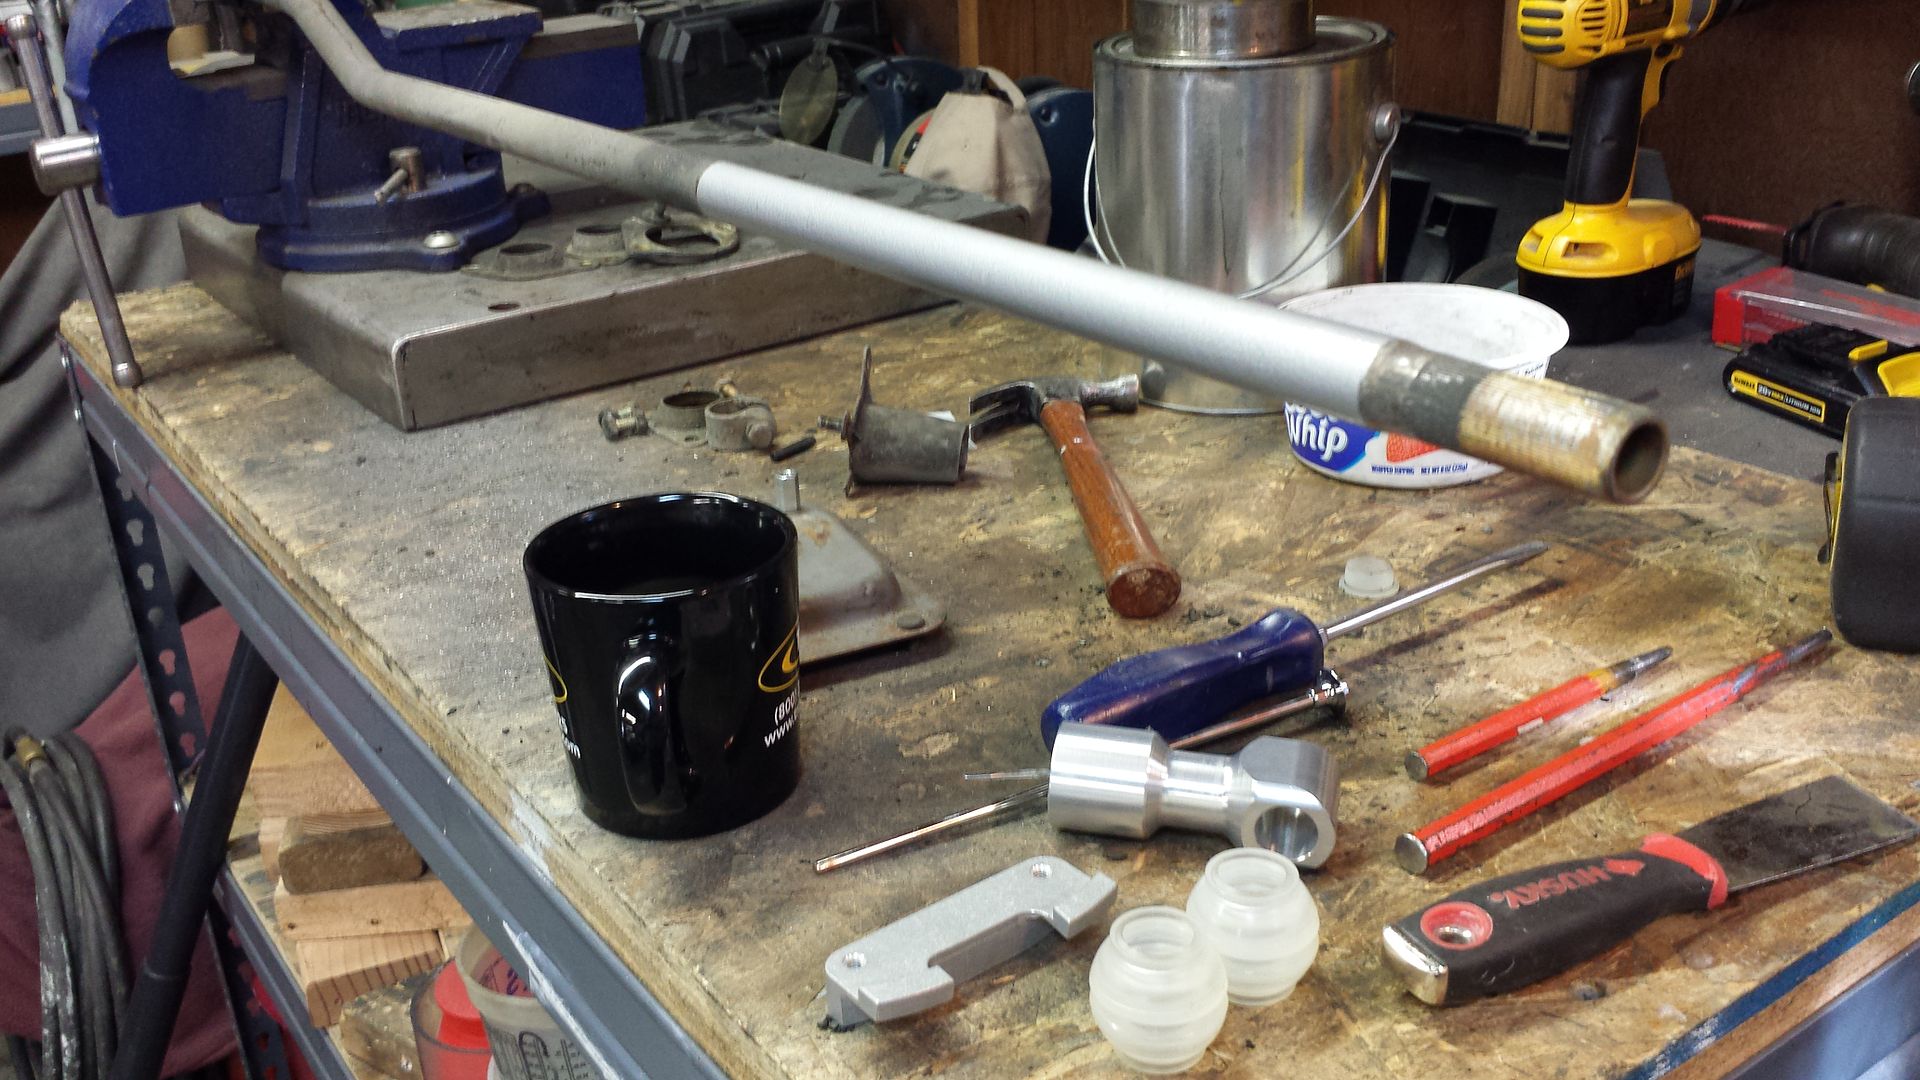
The shift linkage needed a full rebuild. When I pulled the shift lever out I realized there was a short throw kit installed, looks like a Gene Berg setup possibly. I pulled the pivot ball assembly out and cleaned and lubed it, decided to keep the short throw parts for now at least. Also, it looks like I have a Syncro shift box with the dual detents on the reverse/low gate, hopefully it'll work fine in my 2wd.

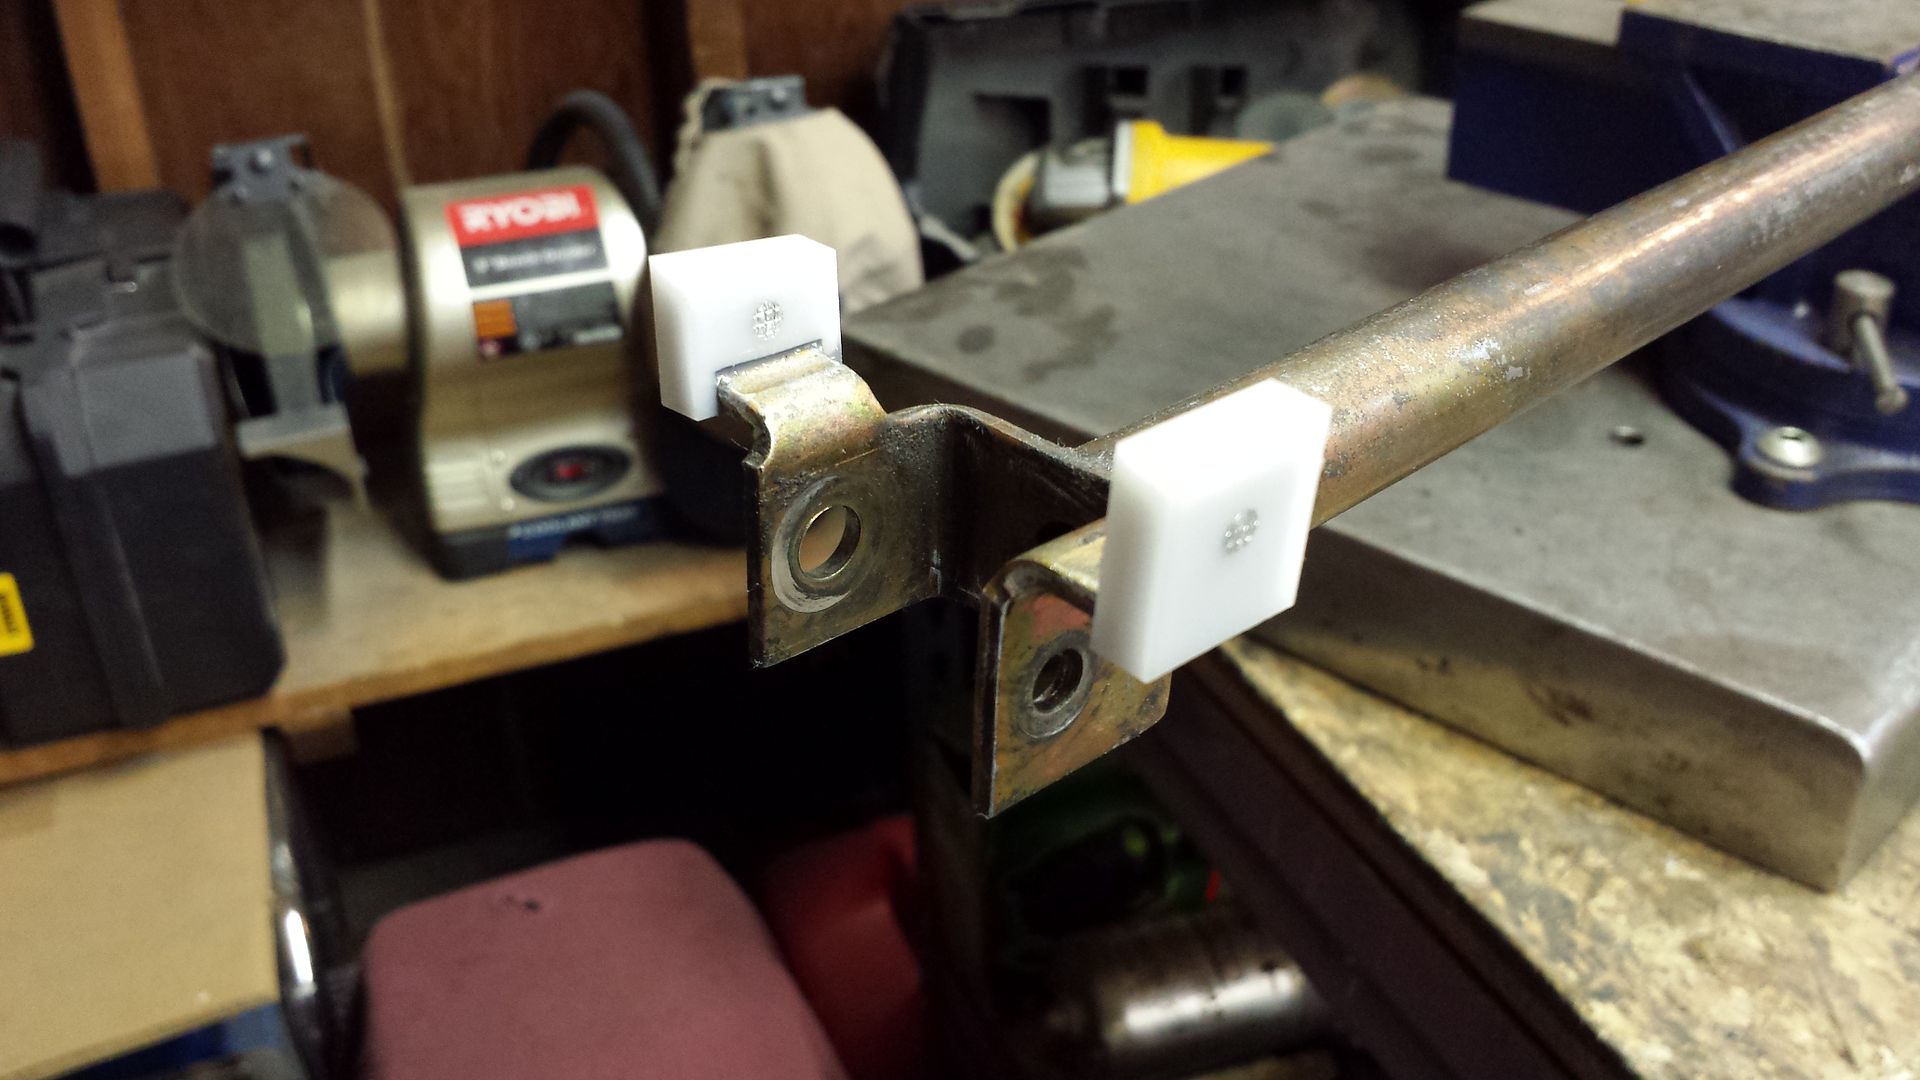
The little tabs were in bad shape on the shift rod, got reverse w/out pushing down on the shifter, etc. So I carved off what was left of the old tabs and touched up the ears on the shift rod with a file so the new tabs fit well, then epoxied on a new set from T3 Technique.
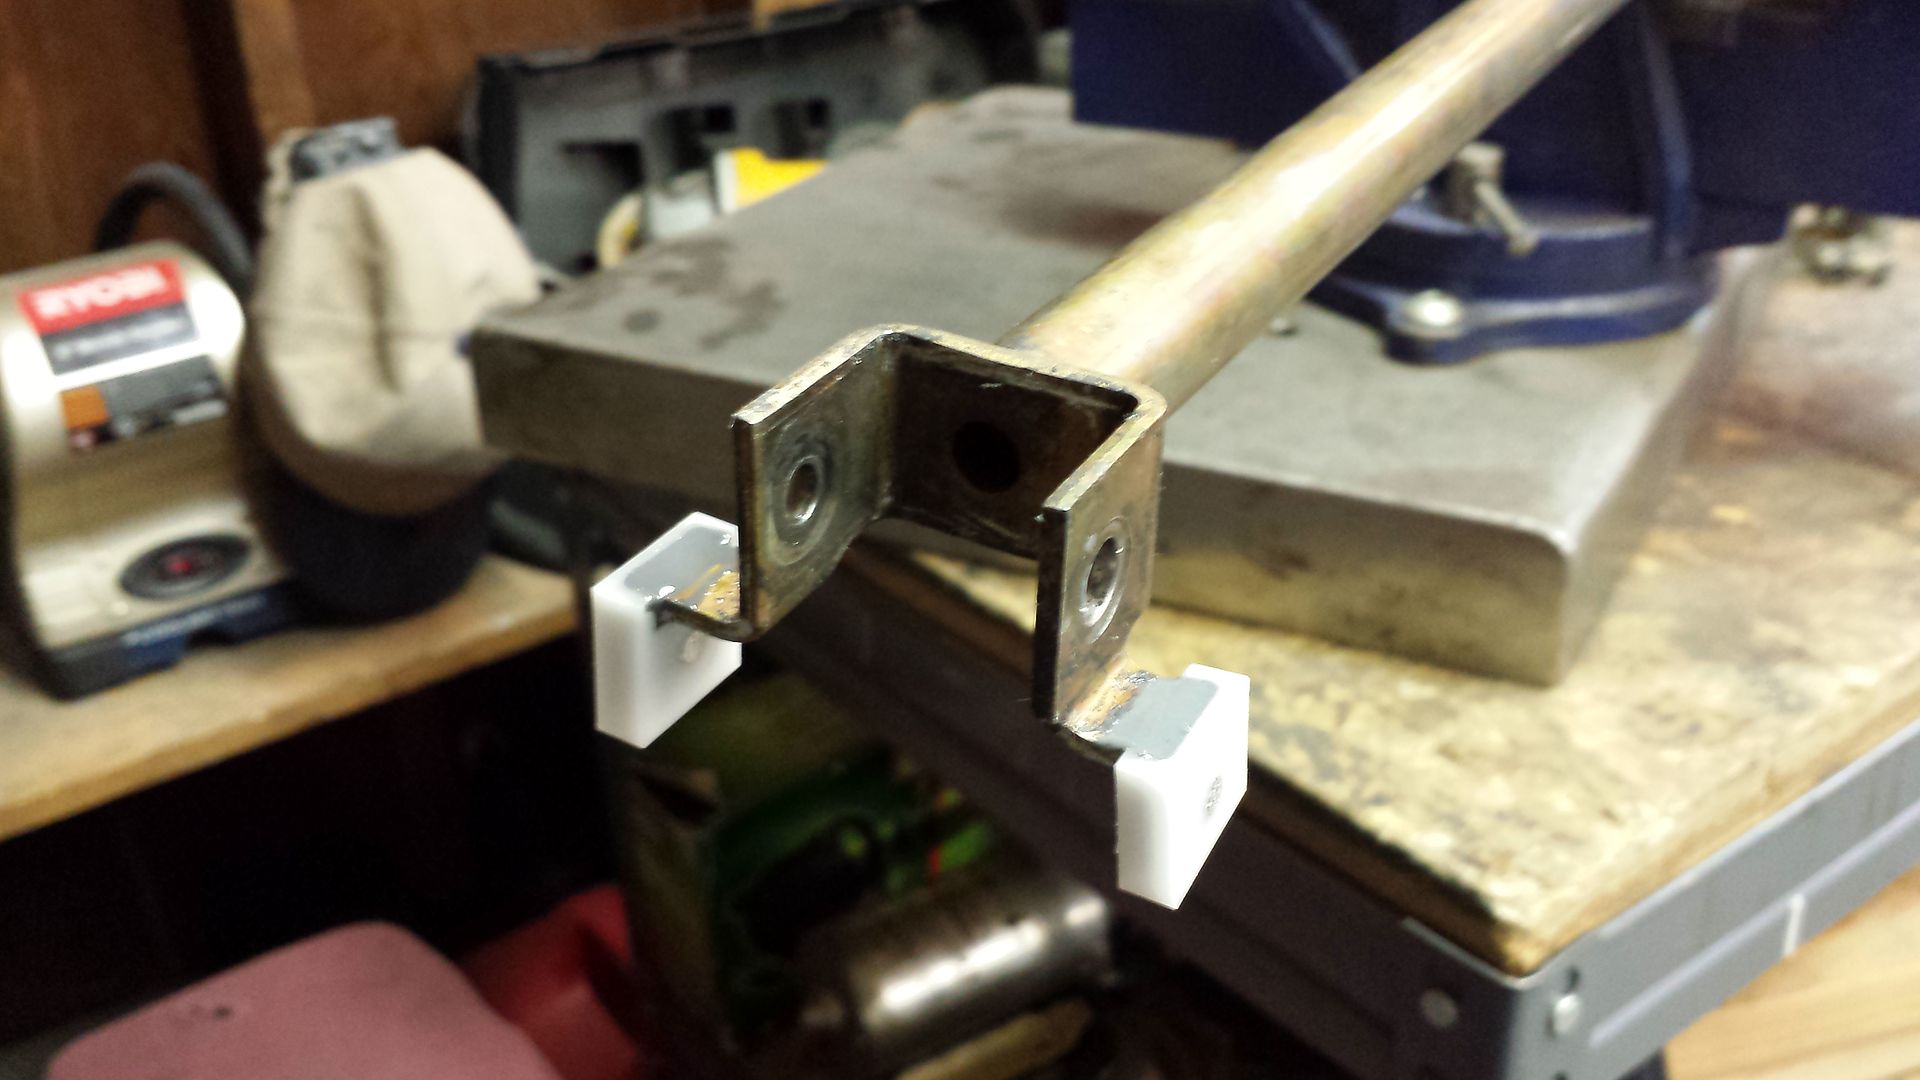
The center joint on the shift linkage was in pretty good shape, so it got a simple cleaning and re-greasing and back together it went. Both shaft support bushings were badly warn and the shifter cup at the trans end of the linkage was all warn out. I touched up the shafts where the bushings ride and have new bushings and shift cup ready to go back into the Van.


Some time I'd like to try one of these swept blade fans on this spare shroud. I'll have to monitor Amp draw and fan cycling time before and after the swap. These vehicles hold SO MUCH coolant it probably won't matter as much as it would on a standard 2-3 gallon 4 cylinder powered vehicle.

The shift linkage needed a full rebuild. When I pulled the shift lever out I realized there was a short throw kit installed, looks like a Gene Berg setup possibly. I pulled the pivot ball assembly out and cleaned and lubed it, decided to keep the short throw parts for now at least. Also, it looks like I have a Syncro shift box with the dual detents on the reverse/low gate, hopefully it'll work fine in my 2wd.

The little tabs were in bad shape on the shift rod, got reverse w/out pushing down on the shifter, etc. So I carved off what was left of the old tabs and touched up the ears on the shift rod with a file so the new tabs fit well, then epoxied on a new set from T3 Technique.


The center joint on the shift linkage was in pretty good shape, so it got a simple cleaning and re-greasing and back together it went. Both shaft support bushings were badly warn and the shifter cup at the trans end of the linkage was all warn out. I touched up the shafts where the bushings ride and have new bushings and shift cup ready to go back into the Van.


Karl
DON'T QUIT
DON'T QUIT
-
Steve Arndt
- Posts: 7404
- Joined: Sat Mar 10, 2001 12:01 am
Re: '89 Blue Star Vanagon Project
Nice. I just did all my shift linkage last weekend. Took about forty adjustments to get it shifting right or close to right. Second is still notchy and I miss it about 1 out of ten times.
This link had a couple tips on adjustment better than what is shown in the bently.
http://www.gowesty.com/tech-article-details.php?id=178
The smallest twist adjustment at the point where the two shafts fit together in the middle makes a massive difference up front at the shifter.
I need to make a build thread for my van since I've been building it for 11 years now lol.
Steve
My Baja Build
My Baja Build