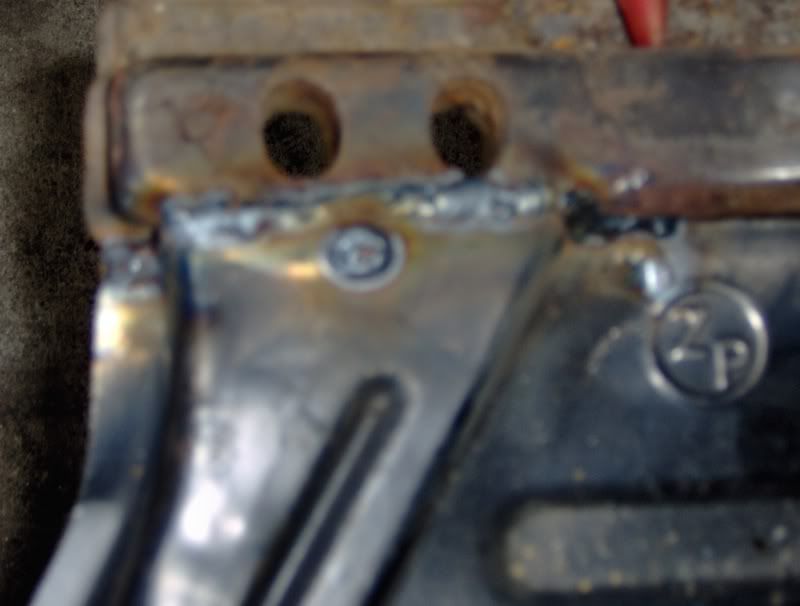
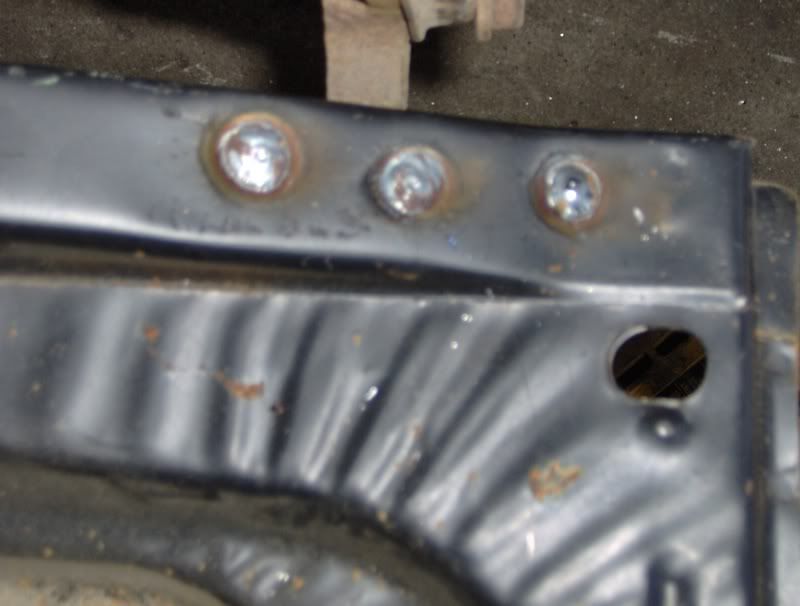
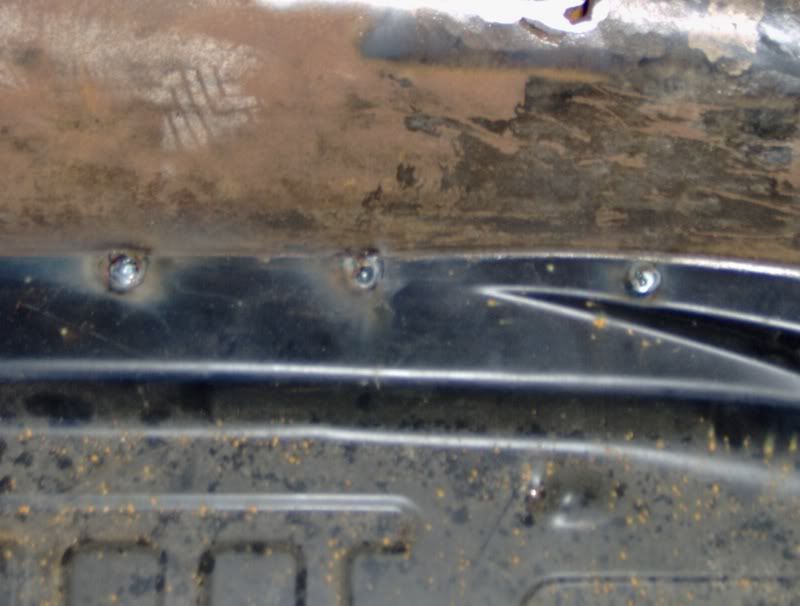
OK, my inexpensive Clarke 130EN welder worked just great for shortening the pan for my buggy. However, now I am attempting to finish my floors and every time I attempt to weld them to the chassis I end up blowing holes in the thin metal. I'm using the lowest heat setting (1 of 4) and semi-slow wire speed (about 4 of 10). Anyone got any suggestions for this? Instead of rossette welding I am planning to stich the pans directly to the chassis. The fit on the pans leaves a gap next to the tunnel that means I don't have enough edge to spot weld to. Would it help if I switched to no-gas wire, or maybe a thicker wire?
Jay
[/url]
How do I weld mexican/brazilian pans w/o blowing through?
-
JayInMI
- Posts: 253
- Joined: Mon Aug 30, 2004 5:14 pm
-
Ryan Huebler

- Posts: 151
- Joined: Sun Jan 23, 2005 10:50 am
Gas shielded wire will allways burn cooler than the Flux wire. Just remember this, "Flux Sucks" You probably don't have acces to a TIG but this is how I put my pans in. First I used a MIG and started the weld on the tunnel and moved it to the pan real fast then stopped making kind of a stich effect. Once I was done with that I used a TIG welder and smoothed it all out. You could just put a seam sealer over it and call it good.
-
JayInMI
- Posts: 253
- Joined: Mon Aug 30, 2004 5:14 pm
Yeah, that's looking like the plan right now. 

I'm using .025 wire and a 25/75 mix. Once I realized I hadn't turned the gas back on, the welds got a little better.
I'm going to use some sheet metal screws to hold the pans in place while I tack it up.
The hard part is going to be patching some gaps from where the pan sections meet up (where I shortened them), I've heard of using a brass (or was it copper?) block or flattened piece of pipe as a heatsink.
Jay
I'm using .025 wire and a 25/75 mix. Once I realized I hadn't turned the gas back on, the welds got a little better.
I'm going to use some sheet metal screws to hold the pans in place while I tack it up.
The hard part is going to be patching some gaps from where the pan sections meet up (where I shortened them), I've heard of using a brass (or was it copper?) block or flattened piece of pipe as a heatsink.
Jay
-
Bugfuel
- Posts: 3011
- Joined: Fri Apr 20, 2001 1:01 am
Weld only short, 1 second bursts. Then pause for a seocond or two, see the welded spot start to cool off and get darker, then do another spot overlapping the first. Go like this the whole way. Very tedious, but you can't do a continuous seam so this is the only alternative. Do a series of overlapping spots about an inch long, then leave a small gap before the next inch long weld. If you want to weld the pans with a continuous solid seam, fill the gaps later, doing a second run.
Do NOT try to weld without shield gas if you have regular, solid wire. The welds become porous and won't hold anything. The only way to weld without gas is with a flux core wire, and I would recommend you to stay away from it. It burns holes even easier, leaves a messy seam for you to clean etc.. It's totally worthless, except for it's intended purpose (Welding outdoors in the wind, where wind would blow shield gas away).
You aren't trying to weld with shield gas OUTDOORS, are you? You need to make sure there's no wind at the nozzle, so the shield gas can do it's job.
The heat sink you can make yourself real easy: take a foot long piece of copper pipe, hammer one end flat and shape it to your liking. That's the heat sink end. You hold the opposite end with your hand, pressing the flat "spoon" end against the area you plan on welding, from the backside.
This works well when you need to weld small holes or cracks shut etc.
The copper spoon might get stuck but it won't hold, a gentle nudge will break it free. More than a heat sink, it will work as a temporary "bridge" in the above example, so you can fill an empty space with weld seam.
A true heat sink would be used where you need to weld large flat areas, and you worry about warping the metal. For that purpose you need a heavier, thicker piece of copper or brass that can absorb the heat. You can also blow air on the fresh weld if you have a compressor. OR, if your MIG has a control for gas after-feed (dunno what it's really called). It would let you adjust how long the gas valve feeds gas out of the nozzle after you have released the trigger. The longer the afterflow, the more it will cool the seam. It of course uses more gas the longer it does that. And you have to remember to keep the nozzle by the weld until the gas flow has ended. It is effective only when held an inch or two from the weld.
Remember, short bursts only. Don't even attempt to lay a continuous bead. Leave that to the ship builders
Jan
Do NOT try to weld without shield gas if you have regular, solid wire. The welds become porous and won't hold anything. The only way to weld without gas is with a flux core wire, and I would recommend you to stay away from it. It burns holes even easier, leaves a messy seam for you to clean etc.. It's totally worthless, except for it's intended purpose (Welding outdoors in the wind, where wind would blow shield gas away).
You aren't trying to weld with shield gas OUTDOORS, are you? You need to make sure there's no wind at the nozzle, so the shield gas can do it's job.
The heat sink you can make yourself real easy: take a foot long piece of copper pipe, hammer one end flat and shape it to your liking. That's the heat sink end. You hold the opposite end with your hand, pressing the flat "spoon" end against the area you plan on welding, from the backside.
This works well when you need to weld small holes or cracks shut etc.
The copper spoon might get stuck but it won't hold, a gentle nudge will break it free. More than a heat sink, it will work as a temporary "bridge" in the above example, so you can fill an empty space with weld seam.
A true heat sink would be used where you need to weld large flat areas, and you worry about warping the metal. For that purpose you need a heavier, thicker piece of copper or brass that can absorb the heat. You can also blow air on the fresh weld if you have a compressor. OR, if your MIG has a control for gas after-feed (dunno what it's really called). It would let you adjust how long the gas valve feeds gas out of the nozzle after you have released the trigger. The longer the afterflow, the more it will cool the seam. It of course uses more gas the longer it does that. And you have to remember to keep the nozzle by the weld until the gas flow has ended. It is effective only when held an inch or two from the weld.
Remember, short bursts only. Don't even attempt to lay a continuous bead. Leave that to the ship builders
Jan
-
JayInMI
- Posts: 253
- Joined: Mon Aug 30, 2004 5:14 pm
Yeah, that's what I've been doing. I AM using gas (except for the first 3 or 4 spots before I figured out the gas wasn't on ) and I went back and did spots next to those afterwards.
I did it basically the way Ryan described above...start on the chassis and then come down to the pan.
I learned my lesson about trying to weld outside a while ago while repairing the door on my GF's 76 K5 blazer. I am in the garage.
Guess it's back to home depot to get some copper tubing!
Thanks,
Jay
) and I went back and did spots next to those afterwards.I did it basically the way Ryan described above...start on the chassis and then come down to the pan.
I learned my lesson about trying to weld outside a while ago while repairing the door on my GF's 76 K5 blazer. I am in the garage.
Guess it's back to home depot to get some copper tubing!
Thanks,
Jay
-
JayInMI
- Posts: 253
- Joined: Mon Aug 30, 2004 5:14 pm
Ah, screw it. I ordered Klokkerholm replacement panels for it. I sure hope they are worth it, it cost me about $400 shipped!!! 
I wasn't happy with the fit on the old pans anyway...and (I hadn't noticed it when I originally bought them) but my old pans were from 2 different manufacturers. The stampings on one were clear and well defined and the other was vague.
Jay
I wasn't happy with the fit on the old pans anyway...and (I hadn't noticed it when I originally bought them) but my old pans were from 2 different manufacturers. The stampings on one were clear and well defined and the other was vague.
Jay

-
krusher
- Posts: 64
- Joined: Wed Feb 06, 2002 12:01 am
To be totally honest it just sounds like you dont have the welding skills for the job yet.
Before doing and welding job it always helps to pratice on similar sheet metal, in the pratice you can get the power and wire feed set up right before you mess your panles up.
If you have the wire speed to slow it will burn holes easily as it isnt giving enough metal to the welding pool, to much metal will will be a welding pool that is building up to fast and not melting and flowing.
As somone said somtimes metal is to thin to do a continous weld so you have to do stopstart spot welding, when doing this i dont stop for long, on off, on off on off, and watch the weld as you build it along.
Floor pans should be easy.
I think you mabye need somone who knows to come round and help you atleast start of withthe right power and wire setting on the welder.
no1 on that little welder sounds so low on power, if your blowing holes you must have the wire far to low, Ithink i would be on 2 or 3 using a welder of that power.
Do a few test welds and post them, may be able to diagnose somthing.

Before doing and welding job it always helps to pratice on similar sheet metal, in the pratice you can get the power and wire feed set up right before you mess your panles up.
If you have the wire speed to slow it will burn holes easily as it isnt giving enough metal to the welding pool, to much metal will will be a welding pool that is building up to fast and not melting and flowing.
As somone said somtimes metal is to thin to do a continous weld so you have to do stopstart spot welding, when doing this i dont stop for long, on off, on off on off, and watch the weld as you build it along.
Floor pans should be easy.
I think you mabye need somone who knows to come round and help you atleast start of withthe right power and wire setting on the welder.
no1 on that little welder sounds so low on power, if your blowing holes you must have the wire far to low, Ithink i would be on 2 or 3 using a welder of that power.
Do a few test welds and post them, may be able to diagnose somthing.
-
JayInMI
- Posts: 253
- Joined: Mon Aug 30, 2004 5:14 pm
Yeah, that's what I did when I shortened the pan. I practiced welding things to the section I cut out. It worked out I could also see the inside of the tunnel to verify good penetration, so I know it's good there.
I practiced on the floorpans themselves, but the metal is very thin. I'm not worried about my welding skills and I will practice (extensively this time ) on the cut out sections again. It didn't help I had a brain fart and forgot to turn the gas on at the beginning.
I almost feel like I need a 2.5 setting on the welder
The new pans I got are signifcantly thicker, so I'm hoping they'll hold up better.
As they always say: Practice, Practice, Practice!
I practiced on the floorpans themselves, but the metal is very thin. I'm not worried about my welding skills and I will practice (extensively this time
) on the cut out sections again. It didn't help I had a brain fart and forgot to turn the gas on at the beginning. I almost feel like I need a 2.5 setting on the welder
The new pans I got are signifcantly thicker, so I'm hoping they'll hold up better.
As they always say: Practice, Practice, Practice!
-
krusher
- Posts: 64
- Joined: Wed Feb 06, 2002 12:01 am
playing with the wire speed should get you a 2.5 power feeling. either 2 with wire up from normal, or 3 witht he wire down.
I know the floor pans you mean and they arnt what I would call super thin in welding terms, you should be able to weld them without blowing holes.
I'm shure the problem is in how you have the welder set up.

I know the floor pans you mean and they arnt what I would call super thin in welding terms, you should be able to weld them without blowing holes.
I'm shure the problem is in how you have the welder set up.
-
Hophead
- Posts: 62
- Joined: Wed Jan 19, 2005 10:24 am
when you get tired of screwing around with cheap sheet metal.... get some thicker danish klokkerholm pieces and fix it right the first time.....
www.oeveedub.com
www.oeveedub.com
-
nsracing

- Posts: 295
- Joined: Sun Sep 12, 2004 1:03 pm
When you can weld a blade to an anchor or anvil...then you CAN weld!
Hit the thick material first and move the puddle over to the thinner material. YOu gotta time yourself or the hole in the thin material will show up quickly.
I knew a girl in my class way back who can weld overhead with a stick on a 1 inch plate with multiple passes. What a gal.
It takes practice. Practice first on dummy parts before you do your own pans.
Watch that puddle! Cheers.
Hit the thick material first and move the puddle over to the thinner material. YOu gotta time yourself or the hole in the thin material will show up quickly.
I knew a girl in my class way back who can weld overhead with a stick on a 1 inch plate with multiple passes. What a gal.
It takes practice. Practice first on dummy parts before you do your own pans.
Watch that puddle! Cheers.
VW Machinework/Balance
Lineboring, Flywheel grinding
PM me.
Lineboring, Flywheel grinding
PM me.
-
david58

- Moderator
- Posts: 14100
- Joined: Sun Oct 23, 2005 6:14 pm