Page 2 of 5
Re: Megasquirt Photo Album
Posted: Sun Oct 09, 2011 1:41 pm
by grelland
I will keep the thread going with some shots of my current installation.
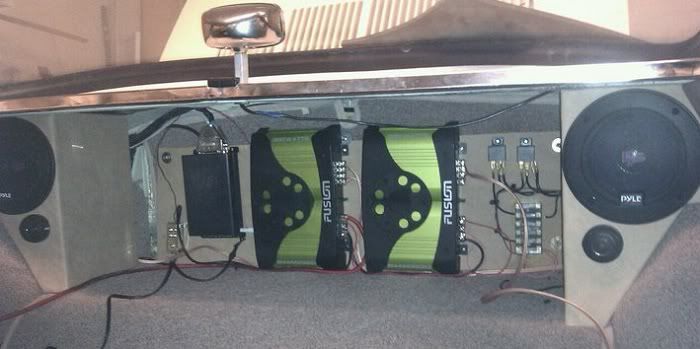
This is the inside of the car with the ECU on the left side, and a couple of relays and some fuses on the right. I also have some cruising tunes installed in the form of some amps, and a set of speakers and a sub, all running off my htc phone:
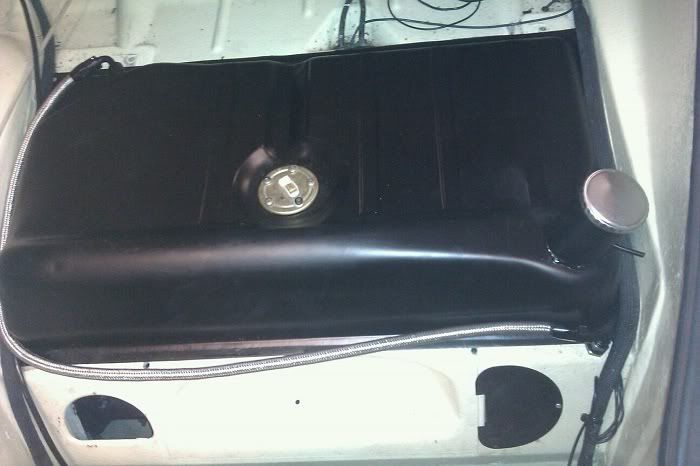
This is the tank with the return line coming up via a bulkhead fitting in front of the tank, and ending up in a weld-in fitting in the right rear corner:
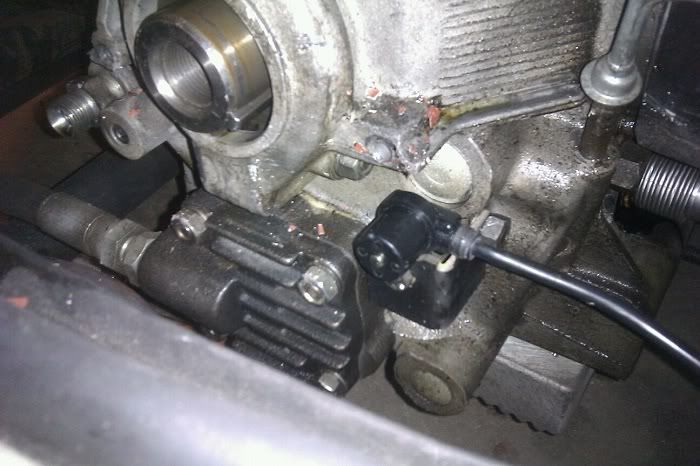
The excellent VR sensor mount from Mario:
Here's a shot of the unfinished engine bay:
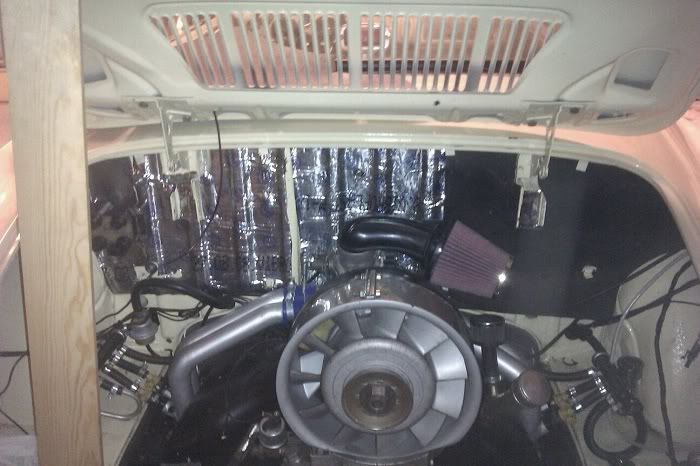
Since the last picture was taken, i have cleaned up the wiring and added some more black wirewall padding over the sound-deadening stuff.
Finally for this time, a shot of the car the engine is installed in:
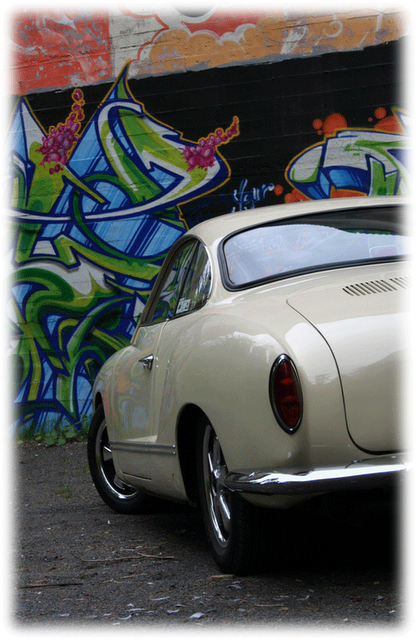
Re: Megasquirt Photo Album
Posted: Tue Nov 01, 2011 7:43 pm
by Steve Arndt
Grelland, you stole Pyledriver's speakers!
s
Re: Megasquirt Photo Album
Posted: Tue Nov 01, 2011 8:22 pm
by volksbugly
Re: Megasquirt Photo Album
Posted: Sun Dec 18, 2011 10:57 pm
by MarioVelotta
So I have seen a bunch of Megasquirt activity lately, post up some pics of what you are working on!!!
Re: Megasquirt Photo Album
Posted: Sun Dec 25, 2011 1:12 pm
by K-Roc
I finally got around to Upgrading my MSII to Wasted spark and installed my Crank Tigger/VR sensor, and Coil Pack, Here's how I tackled it!

I also enabled the 2 step launch control feature with an active low input to the CPU with a toggle off my E brake ( for Launching ) and also enabled the Map switching with an active high input using a 12 volt activation from my Nitrous power switch, So that when I enable Nitrous I will switch to a different spark and fuel table.
First I chopped the snout off of an old crank so I could easily chuck the pulley in the lathe....

Then Lathed a .5mm Recess for one of Marios 36-1 Trigger wheels and attached.

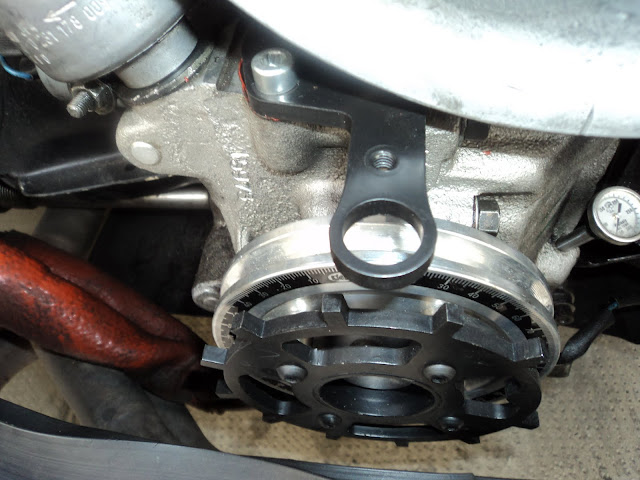
Here is one of Marios VR sensors and his really slick little mounting brackets! ( I set the gap from sensor to Pulley at .040" )

This picture show how nicely the sensor just pokes it's nose out with the tin in place

I made an Aluminum plate that attaches to the Fuel pump stud holes that I mounted the Coil Pack from DIY Autotune to, I also plugged the old Dizzy hole with one of Marios Dizzy plugs ( it's under the mounting plate )

Here's a shot of the motor all back together,

Next up is to tidy up the wiring and reloom everything and after that will be to install my new Siemans 60 Lb injectors and start tuning! I had 32 Lb injectors in it but I was hitting over 85% DC at just over 6500 RPM so they were way too small....
I also want to thank Mario for answering my questions and for the great fitting bits and pieces!
Cheers!
Re: Megasquirt Photo Album
Posted: Sun Dec 25, 2011 3:47 pm
by aircooledtechguy
Just finished up the second phase of my shop-car project; Making the motor presentable to the public. pulled and broke-down the motor's top-end. Added a 96mm flat-top P&C set, bumping up the CR to just under 9.0:1 and upping the size to 2056cc. It was running like a screamin' Banshee before so this addition should be really nice.
Got all the tins and plenum powder coated back to new. Also made a mod to the exhaust and then had the T-4 H/Es and header/muffler black ceramic coated.


Don't worry Mario; I didn't screw with the wiring

. I simply unplugged at the motor

I'm now working to get the Porsche 5-speed connected and working correctly. It's physically 'IN".

Re: Megasquirt Photo Album
Posted: Mon Dec 26, 2011 1:17 pm
by Steve Arndt
Hey Kroc, check out my Redline 882C build thread in the engine management forum. I did my Fischer pulley somewhat like yours.
Re: Megasquirt Photo Album
Posted: Mon Dec 26, 2011 1:46 pm
by supaninja
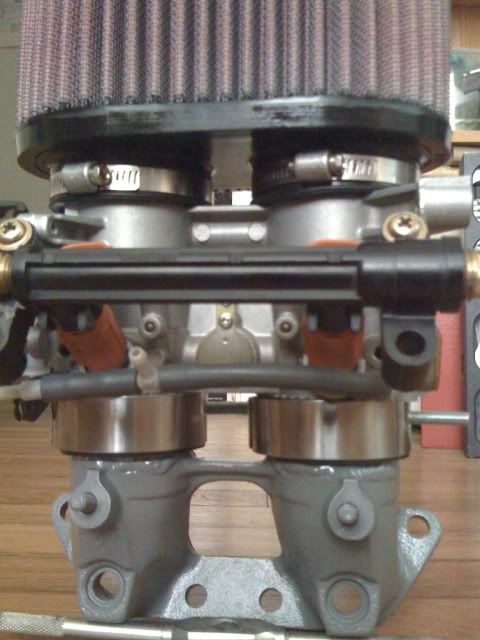
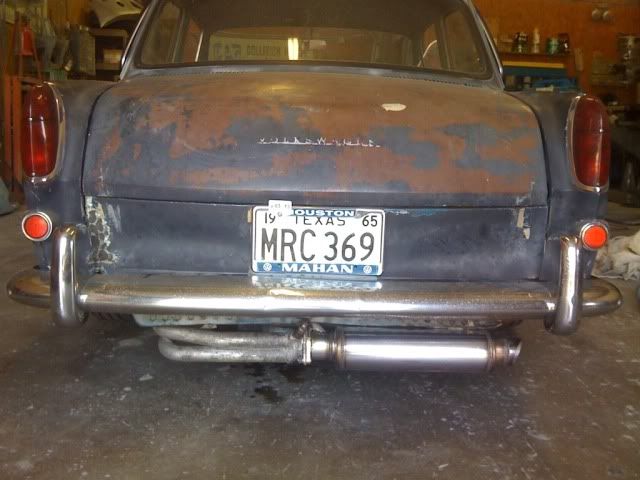
Holy crap there are a bunch of really clean installs here, so I'll post my fugly ish, lol. Keep in mind it's a work in progress, I got a new style manifold deep in the works.
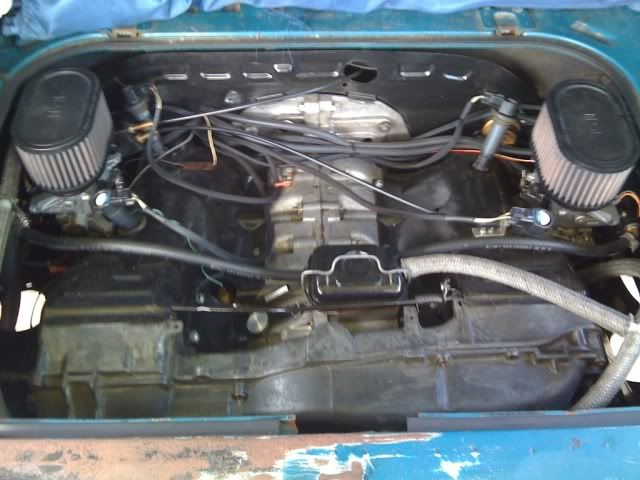
The mani's that are presently on it:
The assend:
The plexiglass is mounted to the car via MSD vibration mounts
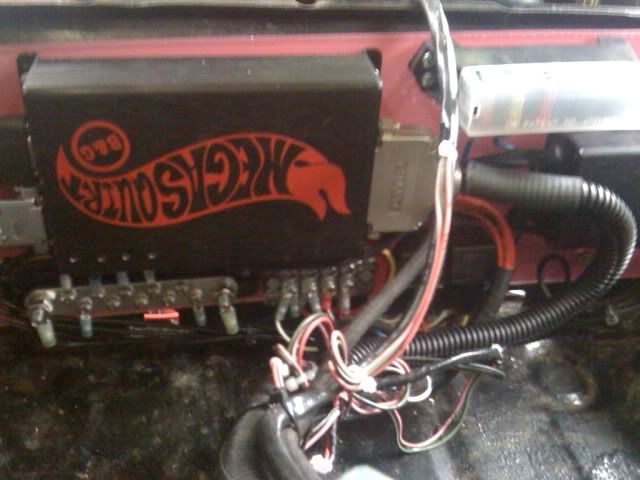
Believe it or not but that was after I cleaned up the wiring.
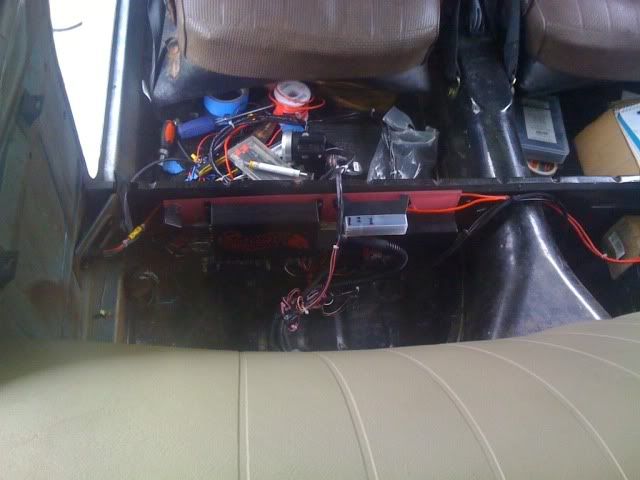
and that is the ugly notch in all it's glory
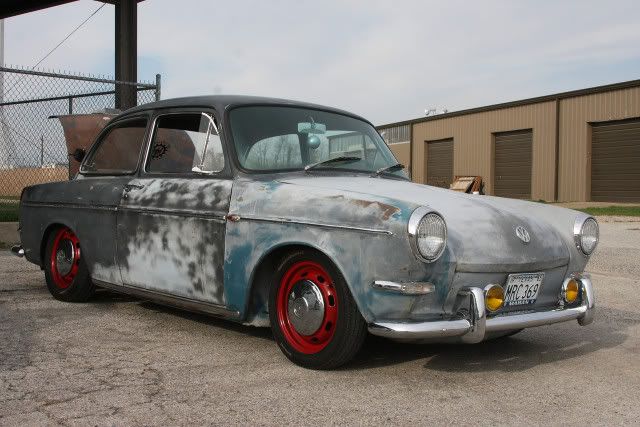
Re: Megasquirt Photo Album
Posted: Tue Jan 10, 2012 9:23 pm
by kubelguy13
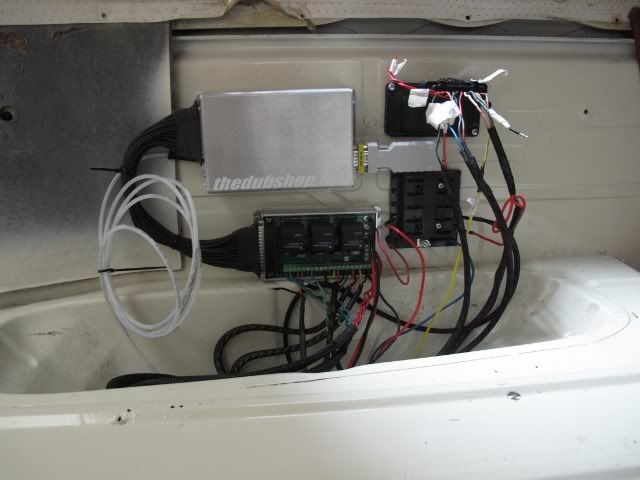
My current DubShop install:
Re: Megasquirt Photo Album
Posted: Thu Jan 12, 2012 9:29 pm
by itHaKa
Sorry no complete install .... i just started with the trigger wheel , i still have a long way to go...
mocking up the hall sensor ...

ignition only kit

Re: Megasquirt Photo Album
Posted: Thu Jan 12, 2012 9:39 pm
by Piledriver
Nice!!
Welcome to the STF!!!
Looks like it could take off a finger

(I really shouldn't joke like that, we had a member sacrifice a digit to a fan belt not too long ago)
Umm...Planning a blade guard?
Re: Megasquirt Photo Album
Posted: Fri Jan 13, 2012 10:10 am
by itHaKa
Piledriver wrote:Nice!!
Welcome to the STF!!!
Looks like it could take off a finger
(I really shouldn't joke like that, we had a member sacrifice a digit to a fan belt not too long ago)
Umm...Planning a blade guard?
Thank you Piledriver
yeah my engine is not finger friendly nor "wallet" friendly

sorry about my english
Re: Megasquirt Photo Album
Posted: Fri Jan 13, 2012 10:24 am
by MarioVelotta
Matias! Glad to see you are getting to it

Have you been able to get any wiring done yet?? How is your Cousins project coming?
Re: Megasquirt Photo Album
Posted: Wed Jan 18, 2012 10:48 pm
by itHaKa
MarioVelotta wrote:Matias! Glad to see you are getting to it
Have you been able to get any wiring done yet?? How is your Cousins project coming?
Hi Mario !
i am about to start , you made it very easy with the wiring
my cousin is building another engine , got a flanged crank and some ultra wedge port heads and now is building a 2443 cc
he asks me about you , what should i tell him ?

Re: Megasquirt Photo Album
Posted: Wed Jan 18, 2012 11:15 pm
by MarioVelotta
Great! I hope it is a smooth install too
Your cousin has a problem though
But I like it

Send an email over with his new goals. Is he still using the CB throttle body's?