For some reason my computer does not seem to like both STF and Photobucket on at the same time. This will be my forth try to post this today.
I went back up to where I got the seat mounts to talk to him. The guy at the desk and I got talking while waiting for the owner to show up after he had car problems. I had thought out several different ways to solve the problem with the not being able to pull the adjustment handle and both sides work. One of the things he came up with was something I had but had decided not to do and that was to re-bend the wire and put it in the spot where it should be assuming that there is a right and a left hand (mirror parts) parts.
I did find out that this is not the first time this has happened where I got mine and of course there is the post about the same thing on this build string.
We got talking about it then I sat down thinking about it and suddenly I had an idea and so I tried it and it works.
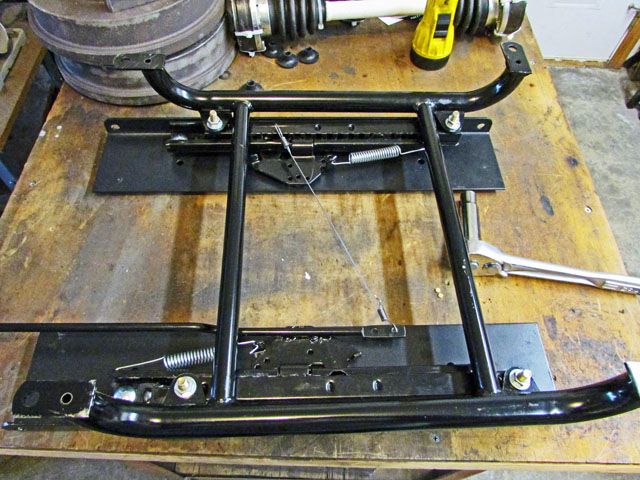
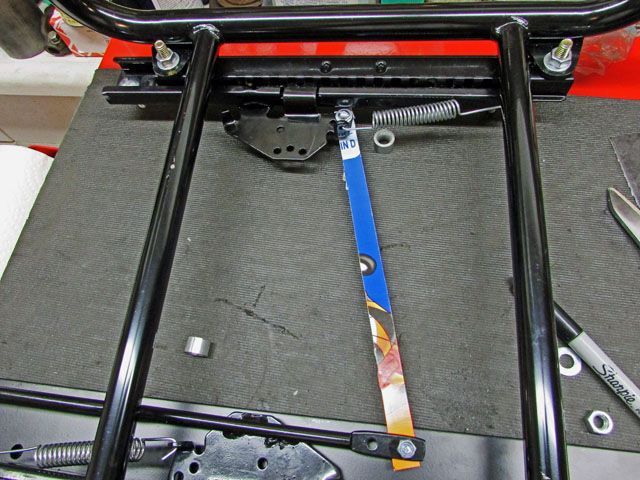
This is where I started today. The wire that goes from the handle to the other side is too long to attach to where it should. The idea was to shorten the wire and re-bend it to go to the correct hole on the opposite side which I already thought about but I ended up dismissing it as the spring pressure on the two sides was going to end up breaking the wire before too long.
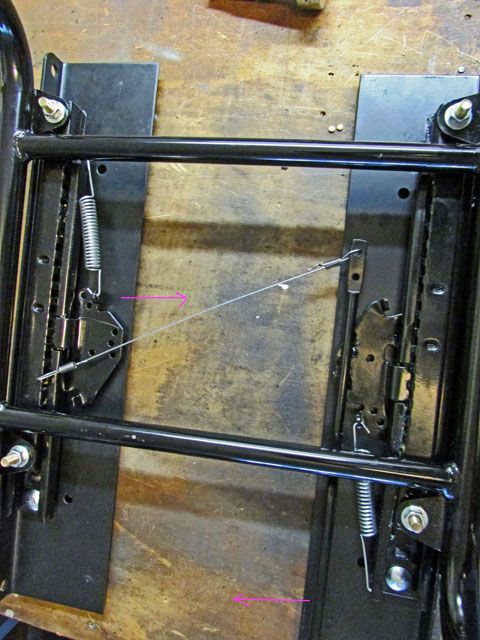
The arrows show the action of the parts. The cable/wire is where it looks to be intended to fit assuming that there really is an Opposite/ “mirrored assembly” based on the one I got.
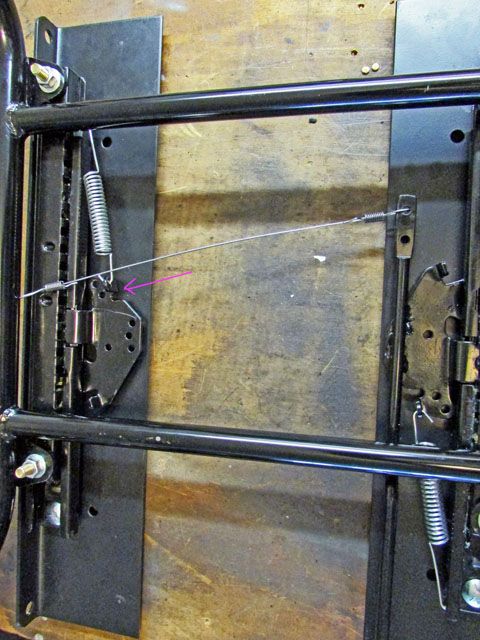
This shows where the cable is intended to be attached. It was placing the wire here when I got my epiphany.
I got out a chunk of cereal box to make a template from. This is actually the second one as the first one wasn’t wide enough and there was a fault in the box where the paper tore.
I got out my hand operated leather punch and put the first hole in it then found some 3/16th inch screws and mounted the template on the inside slide’s hole. I then rotated the template over and under the bottom of the handle and marked the hole punched the template and cut it to size.
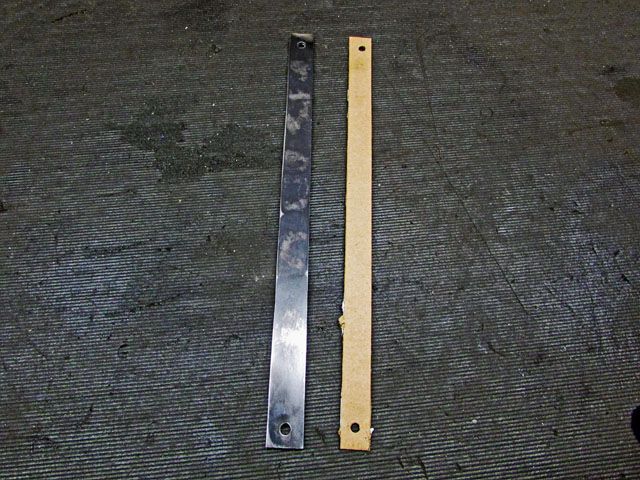
I then copied the template to some scrap stock I had laying around. I cut and drilled it to shape; this is what I came up with.
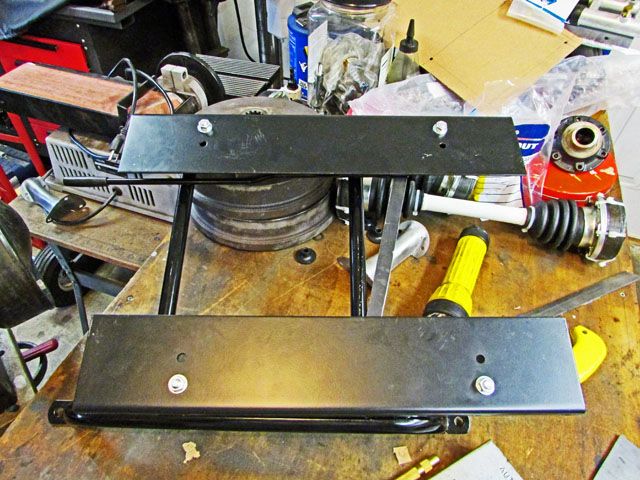
This is what the finished product looks like and … it works very well thank you.
When I take it apart to paint it I will get longer bolts as the scrap I used was a bit thicker than I had planned on. I used a washer on both sides of the new part so that when clamped into place it will still move well. I think I will either spike or peen the end of the screw over so it doesn’t back out of the nut.
I hope this helps someone.
Lee