Well, I got some time in the garage today. I was able to get the temperature in the garage to over 50° and the rest of the family was gone traipsing around. I finally got around to taking the chance of doing something wrong and went for pushing the ball-joints in the upper trailing arms. I got both of them done and it turned out that as usual, the setting of it up was the hard part… that and getting up the gumption of start the actual job. I had done a lot of asking around on how to do it and what could go wrong so I have actually been ready for a while, but…
Be warned, this is going to have a lot of pictures as I decided to go basic on the instructions.
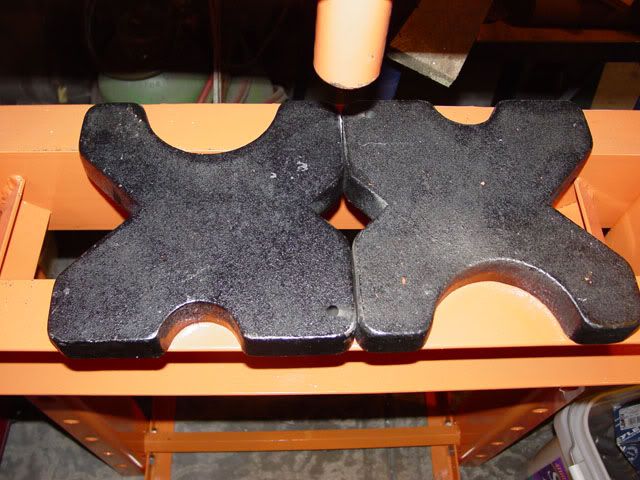
I first started by putting down the platen’s (not the right name I am pretty sure) so that I not only had something to press against but that would allow the trailing arm boss to sit flat and was perpendicular to the press itself. Trying most of the hole positions (the ball-joint has a protrusion that I wasn’t sure if it would come all the way though the arm or not) so I ended up using this combination.
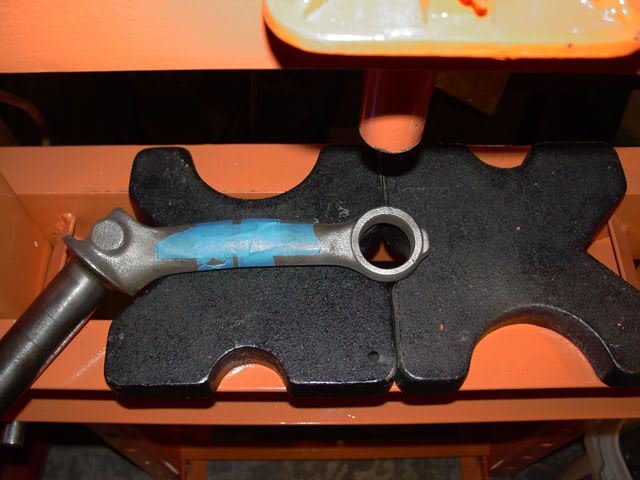
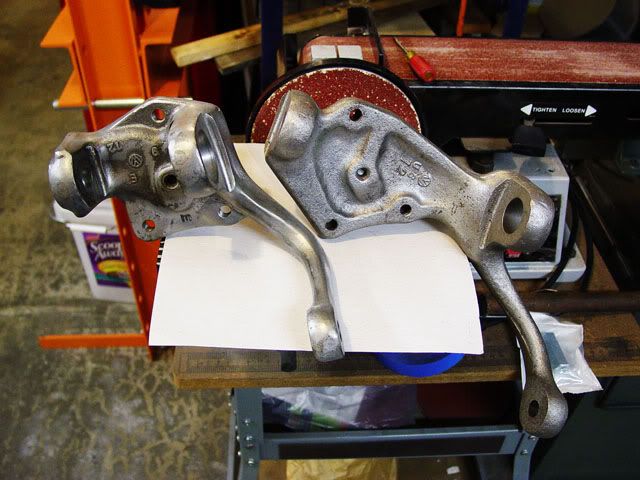
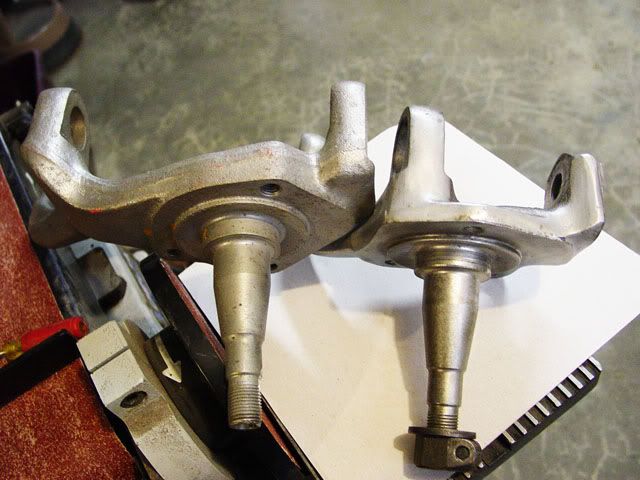
I was able to get all the parts together and lay flat after I shimmed up the part that goes into the beam. Again, it is the setup that makes life easier.
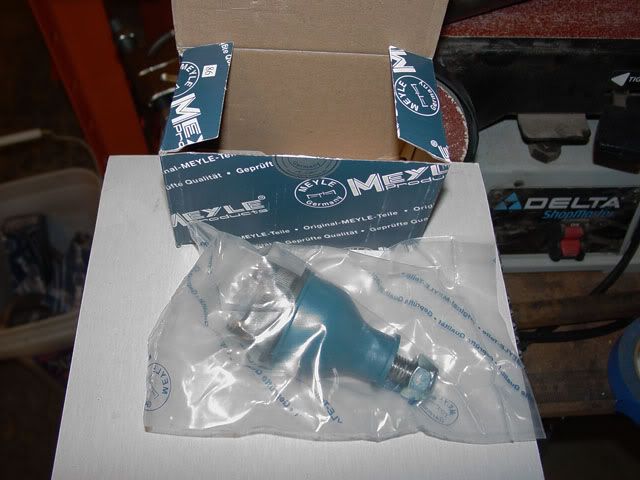
This is the brand of ball-joint I could get locally (I try to support local as much as I can). This is a Thing (Type 181) upper ball-joint. It comes in a sealed bag which I was pleased of and it has a cover over the joint to protect it which I was more than pleased to see.
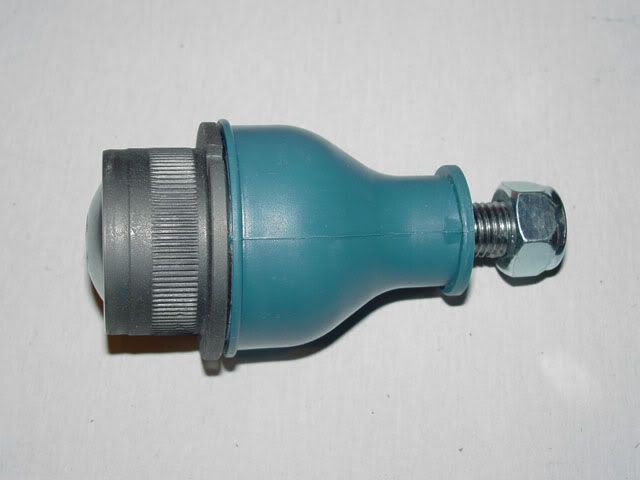
This is the joint and it’s cover.
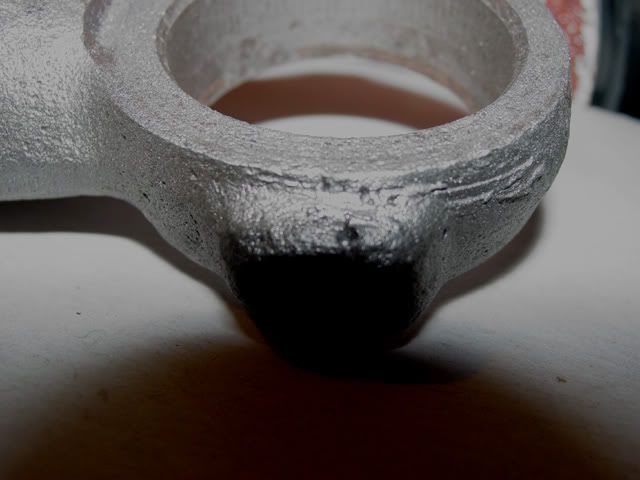
This is the bottom of the ball-joint and the protrusion I was talking about.
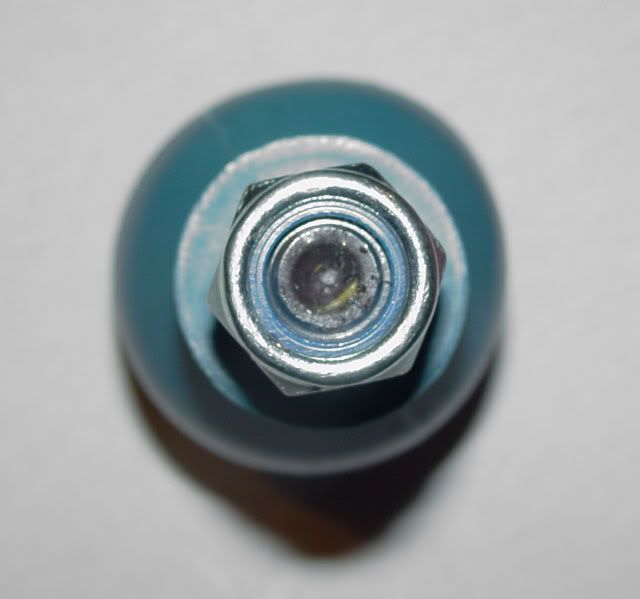
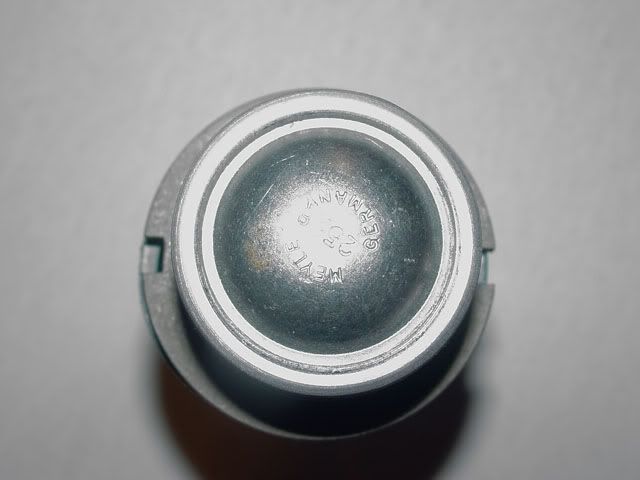
This is looking down at the top of the ball-joint. Notice that there is an accommodation in the stud for an Allen head wrench used when aligning the front end.
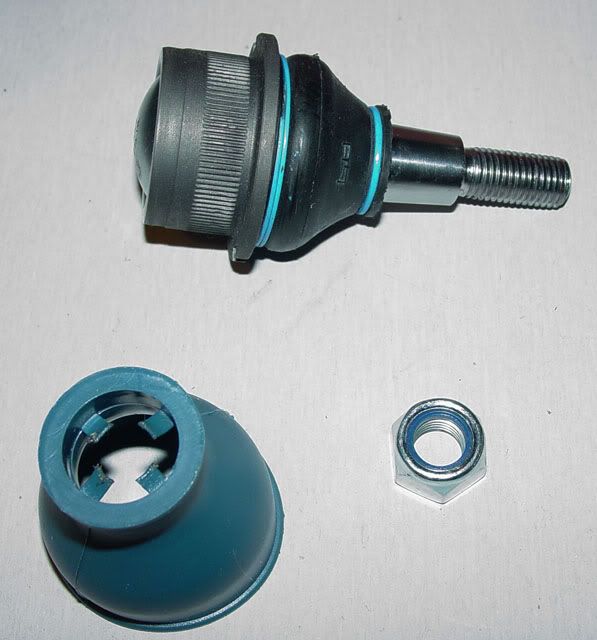
The assembly w/protective cover shown.
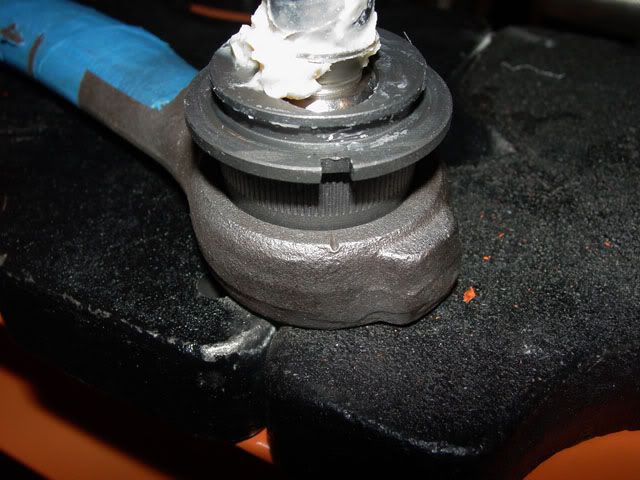
OK, now we are getting into the trouble area. This is the business end, the part that goes into the trailing arm boss but there is not enough room to safely press on the flanges or without damaging the boot so the boot much come off (at least in my case).
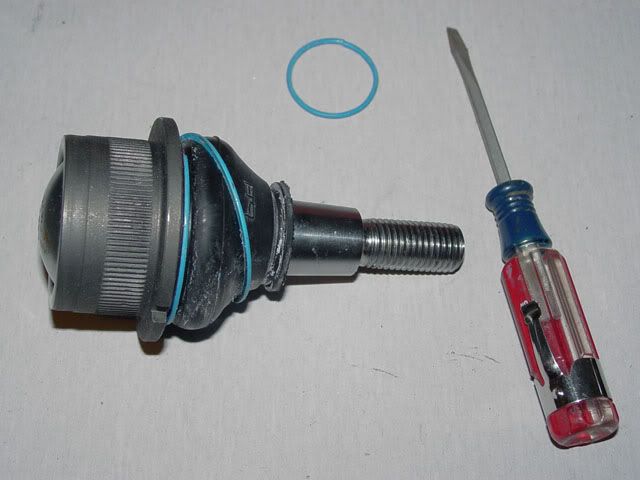
The upper ring came off very easily but the lower ring that holds the boot on was a different matter. You have to unwind it without damaging the boot and it will mostlikely fight you start to finish so be patient and work slow and keep your hands clean as the grease in there is real slip’em-slide’em stuff!.
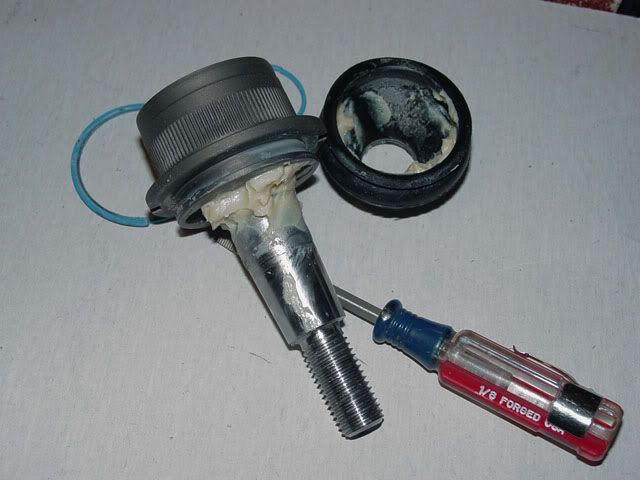
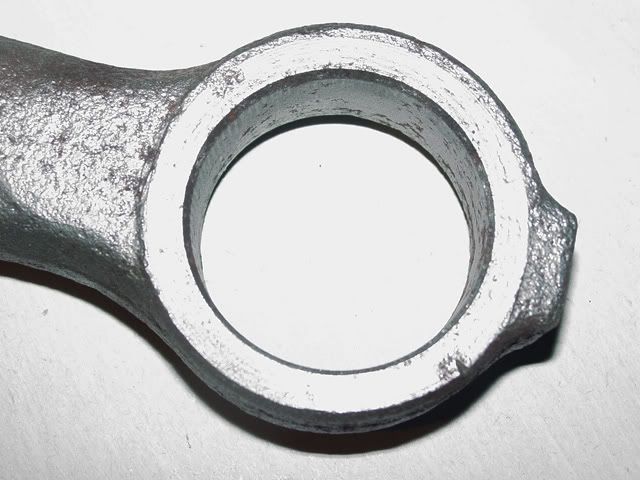
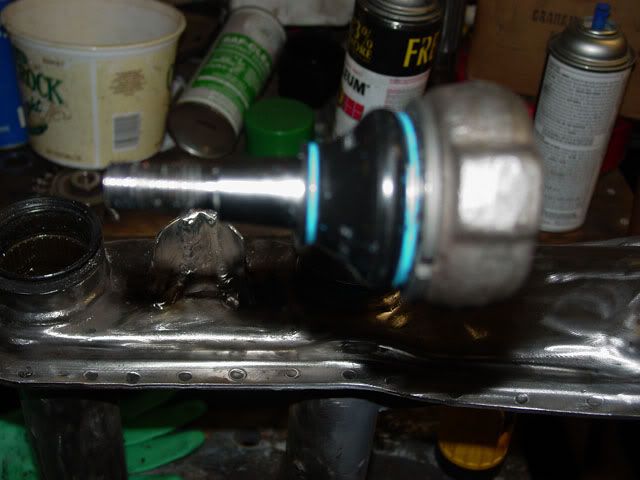
This is the ball-joint with the boot off. You can see the ridge and channel that the clamp for the boot to sit in.
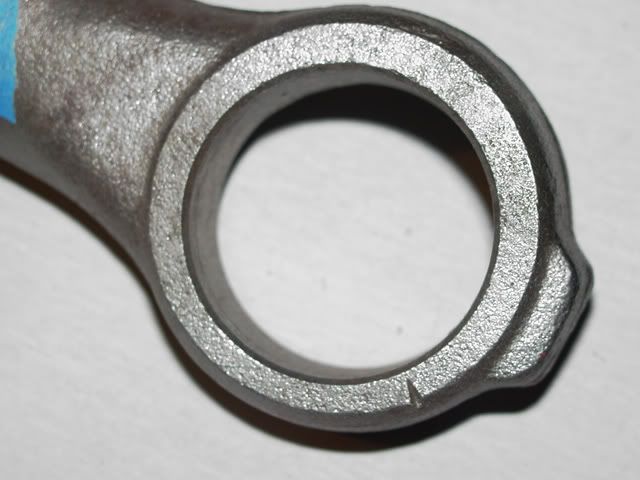
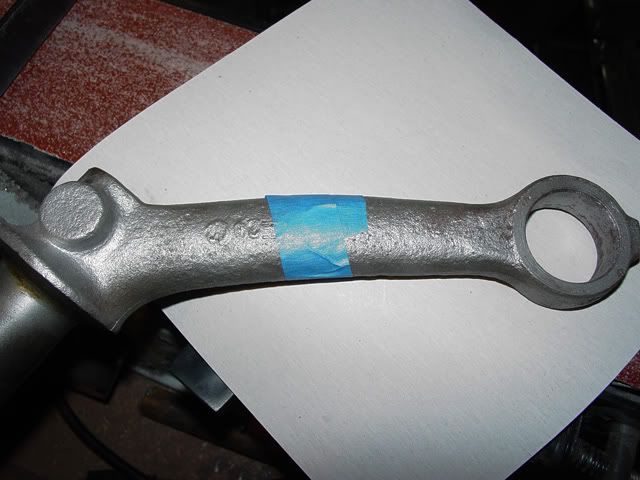
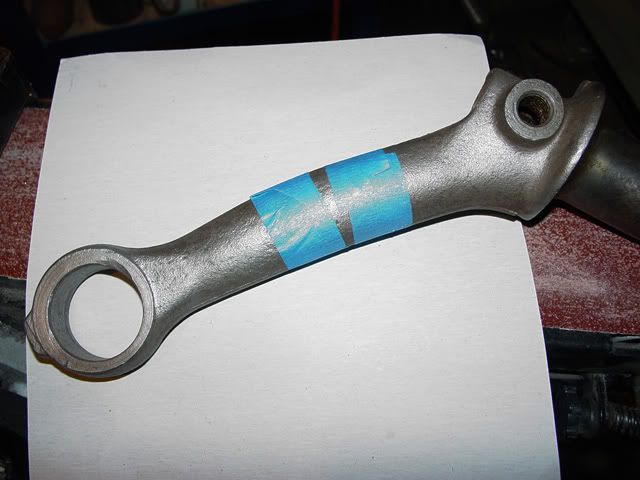
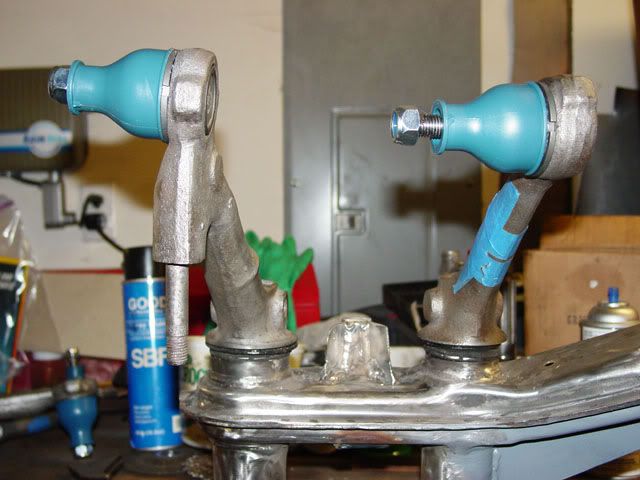
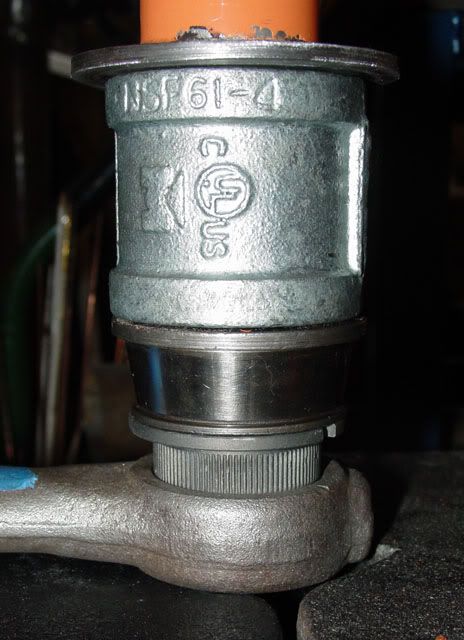
The next few pictures are of the stack of spaces I needed to get above the stud to start pressing it in. Notice the aligning notch in the ball-joint and the mark on the trailing arm boss that I talked about in the last installment of this adventure.
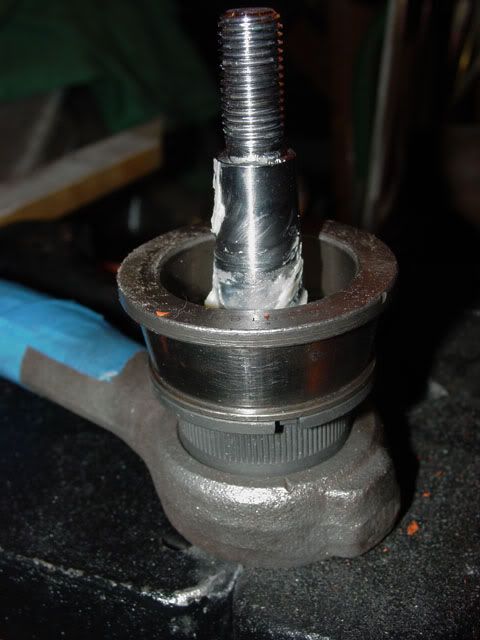
This is an old bearing race I was give that fit on the land (never throw anything away as you never know when it will come in handy). It turned out to be a perfect fit as the inside diameter was just over a net fit.
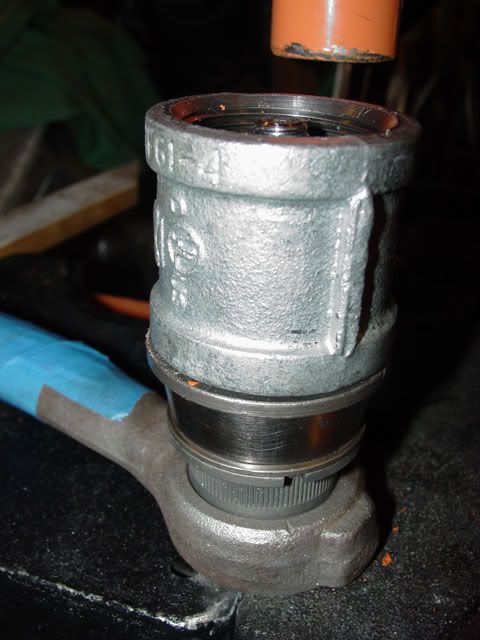
The next level was a 1 ¼ X 1 ¼ X 2” pipe join. It fit nice on the old bearing race and just barely topped the end of the stud.
The bottom of the shop press is ~ 1 ¼ so I turned a piece of ¼ flat stock to cover the hole and it worked great… so far.
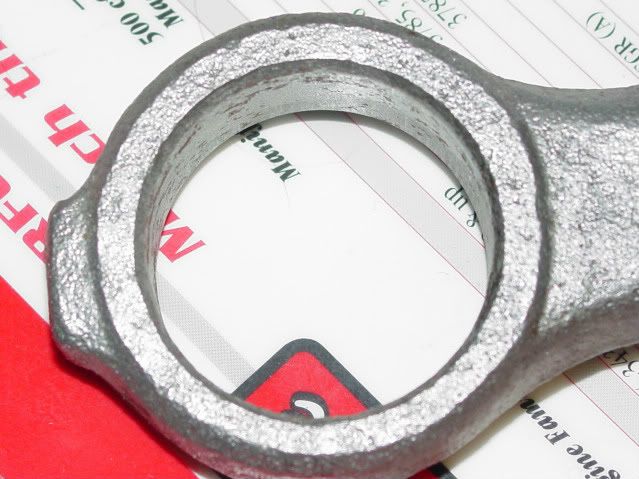
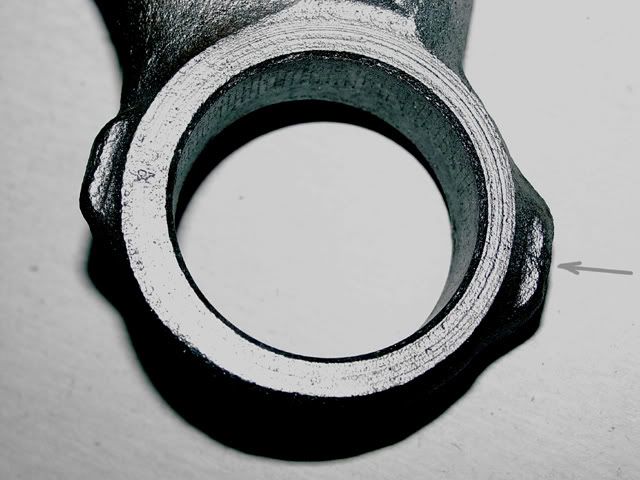
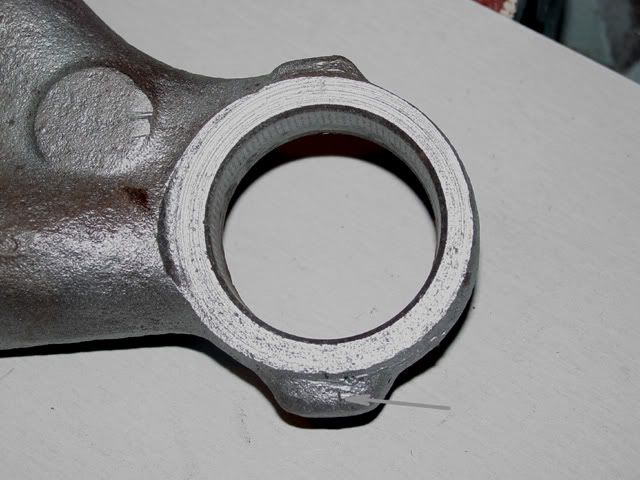
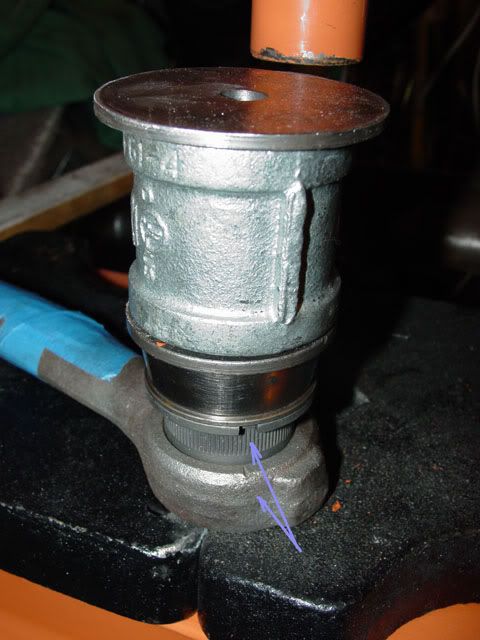
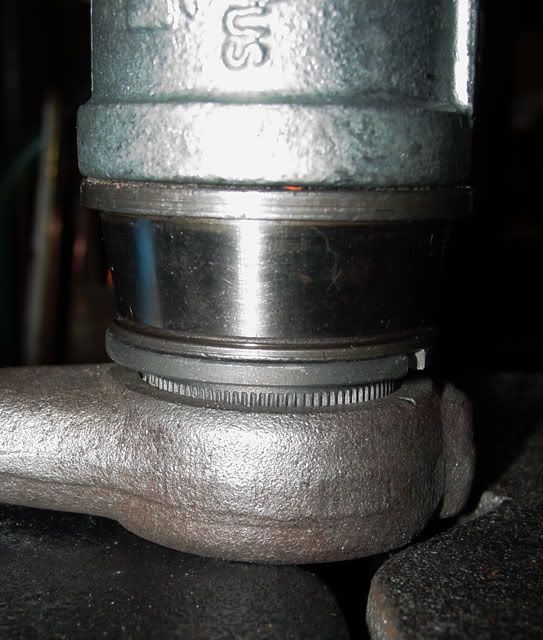
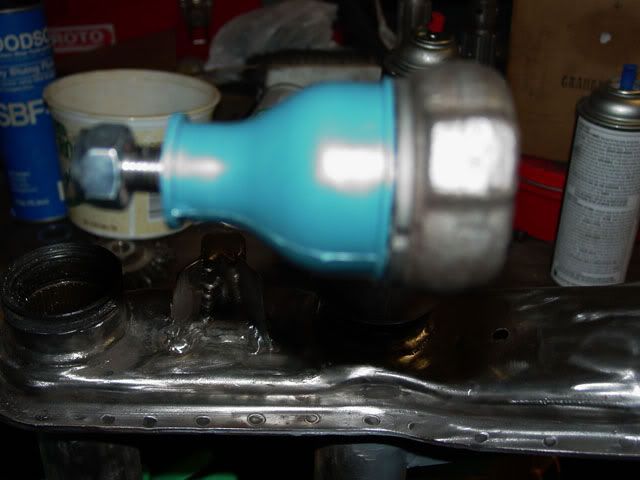
I put the arrows on to show the relationship of the notches in the ball-joint and the mark on the trailing arm bung. The mark on the bung should be centered in the notch in the ball-joint; the notch is more of a window to sight the mark in. Aligning those two features aligns the ball-joint’s travel with the alignment of the trailing arms as the move up and down in their arc. The idea is to be as close centered as you can but there is some leeway (not much but some) too.
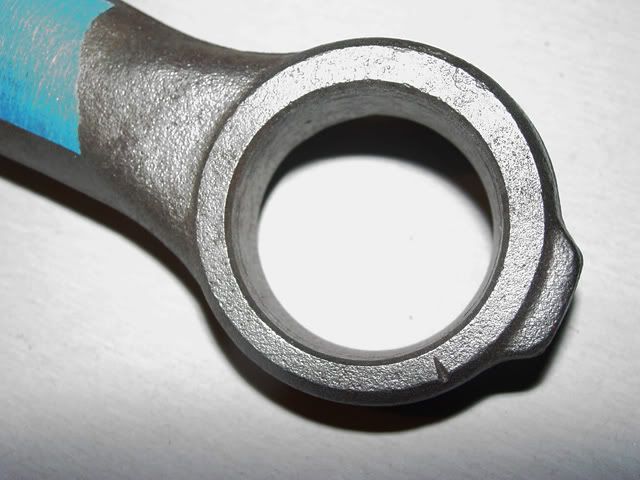
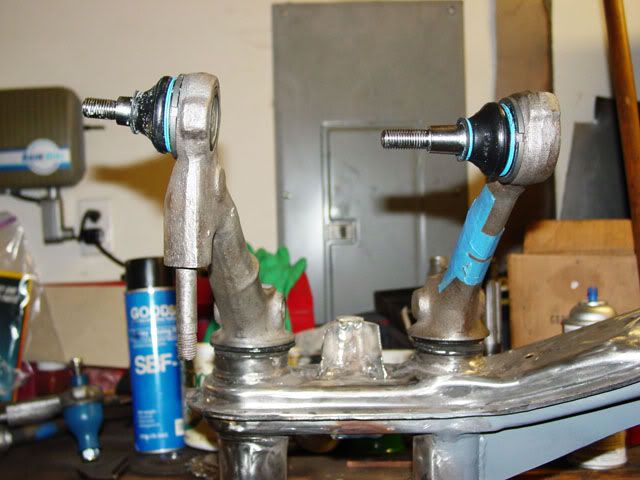
I slid the bottom of the press around as well as the platens to get the ball-joint and trailing arm aligned and then… (hold your breath)… pumpy-pumpy, squeaky-squeaky and nasty things started happening...; it started pressing the joint in in a controlled violence of sort. Notice the notch in the ball-join and the mark on the trailing arm stud.
pumpy-pumpy, squeaky-squeaky
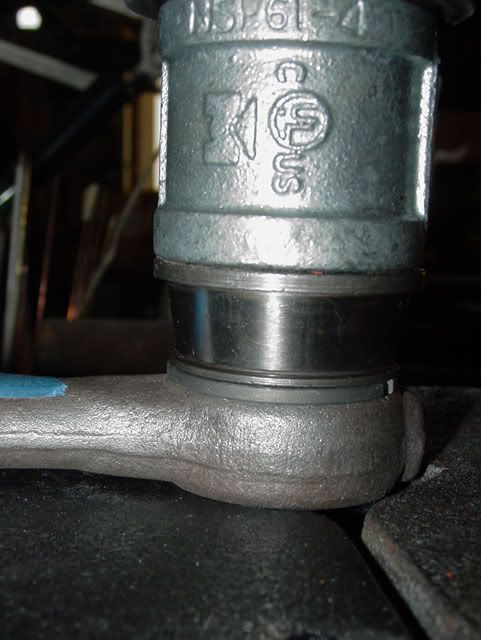
pumpy-pumpy, squeaky-squeaky… aaah (shush), I think it is there as it is getting too hard to do any more pumping. Got a flashlight and looked, sure enough it was home.
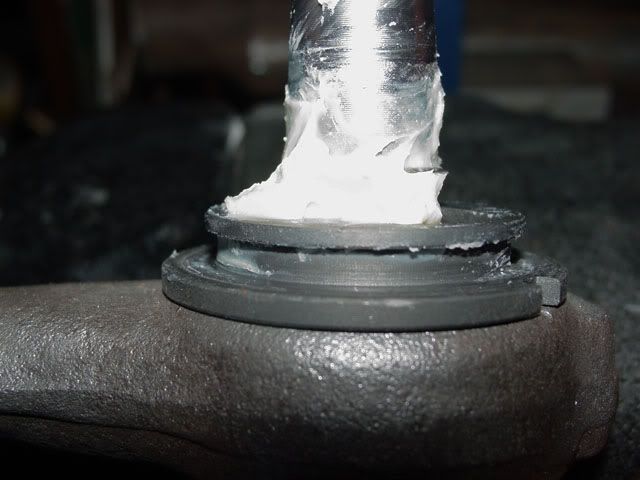
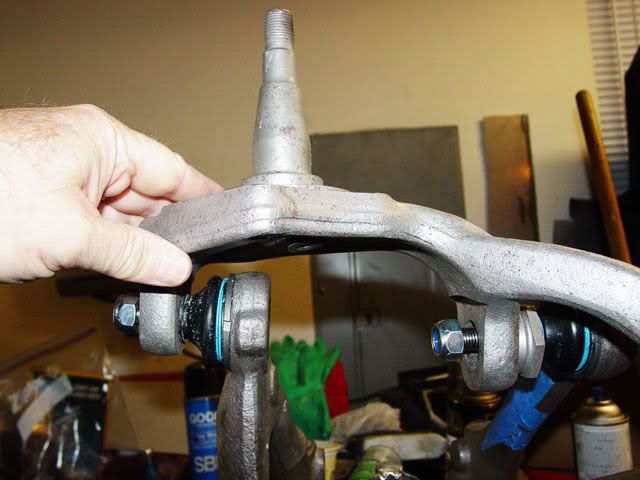
I pulled the spacers off and lifted the arm up had this is what I had done.
I put the trailing arm in the beam to check to see if I did it correctly,,, looks gud!
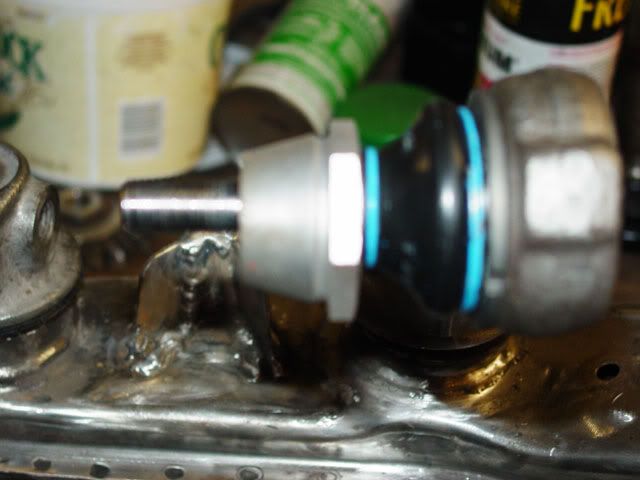
I put the protective boot on also, It looks like when I paint the arm I can leave the boot on to stop the over spray on the ball-joint boot.
Now I have to press the lower ball-joint.
Lee
Edit, I forgot to add that you probably don't need a 20 ton press to install the ball-joints but it does make it easy. I would use one to press the joints out though as they can be tough somethimes. It was very smooth pressing them in and not what I expected but after seeing it done before, that is what it looked like... smooth. Lee