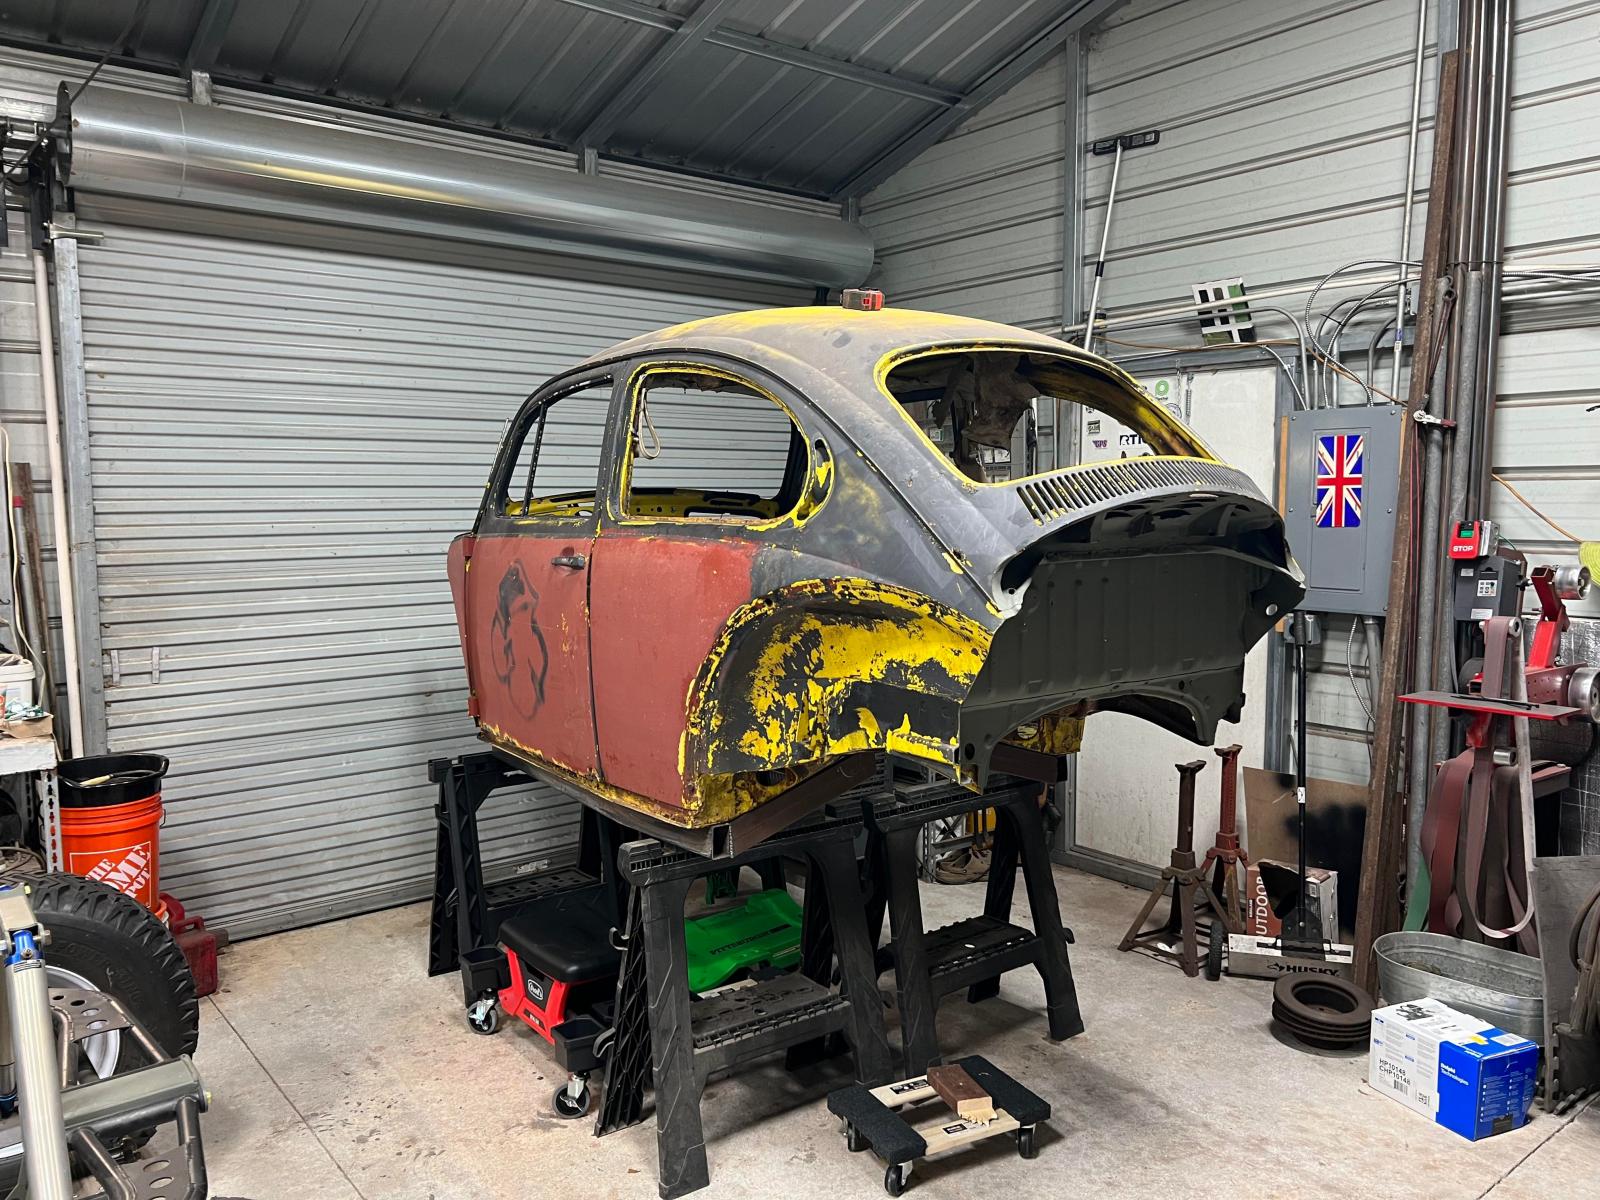
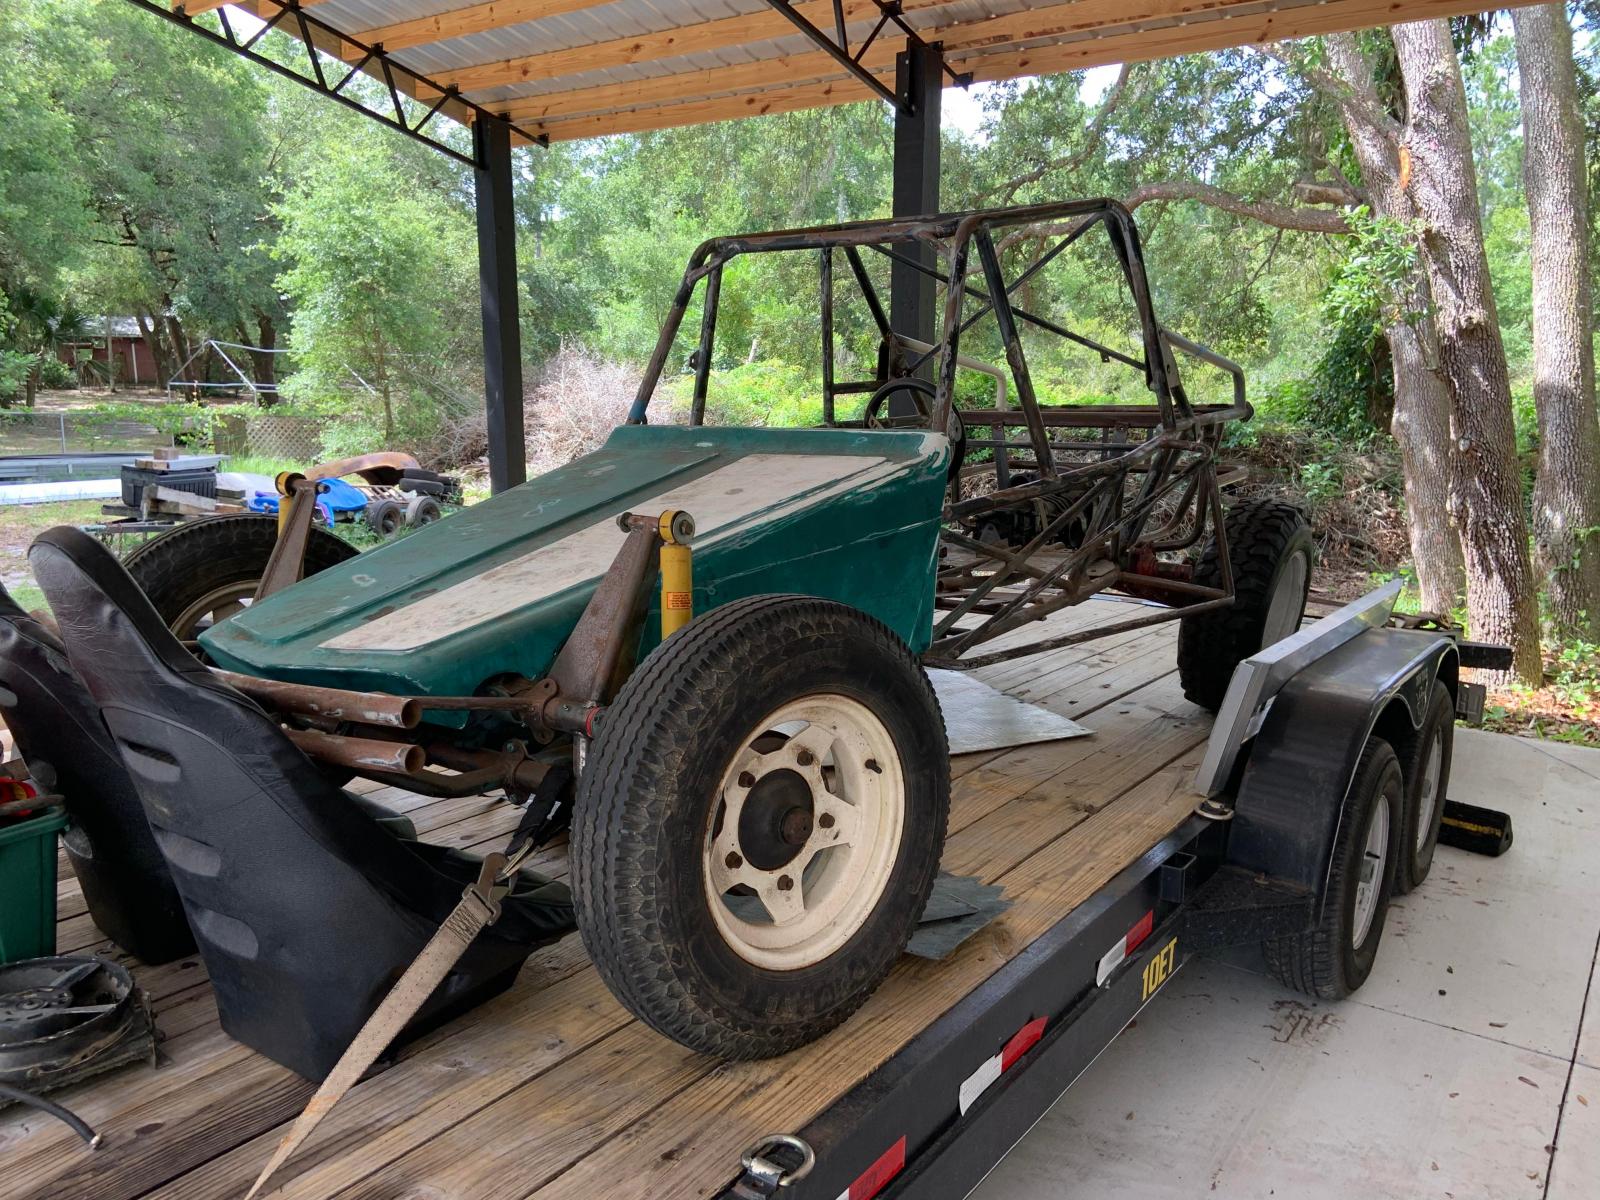
Ol'fogasaurus wrote: ↑Wed Feb 23, 2022 7:57 pmOk, I think I see what you have done now. Tubing frame with a flanged hole body lift. It also looks like you have hanging pedals. It also looks like you might have a K&L front beam.
I didn't build it, I got in a hurry to get a buggy and bought it as is. Despite what I thought I knew when buying, I got as much bad as good. Not long after this buggy purchase I had to buy a house and the 'disposable income' in my wallet flew away. [/excuses]
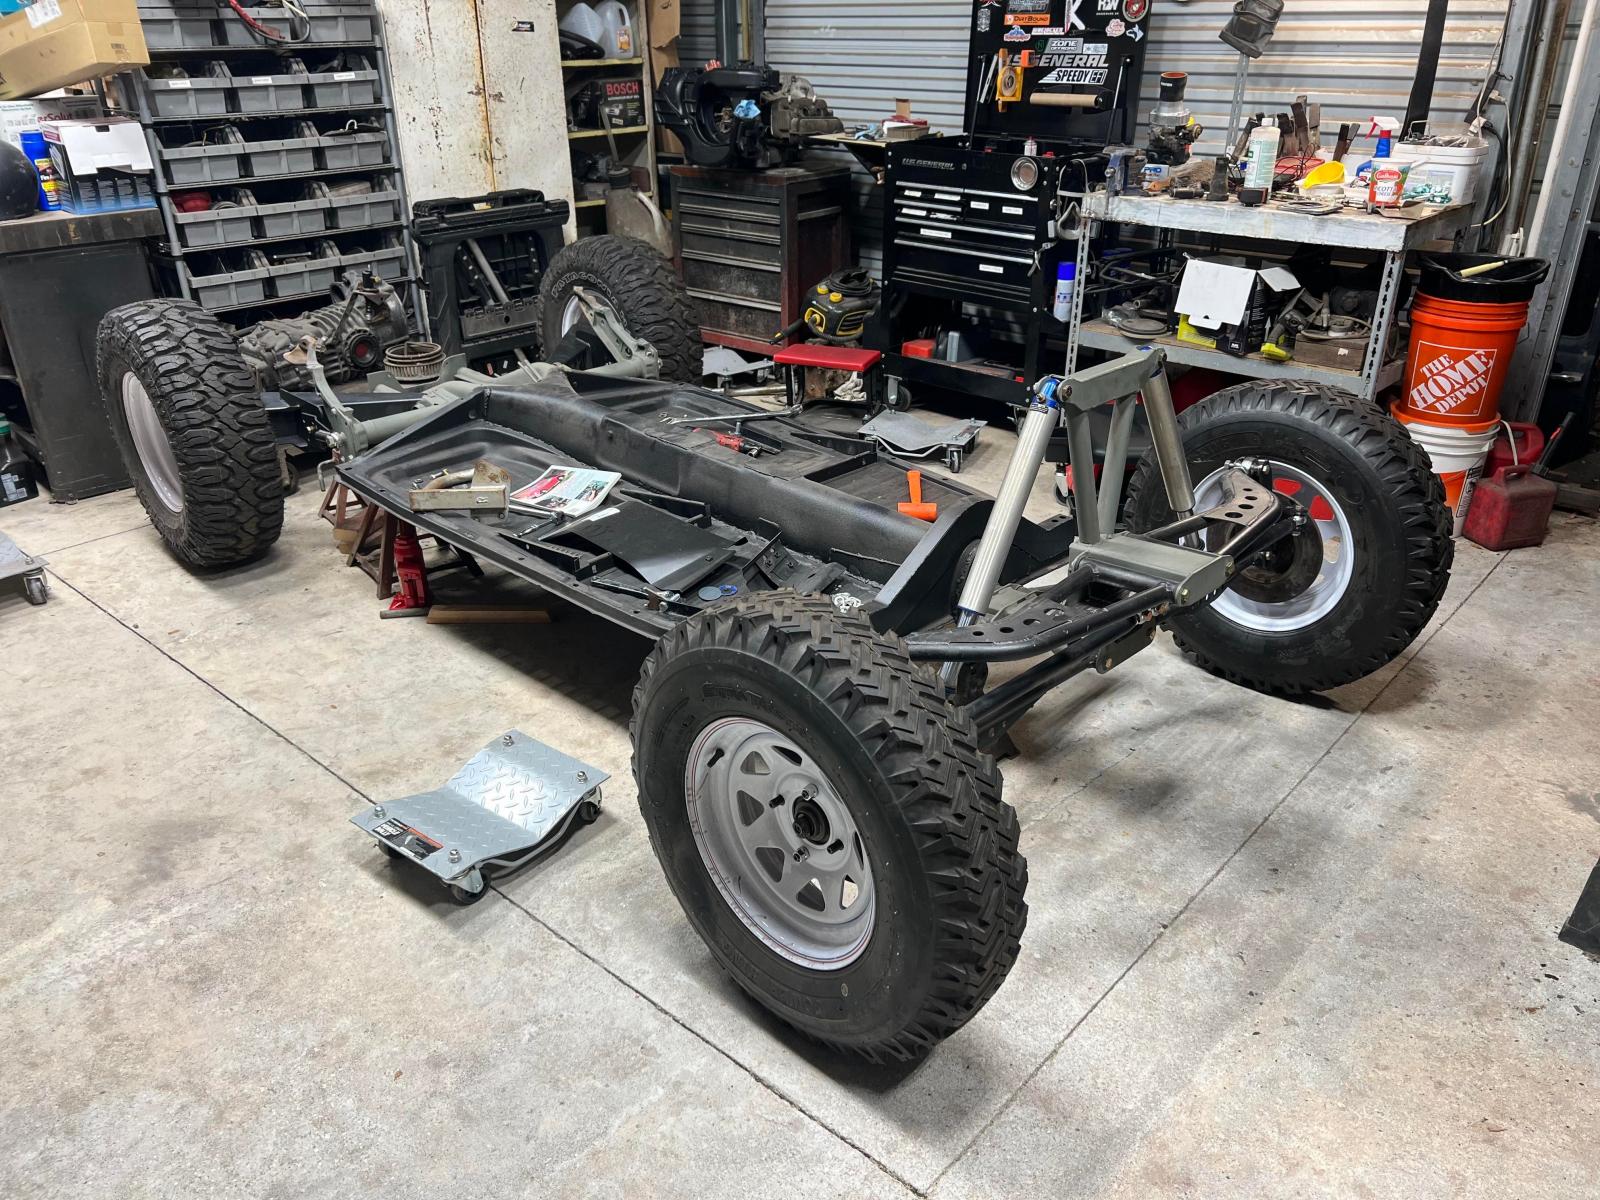
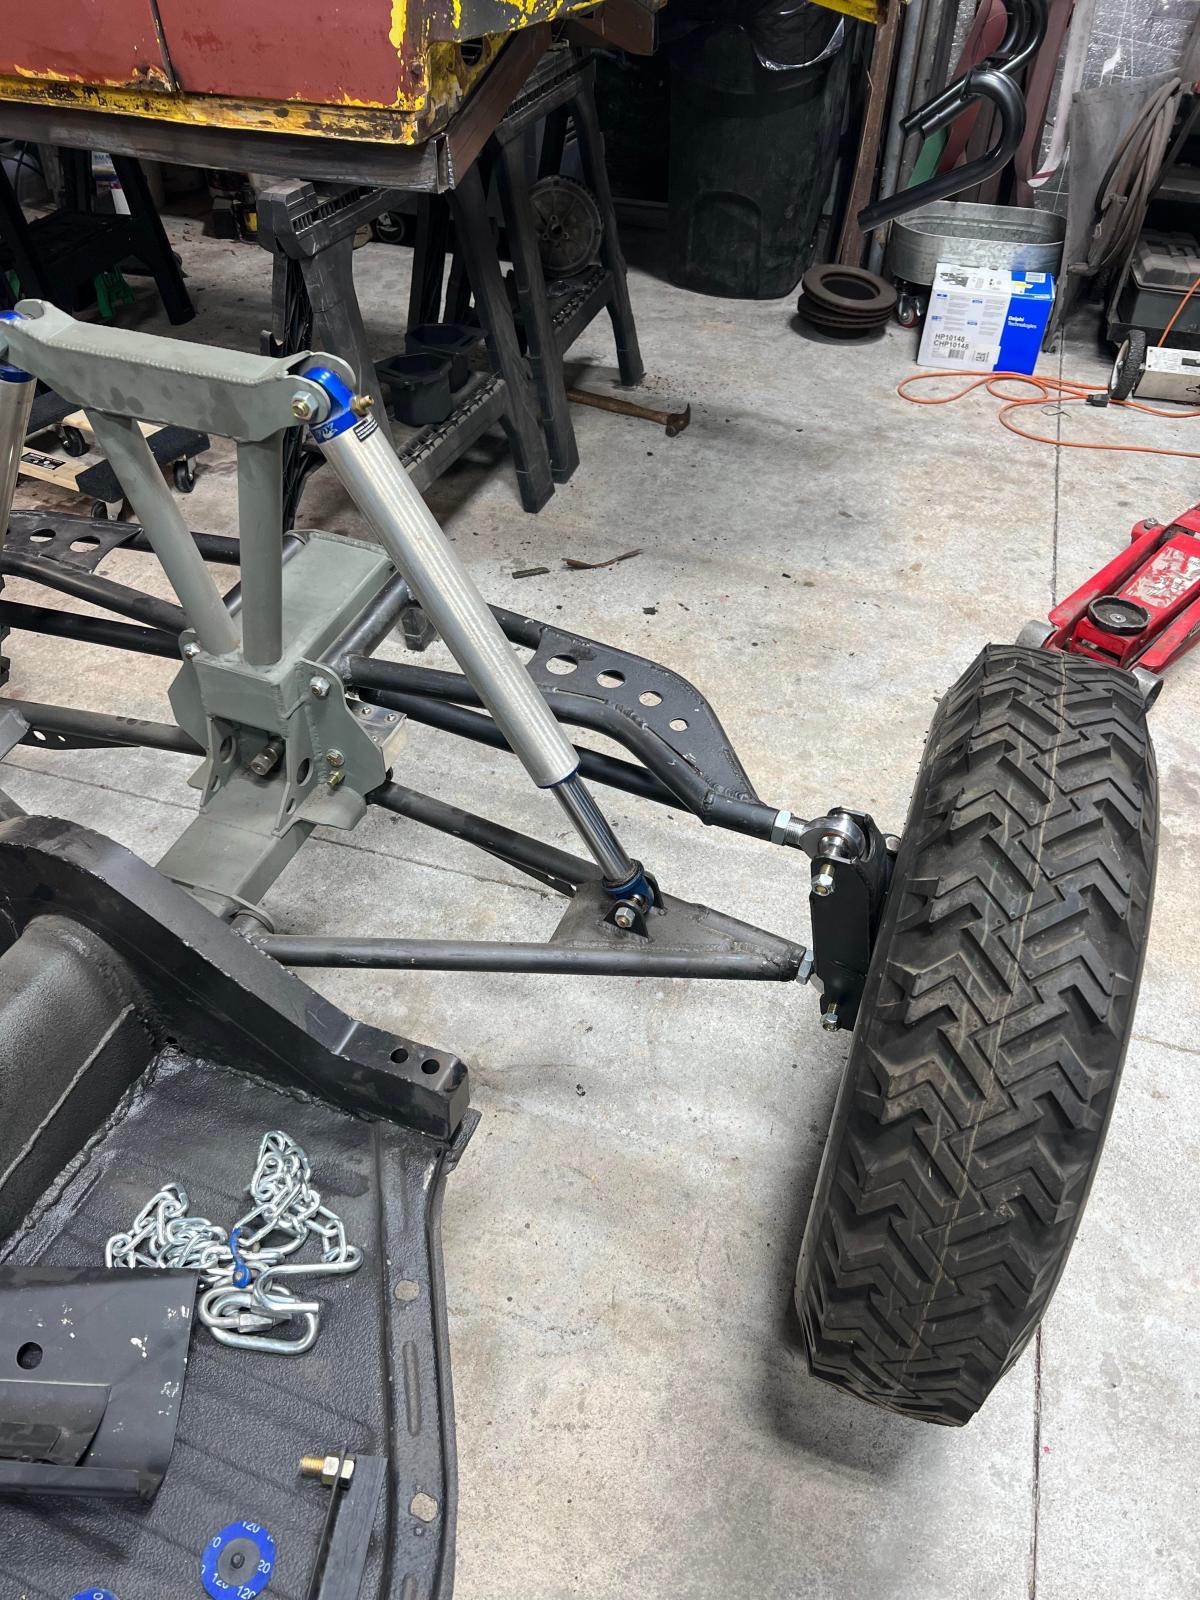
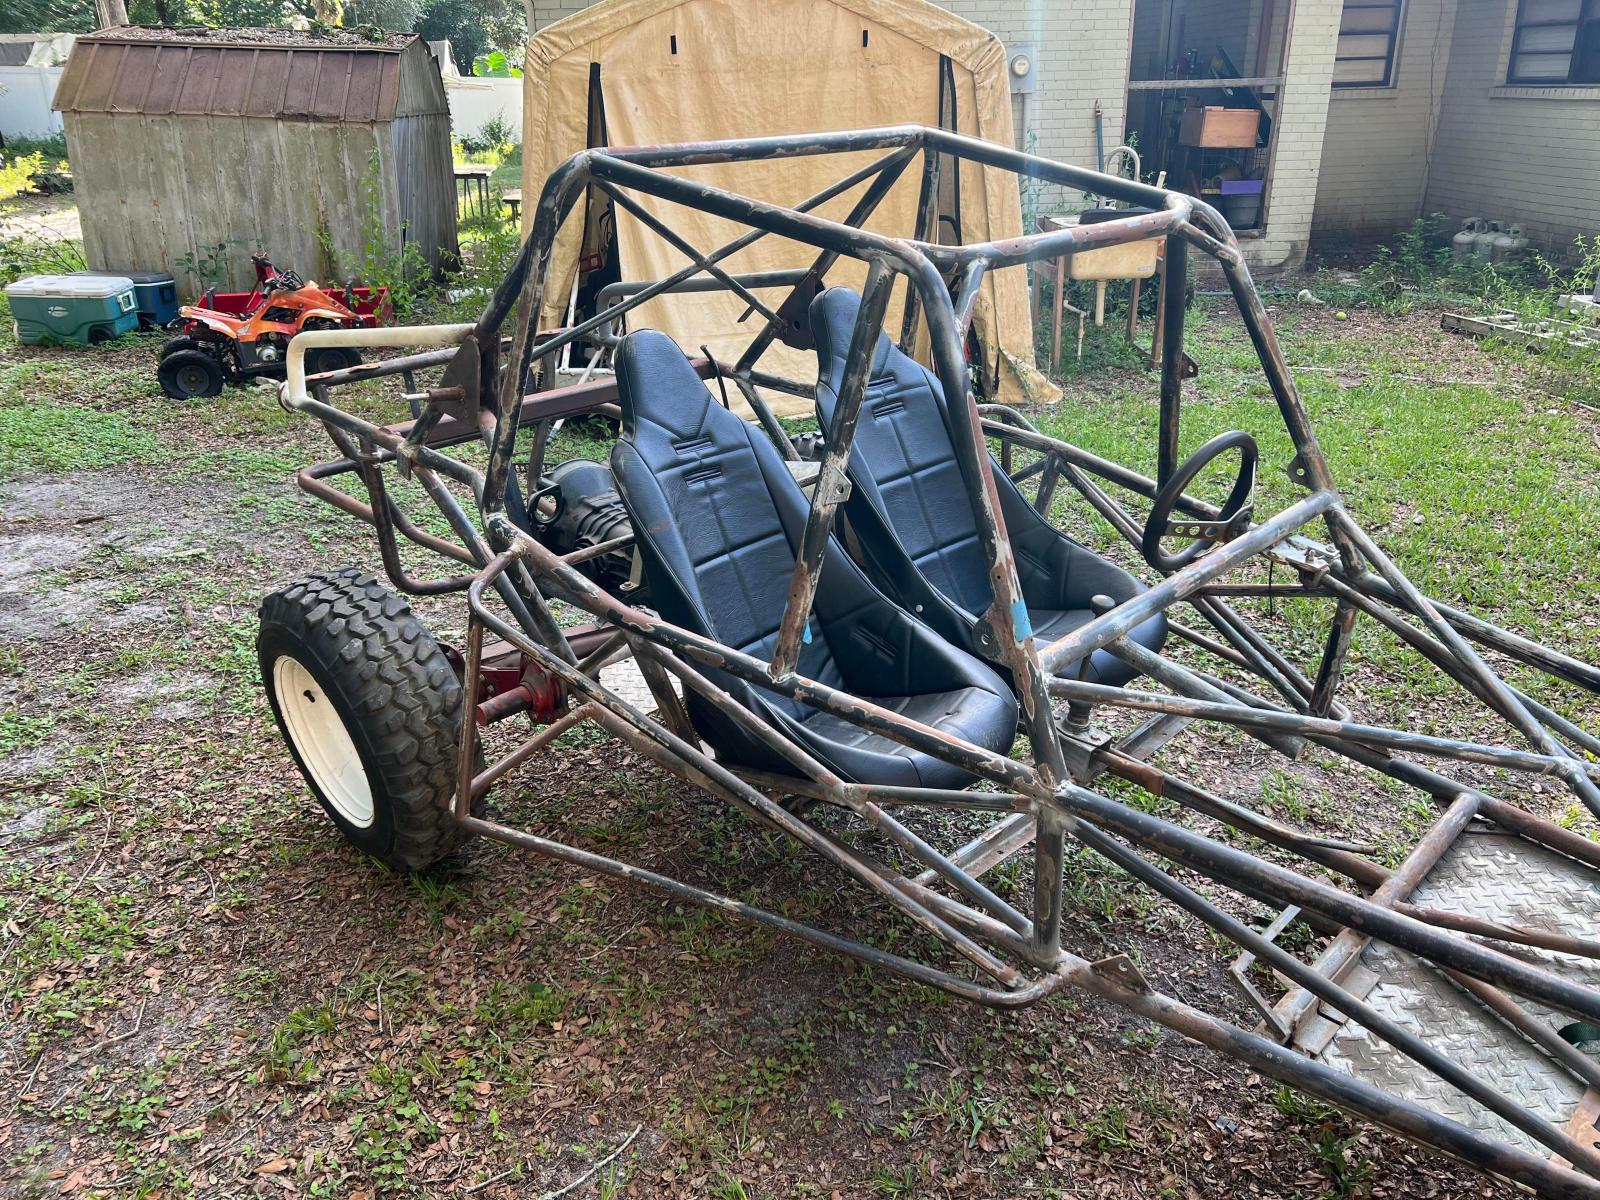
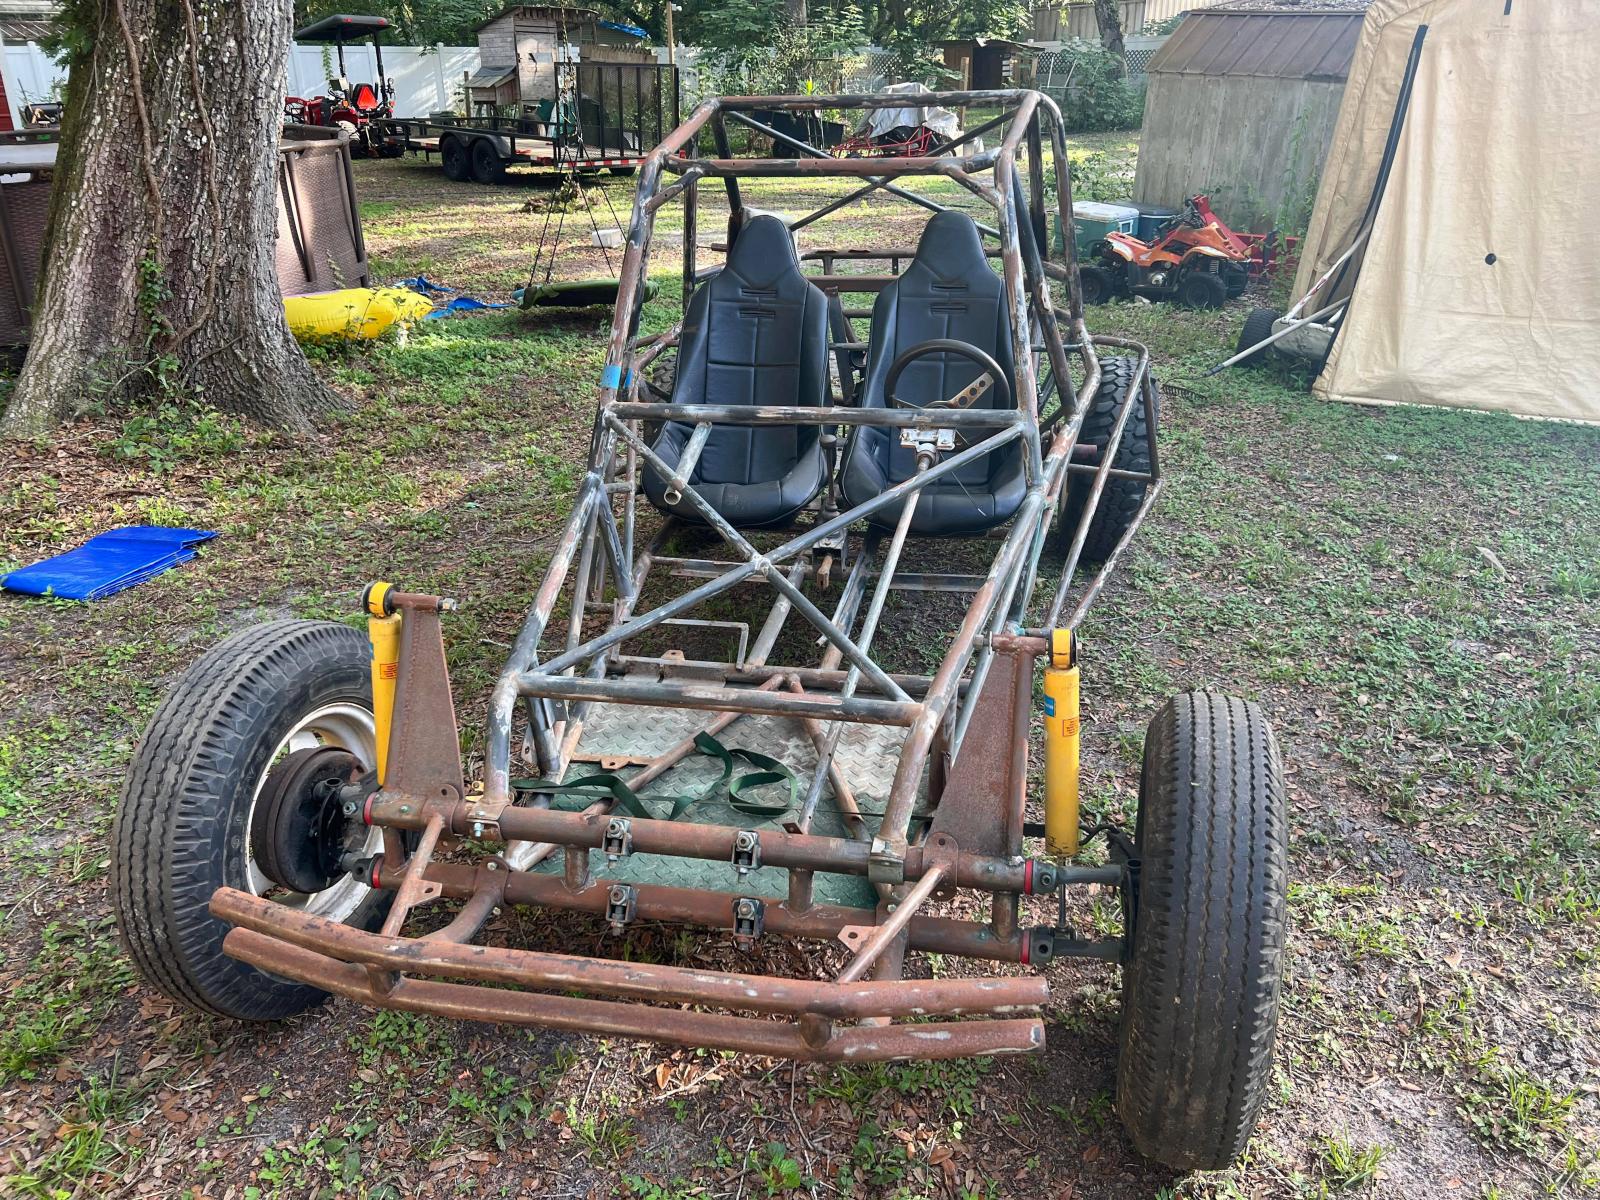
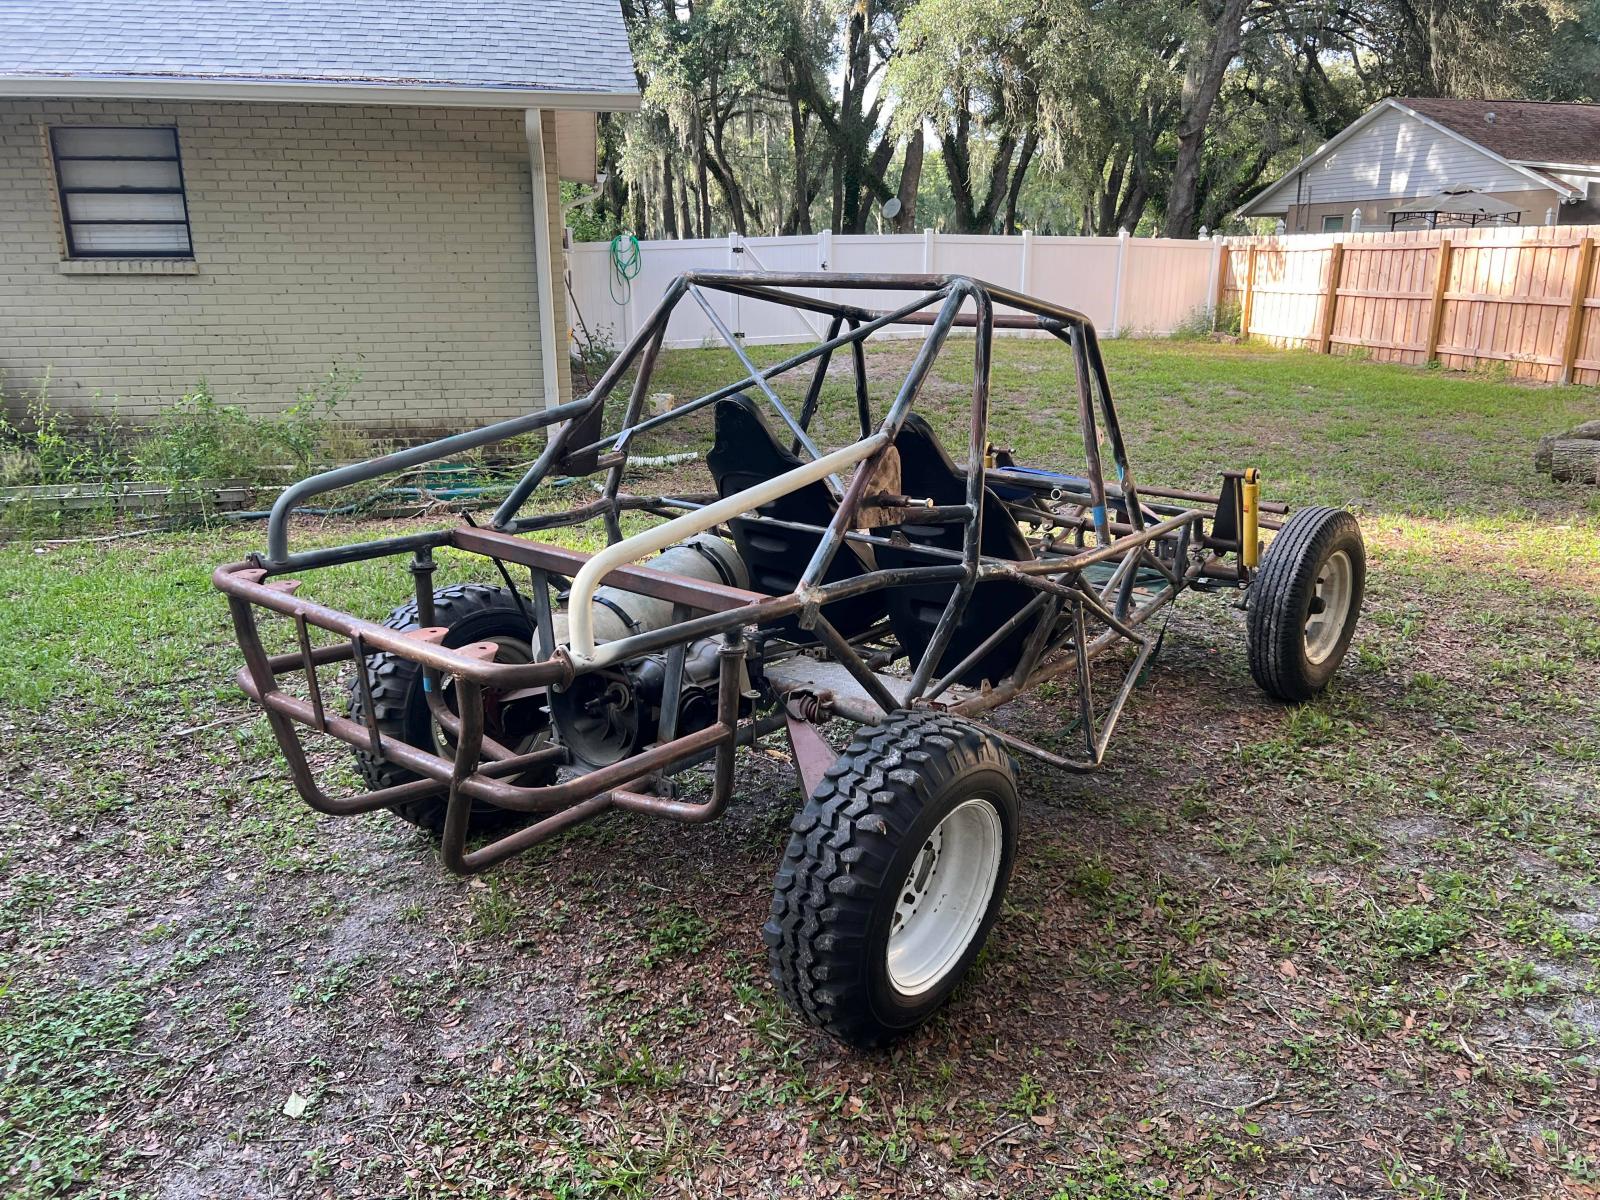
Yes tires are taller than stock. Yes the tube frame follows the body lines and curves in going forward towards the, yes, linkpin beam. The cage added at the rub point does not help the tire clearance but it looks cool. And that leads us to the most important consideration:Am I correct in assuming the tires are larger in dia. than stock tires which could be why the tires are hitting the tube frame. Does the tube frame slightly bend towards the center rather than going straight out to the beam? If not that could be another reason for the tires to hit it.
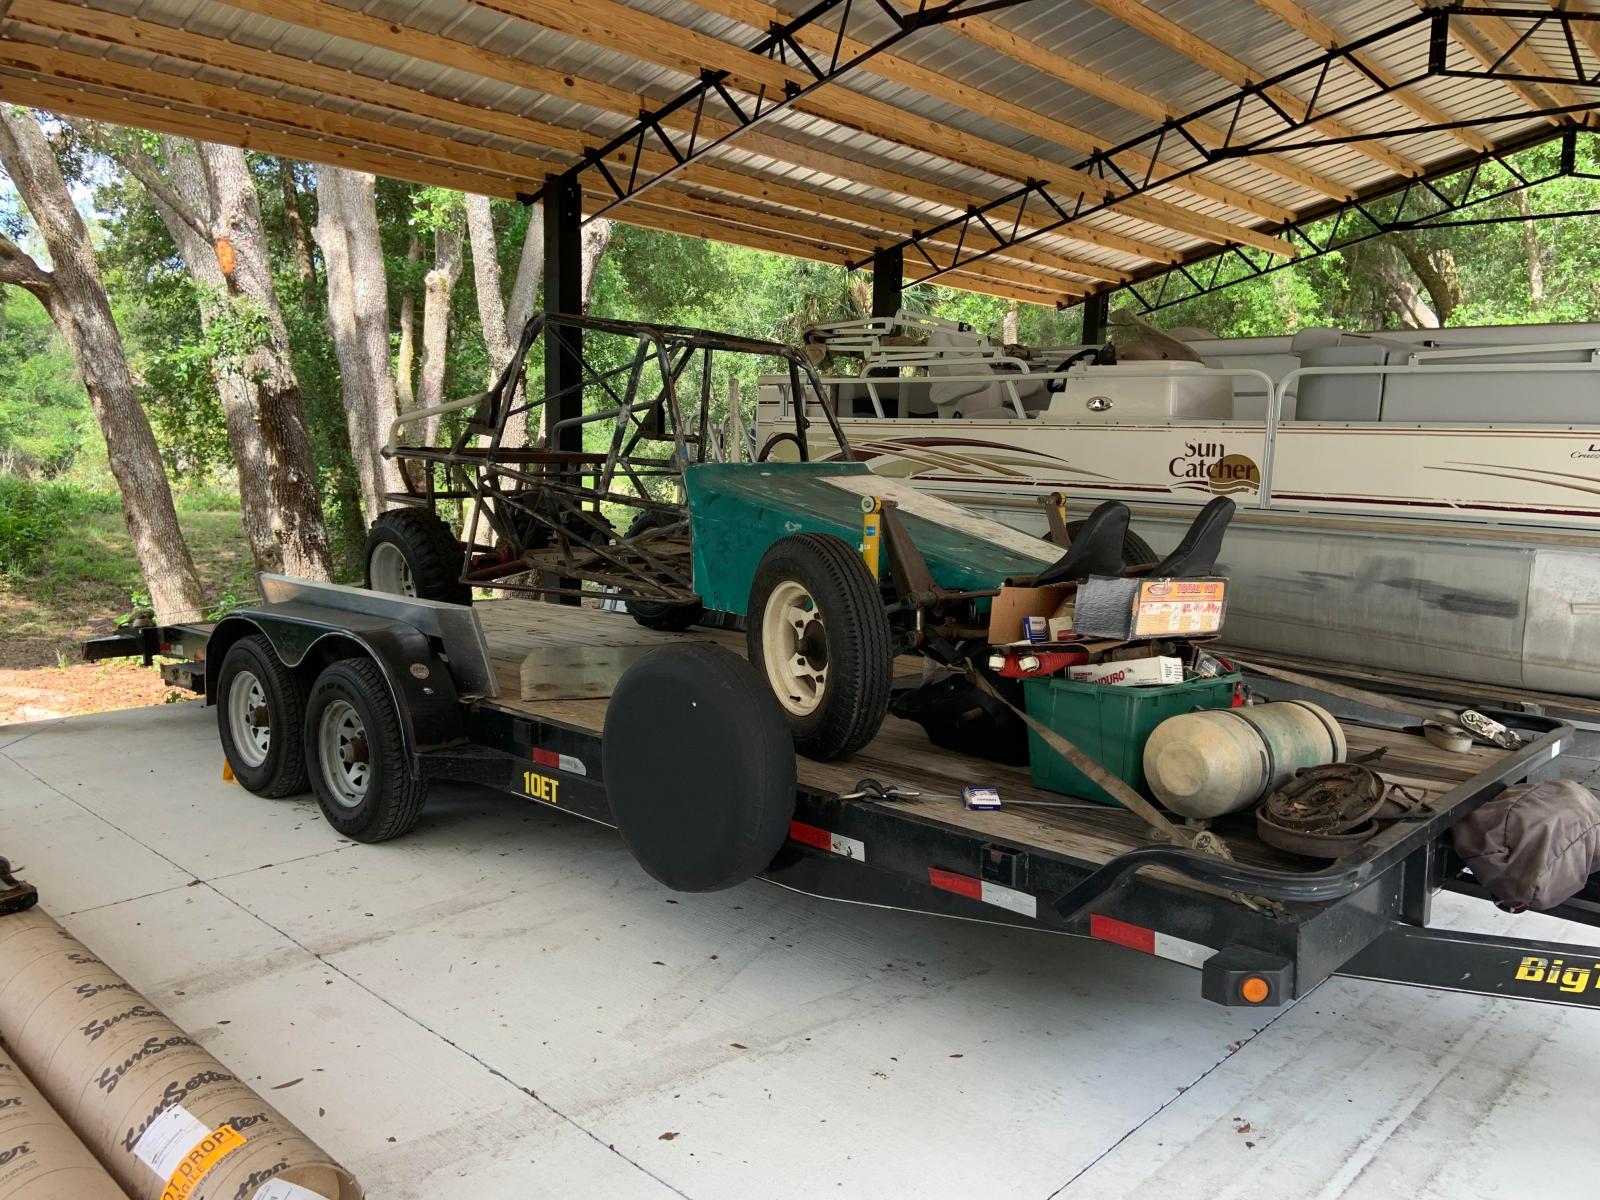
I agreeIt is a nice-looking rig to say the least.
Apologies to 72BajaBen for the hijack!