67 Front Clip Replacement and other stuff.

Need help straightening that dent? Or painting your car? This is the place to be!
User avatar
slowtwitch
Posts: 533
Joined: Mon Nov 08, 2004 9:38 am

67 Front Clip Replacement and other stuff.

Post by slowtwitch »

After reading some other posts on this site, I felt that I should get my butt in gear and get to work on my 67. The car needs a bunch of work, heater channels, rear apron, luggage shelf, driver’s side rear quarter panel and a new front clip.

I guess I procrastinated, because I never did any body work or any real welding before. I felt a bit intimidated.

Anyway, last year I tore the pan apart and replaced the floors, sand blasted and coated the pan with Masterseries silver and Masterseries chassis black.. I also spent some time in the garage practicing my welding.

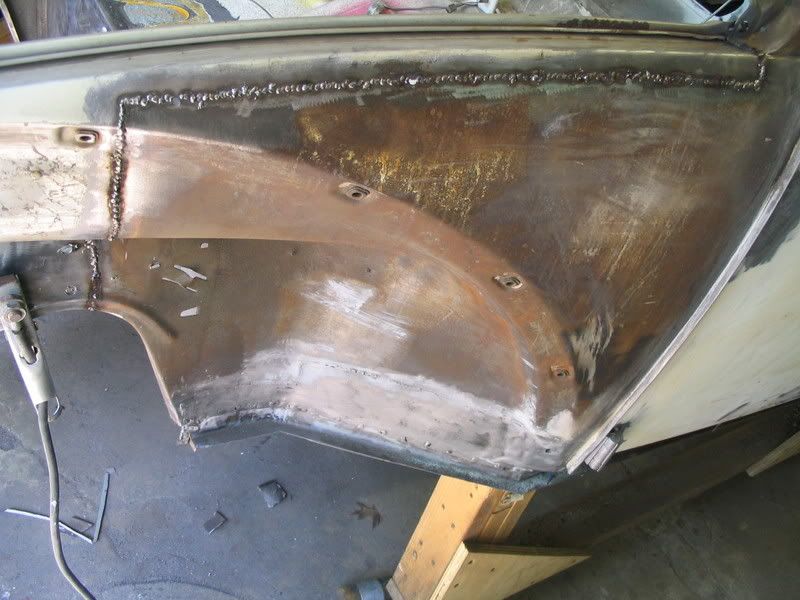
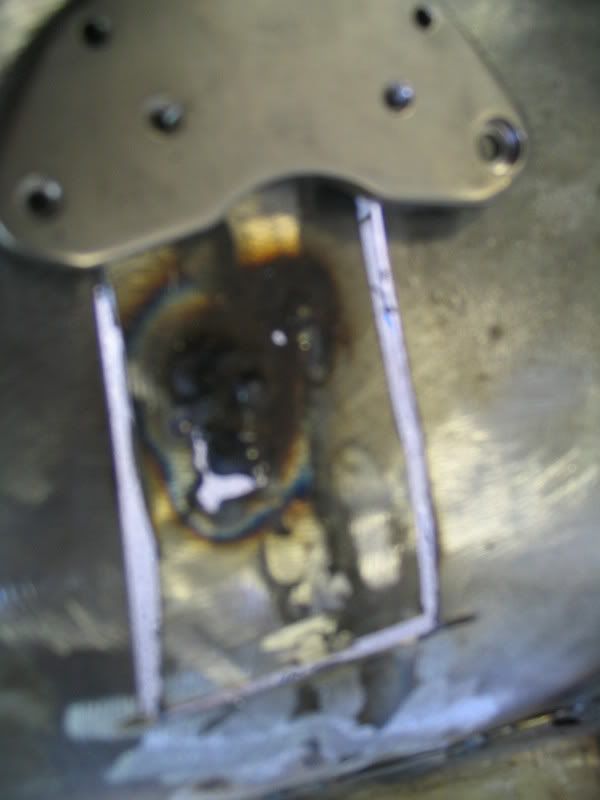
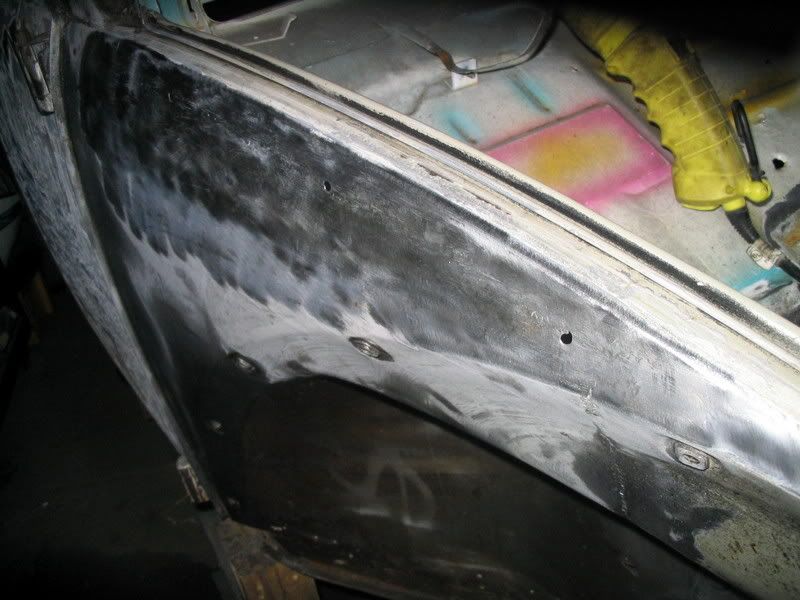
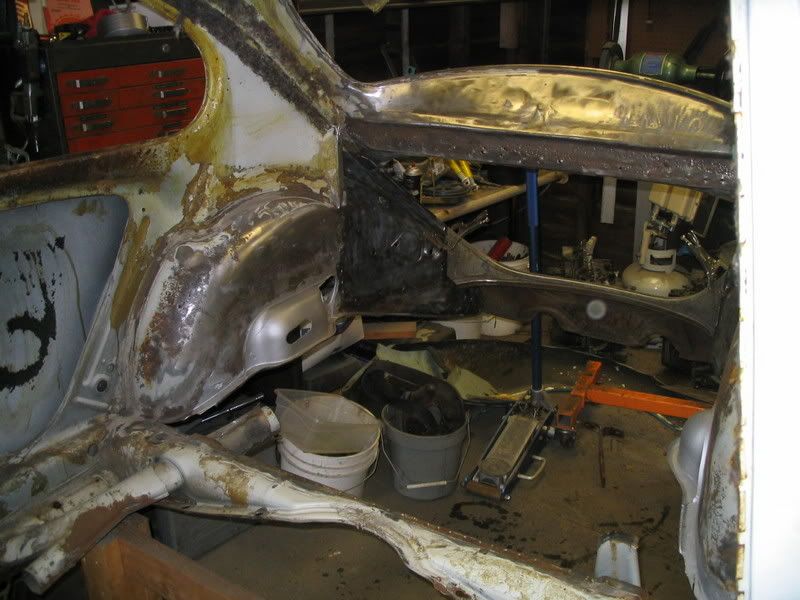
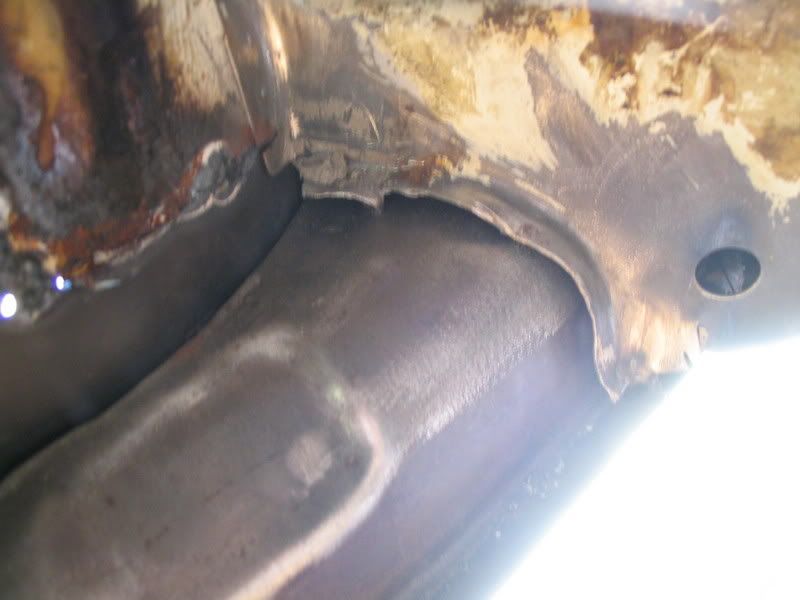
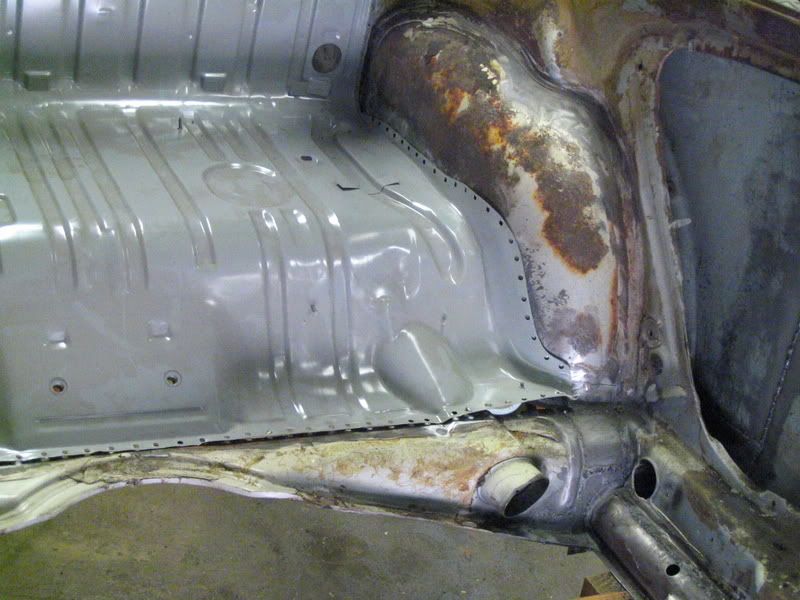
I decided to change the front clip, after I found that it was crumpled up under a ton of undercoating. There were also some rust issues in the wheel well and all along the seal area (where the hood lays on).

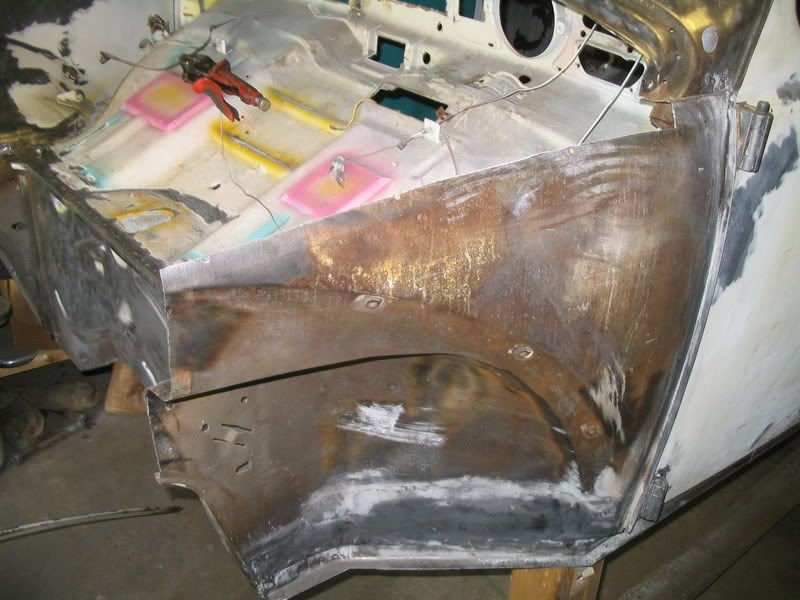
I bought a 66 off EBay as a parts car and I cut the front off as shown

Image

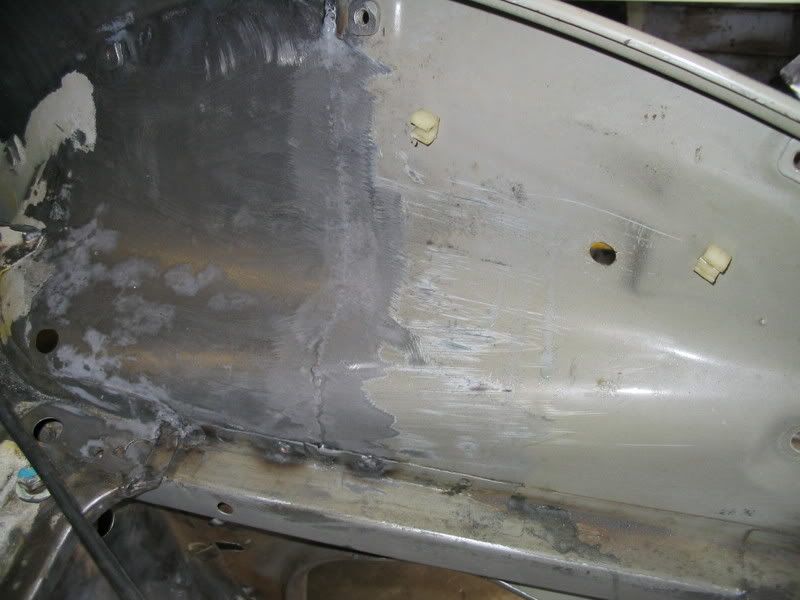
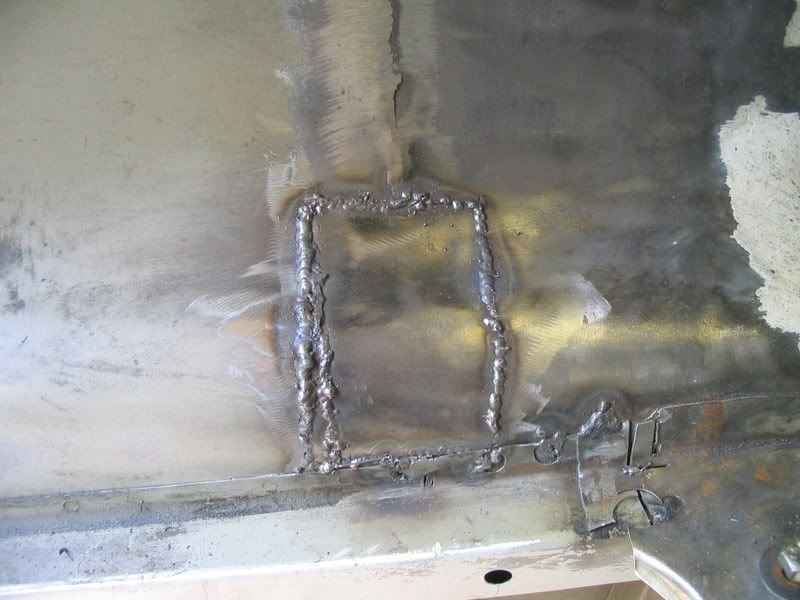
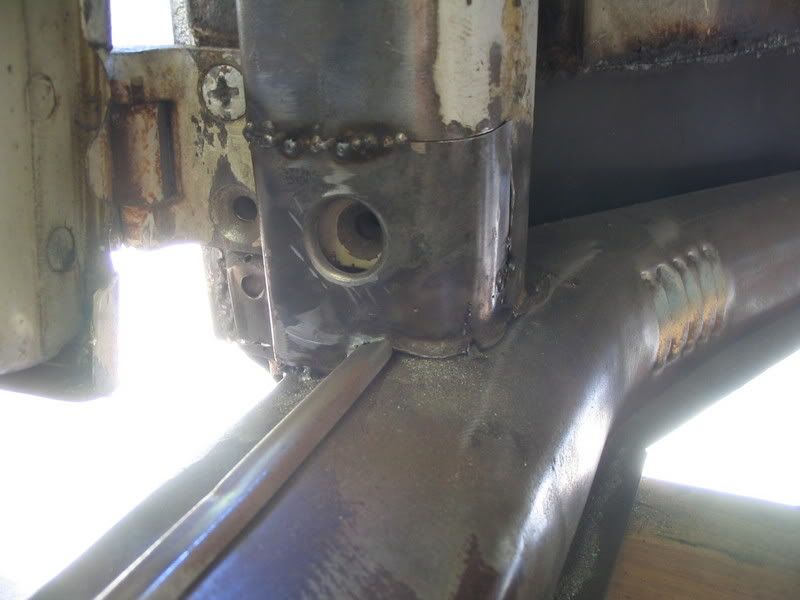
I didn’t just cut the clip down the middle of the gas tank area; I drilled out welds and saved the square brace that the gas tank sits on. This came in handy in aligning the clip.

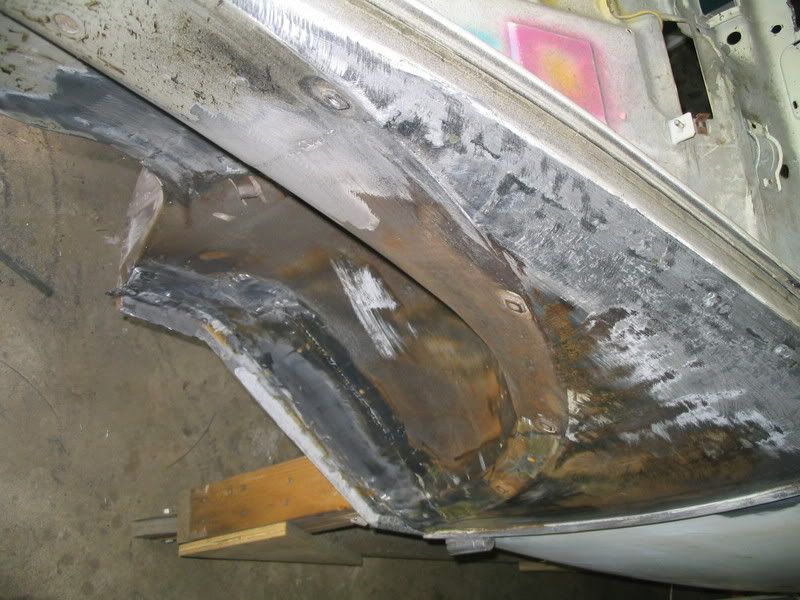
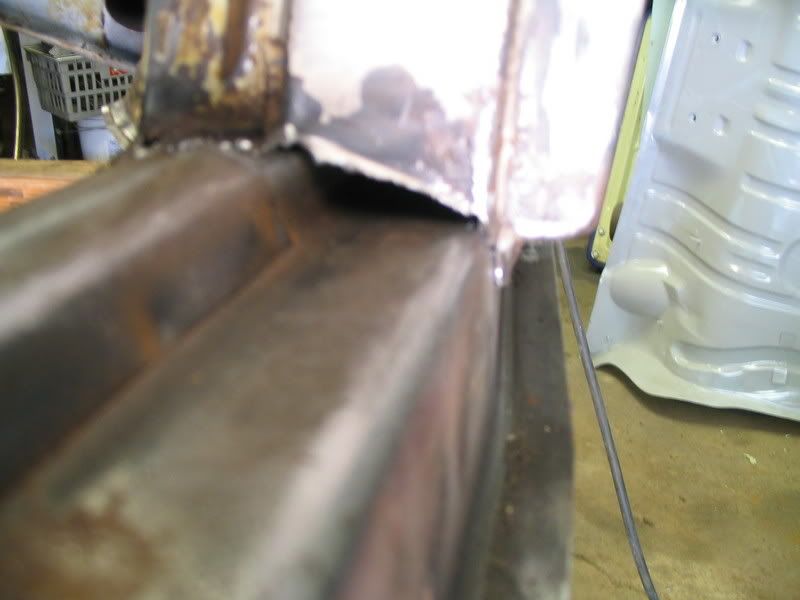
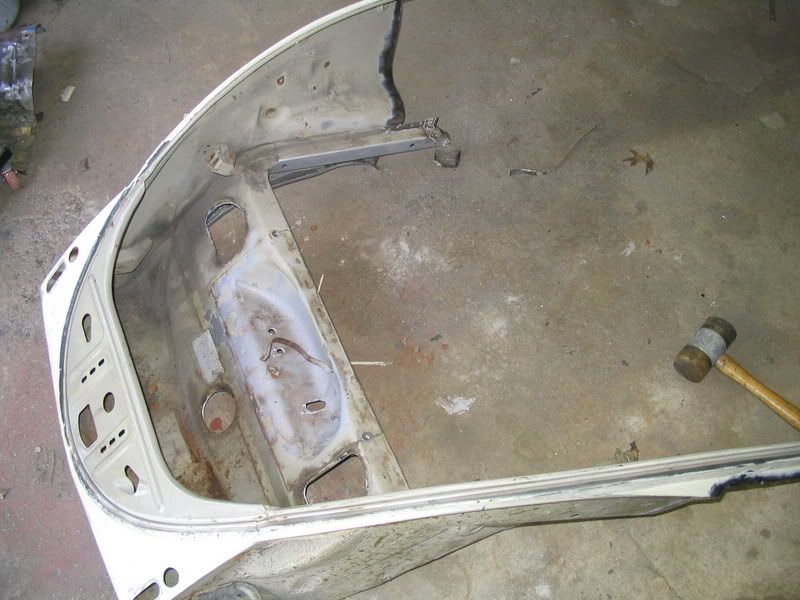
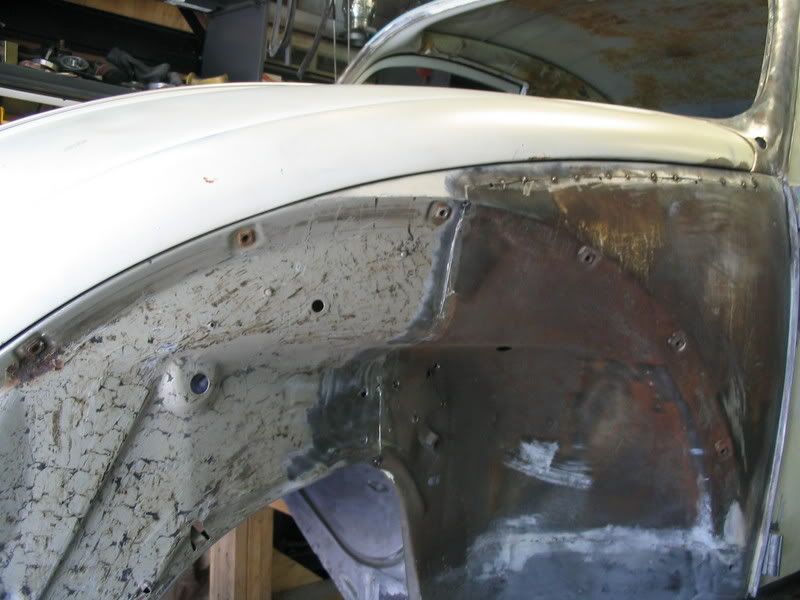
Here’s a shot of what I cut off the 67. The passenger side is the same.

Image

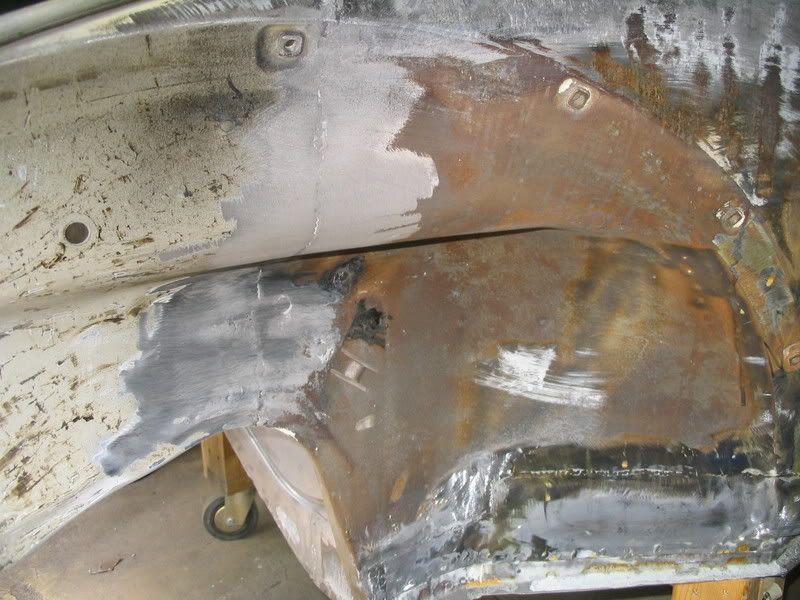
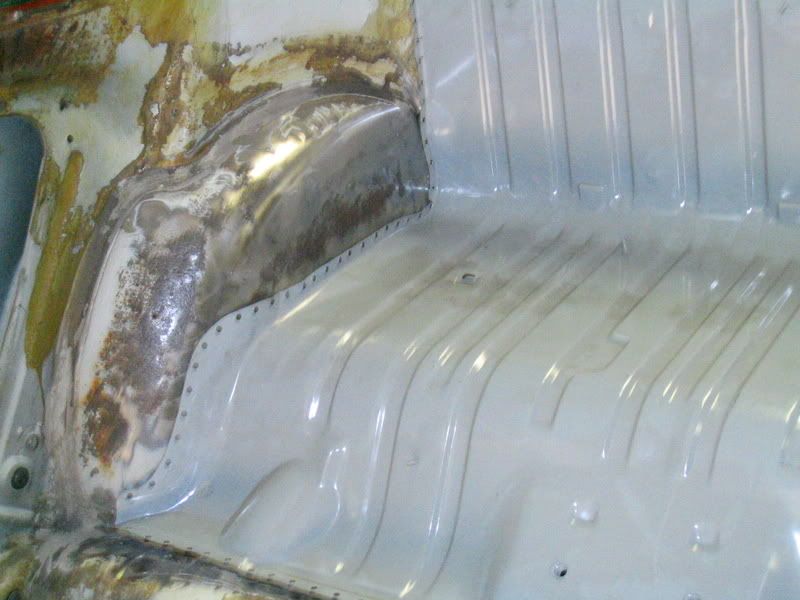
After taking measurements, abunch of trial fits, removing a little here and little there, this is how it looks on the inside.

Image

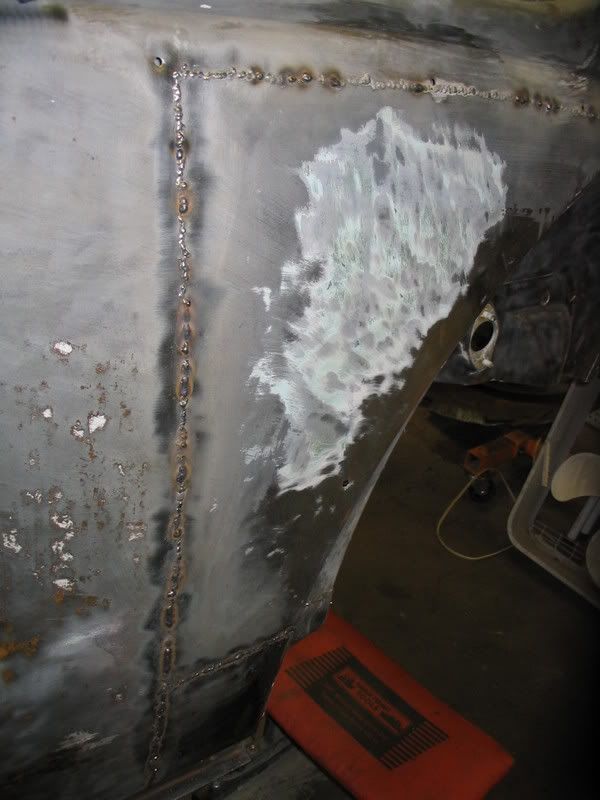
Tacked in with the hood in place

Image

Tomorrow, I’ll finish welding the clip in. Stay tuned :D

pete
crvc
Posts: 1564
Joined: Fri Aug 29, 2003 2:37 pm

Post by crvc »

Wow. I'm amazed. I have to do all of that to a 1967 and have been procrastinating out of fear of screwing it up. I planned to start with the rear luggage shelf, then the heater chanels and the front clip last.
User avatar
slowtwitch
Posts: 533
Joined: Mon Nov 08, 2004 9:38 am

Post by slowtwitch »

crvc wrote:Wow. I'm amazed. I have to do all of that to a 1967 and have been procrastinating out of fear of screwing it up. I planned to start with the rear luggage shelf, then the heater chanels and the front clip last.
I screwed up a couple of times, with this rebuild. I just redid the mistake and learned my lesson. It has definitively been a learning and humbling experience.

I do get frustrated at times, but, I still find it enjoyable. It does keep the brain cells working and it beats watching the news and hearing about all the crap going on in the world.

I have started on my luggage shelf, be prepared to drill out a bunch of spot welds. I'll be posting some pics of my progress with this.

pete
User avatar
doc
Site Admin
Posts: 3586
Joined: Thu Mar 31, 2005 2:38 pm

Post by doc »

Pete,

Thanks for posting. This is the kind of thread that STF is built on. Many members will pour over the pictures. When I watch any of the mechanic shows on TV, I'm always thinking, "man, I wish they would do a whole segment on just putting in that one piece". Details are everything for those of us who are trying to learn.

At the risk of appearing a bonehead (happens in my shop daily, it seems), please post your mistakes and screwups. These are most instructive to the rest of us. MAYBE, we won't make the mistake you did.

And, lots more pics please. Keep up the good work!! 8)

doc
64bug
Posts: 765
Joined: Thu Sep 25, 2003 10:40 am

Post by 64bug »

Nice work Pete! Looks perfect! Glad to see people still arnt using body to fill everything....(My car had bondo and sheet metal holding the pan to heater channel to body.) Great work!
User avatar
slowtwitch
Posts: 533
Joined: Mon Nov 08, 2004 9:38 am

Post by slowtwitch »

Today, I finished welding in the front clip and started to grind down the welds.
Here’s what it looked like after welding. I used the tack welding method, where you bounce back a forth, to reduce overheating the panel. I also welded both sides of the weld, where I could.
Image

Here’s a shot of what the welds look like after grinding them down. I used a 36 grit sanding disc, on my right angle grinder.
Image

I’m trying to avoid using a ton of body filler, so I used a hammer and dolly. This takes some getting use to, but, I think I’m getting the knack of it. Another tool that I’m using is a shrinking disc, which is great ... Here are a couple shots of the driver’s side. It pretty smooth, just a little bit more :D

Image
Image
Image
Image

After I weld, or when I grind, I always spray on some Rust Mort and scrub it in. That’s why the welded areas look grayish.

Doc, asked to also post mistakes, when they happen. Well, he must have jinxed me :D ; I don’t know what happened, maybe because it was the end of the day and I was tired. But, I ran into an area that I just couldn’t avoid burning thru. I tried to puddle the weld, but it looked like crap. Here’s a lousy pic of the piece after I cut it out.
Image

It doesn’t end there, after making three pieces and burning them all, I finally got it on the forth attempt. The hole started out at about two inch square and ended up about 3”by 4”.
Image

I began to grind down the welds and noticed I was getting some areas to hot. This is when I called it a day.
Image

Tomorrow, I’m taking a break and headed for the VW show at Maple Grove Raceway.
All in all, I’m happy with the way its turning out. One thing to remember, which is very important….don’t rush it, take your time.

More to come….the good and the bad

pete
User avatar
doc
Site Admin
Posts: 3586
Joined: Thu Mar 31, 2005 2:38 pm

Post by doc »

Nice, pards! Hope I really didn't jinx you. Your pictures really help demonstrate the step by step method. The car looks to be shaping up.

I was so inspired by this post, I took a front fender off the '57 today and started in with the grinder. Found a bunch of rust I didn't know was there and am trying to fill the holes now. We'll see. My welding skills are not too good.

doc
User avatar
slowtwitch
Posts: 533
Joined: Mon Nov 08, 2004 9:38 am

Post by slowtwitch »

doc wrote:Nice, pards! Hope I really didn't jinx you. Your pictures really help demonstrate the step by step method. The car looks to be shaping up.

I was so inspired by this post, I took a front fender off the '57 today and started in with the grinder. Found a bunch of rust I didn't know was there and am trying to fill the holes now. We'll see. My welding skills are not too good.

doc
Doc, you didn't jinx me, it's just my luck, you know, take one step forward, then 10 steps backward :lol:

I took the day off yesterday. I wanted to go to the Maple Grove Raceway VW event, but, they upped the admission to $20, with the wife tagging along, it would have been $40. These things are getting expensive. We went to a Sunday matinee instead, and watched Pirates of the Caribbean for $16.

Anyway, when I got home from work, today, I worked on the passenger side of the front clip. I sanded down the welds on the outside first, and then I welded the seam on the inside. This shrunk the metal towards the outside, which I wanted..

I then put on a guide coat of paint and used a large file to bring the welds down and to see where the low/high spots were. I followed this with some hammer and dolly work to bring up the low spots and using a shrinking disc for the high spots. I repeated these steps a couple of times and here is the result, so far. It’s pretty smooth now, but, I want to get it a little better. I'll get it tomorrow :D

Image

pete
crvc
Posts: 1564
Joined: Fri Aug 29, 2003 2:37 pm

Post by crvc »

Any advice on those burn-throughs? The Bug Me videos talk about welding putty. I assume it's something to dissapate heat? What about sticking a copper pipe behind the hole and fill the hole with mig wire weld?
User avatar
slowtwitch
Posts: 533
Joined: Mon Nov 08, 2004 9:38 am

Post by slowtwitch »

crvc wrote:Any advice on those burn-throughs? The Bug Me videos talk about welding putty. I assume it's something to dissapate heat? What about sticking a copper pipe behind the hole and fill the hole with mig wire weld?
Your absolutely right about using copper pipe, or welding putty. I use copper for doing plug holes. The problem I ran into was, I just trying to rush things.

I just finished welding in a rear quarter panel and everything went good, this time I took my time :D

more updates on this project...

During the week, I replaced the drivers side heater channel and cleaned up the parcel tray area that I removed, getting ready for the new one :wink:

pete
User avatar
slowtwitch
Posts: 533
Joined: Mon Nov 08, 2004 9:38 am

Post by slowtwitch »

Here are some pics of my quarter panel repair. There was a nasty vertical crease, just in front of the fender mounts and the previous owner repaired it with about an 1 1/2" of bondo.

Anyway, i cut it out and replaced it with a piece from a donor car.

Image

and another shot...

Image

and here's a shot of the package tray area..

Image

I'll post some pics of the heater channel install, by the weekend.

pete
User avatar
slowtwitch
Posts: 533
Joined: Mon Nov 08, 2004 9:38 am

Post by slowtwitch »

I finished welding in the quarter panel this week. It came out pretty good, except for where I used a small piece of aftermarket metal. The aftermarket stuff is alright, but, there is a difference in the shape. I’m probably going to cut out that small section and replace it with OG metal, if I can find it before painting. Here’s a shot of it…

Image

I also cut out my driver side heater channel, this past week and installed a new one. Unfortunately, I didn’t take any photos of the cutting out process. The channels that I used are the one piece type, made in Denmark. I would have preferred using the channels that come in two pieces. The two piece channels make coating the insides, with your favorite rust coating, easier. They also help with aligning the pan bolt holes to the body, but, I had these laying around for years, so I might as well use them.

Before I did any welding, I installed the driver’s side door and checked the opening. After I was happy with the alignment of the body crease, the gap around the door and that the body matched the contour of the door , did I start tacking things into place.

Here’s a shot of the interior. You can see the repairs I made.

Image

I did run into some fitment problems, using this heater channel. Here you can see the different contour.

Image

And at the front….

Image

I also had to repair the “A” pillar. I just replace the outer skin here.

Image

I’m planning on drilling some holes and spraying some Zerorust inside the channels, when all the welding is done.

I took a break from the channel install and prepared the luggage tray. Since I will be plug welding, I punched a bunch of holes and made a test fit.

Image


Image

I’m going to wire wheel the tray and give it a couple coats of Masterseries ( except for the welded areas), before I install it.

This week i hope to finish welding in the channel and the luggage tray.

pete
crvc
Posts: 1564
Joined: Fri Aug 29, 2003 2:37 pm

Post by crvc »

Terrific photos. What is 'plug welding'? I can't find the term in my handbook. I assume you drilled these holes just through the luggage tray then filled them with weld to connect it to the metal under it?

I've got more questions but I need to run home to take photos first.

Kevin
User avatar
slowtwitch
Posts: 533
Joined: Mon Nov 08, 2004 9:38 am

Post by slowtwitch »

crvc wrote:Terrific photos. What is 'plug welding'? .

Kevin
Kevin, I'm just a beginner, but, that's what I call it :lol:

Your right, I just punched the hole in the tray only and I'll be filling them up with weld, it gives it a somewhat og look :D

pete
crvc
Posts: 1564
Joined: Fri Aug 29, 2003 2:37 pm

Post by crvc »

How did you get to old luggage tray out? I planned to cut the old one at the top where it bends over but from your photo it looks like you got yours out all out in one piece. Are there hidden spot welds somewhere? Much of mine is rusted to the point it's not connected to the wheelhouse anymore.

Kevin
Post Reply