
I fixed the structure using this Horror Fright plastic welder. One of the brackets that holds the bumper on at the bottom was partially broken off. The bracket is thin and this air tool distorted it and the exterior surface behind where the bracket joins the bumper. It has been a while, but I am pretty sure I identified the type of plastic from codes molded on the inside of the bumper and chose the fill rods from HF accordingly. The fill rods were hard to join with the bumper, but they seemed to work mostly. I don't know why, but I get the feeling that it is brittle though it has held up to my pushing and pulling on the joint. This thing might work a lot better with practice. It is basically a highly focused heat gun and it does have potential. I wonder about the quality of the filler rod from HF more than the tool.
I do not have a picture of the bracket.
There was a deformation and a scrape at one corner. The scrape had gone completely through at one point. I first hit the indentation with a heat gun and pushed it until it looked right. Then I used Bondo's 280 bumper epoxy repair kit to reinforce the inside according the instructions. It comes with some plastic screen to help. I do not like this stuff. It is hell to get it out of the tube and you don't get much epoxy for your money, but you do get a baby spatula and the plastic screen. I have some filling work to do on the outside where I plan to use Bondo's 806 epoxy instead. It is a different formulation without the doodads, but it comes with more and should be easier to extract. It has fibers in it which the kit lacks.
I do not have pictures of the corner. It is a work in progress and I could take some if there is interest.
I also used the 280 epoxy kit to fill in the badge holes. I cleaned the holes and mushroomed them a little then taped over the outside with painter's tape. I filled in from the inside and finished it off with a piece of screen. I sanded the outside flush. Most of the holes filled well, but some had trouble because, presumably, I did not mix that batch thoroughly enough (giving Bondo the benefit of the doubt).

I filled in some scrapes with the 280 also and plan to do the rest with the 806.
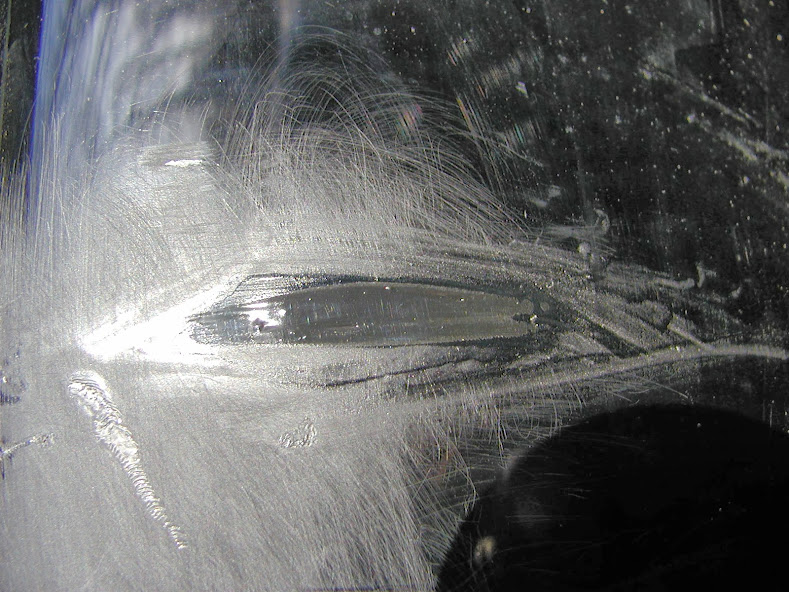
I repaired the tail light tab according to this video on cheap plastic repair with a torch. Instead of rolling my own tools, I picked up this HF scraper set which has worked well so far for the outer side (have yet to repair the under side). This worked pretty well and I would recommend this for the structural repair of the bracket instead of the air welder. It will look ugly. I did this on the tail light because it will be covered by the trunk. I have been using bits of the destroyed light as filler. If I had known, I would have used this method to repair cracks in a late model Beetle heater fan box before selling it (heck, I would have kept it). By the way, the only non-rusting screen Home Depot had was aluminium which seems to be fine.


The car's finish looks pretty rough now but at least it is back in one piece again and not lumpy and crinkly any more!
I hope this info is of some help to somebody.



 )
)