First of all, I never intend to have a 2nd project...much less a 2 seat buggy. But here I am. I have a family of 5, my oldest son being 20 now. He's getting ready to start his own buggy build. So a 2 seat buggy just doesn't quite fit in. But it was a smokin deal and I've already fallen in love with it. My you8nger kids are already calling dibs on it to drive to school. They are 4th and 6th grade. hahaha
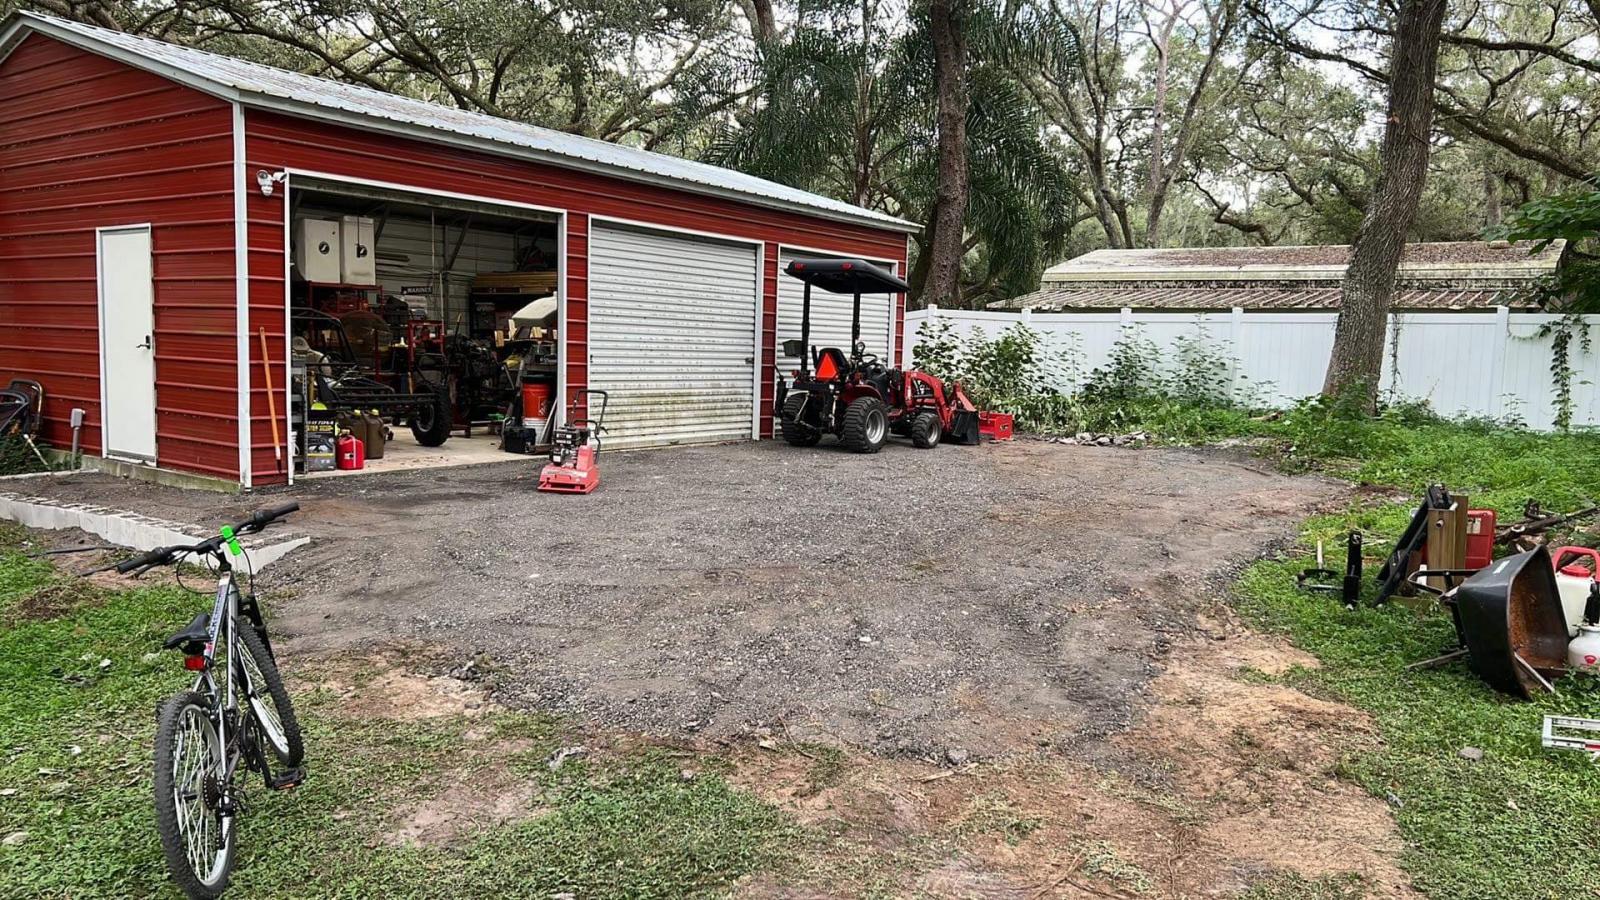
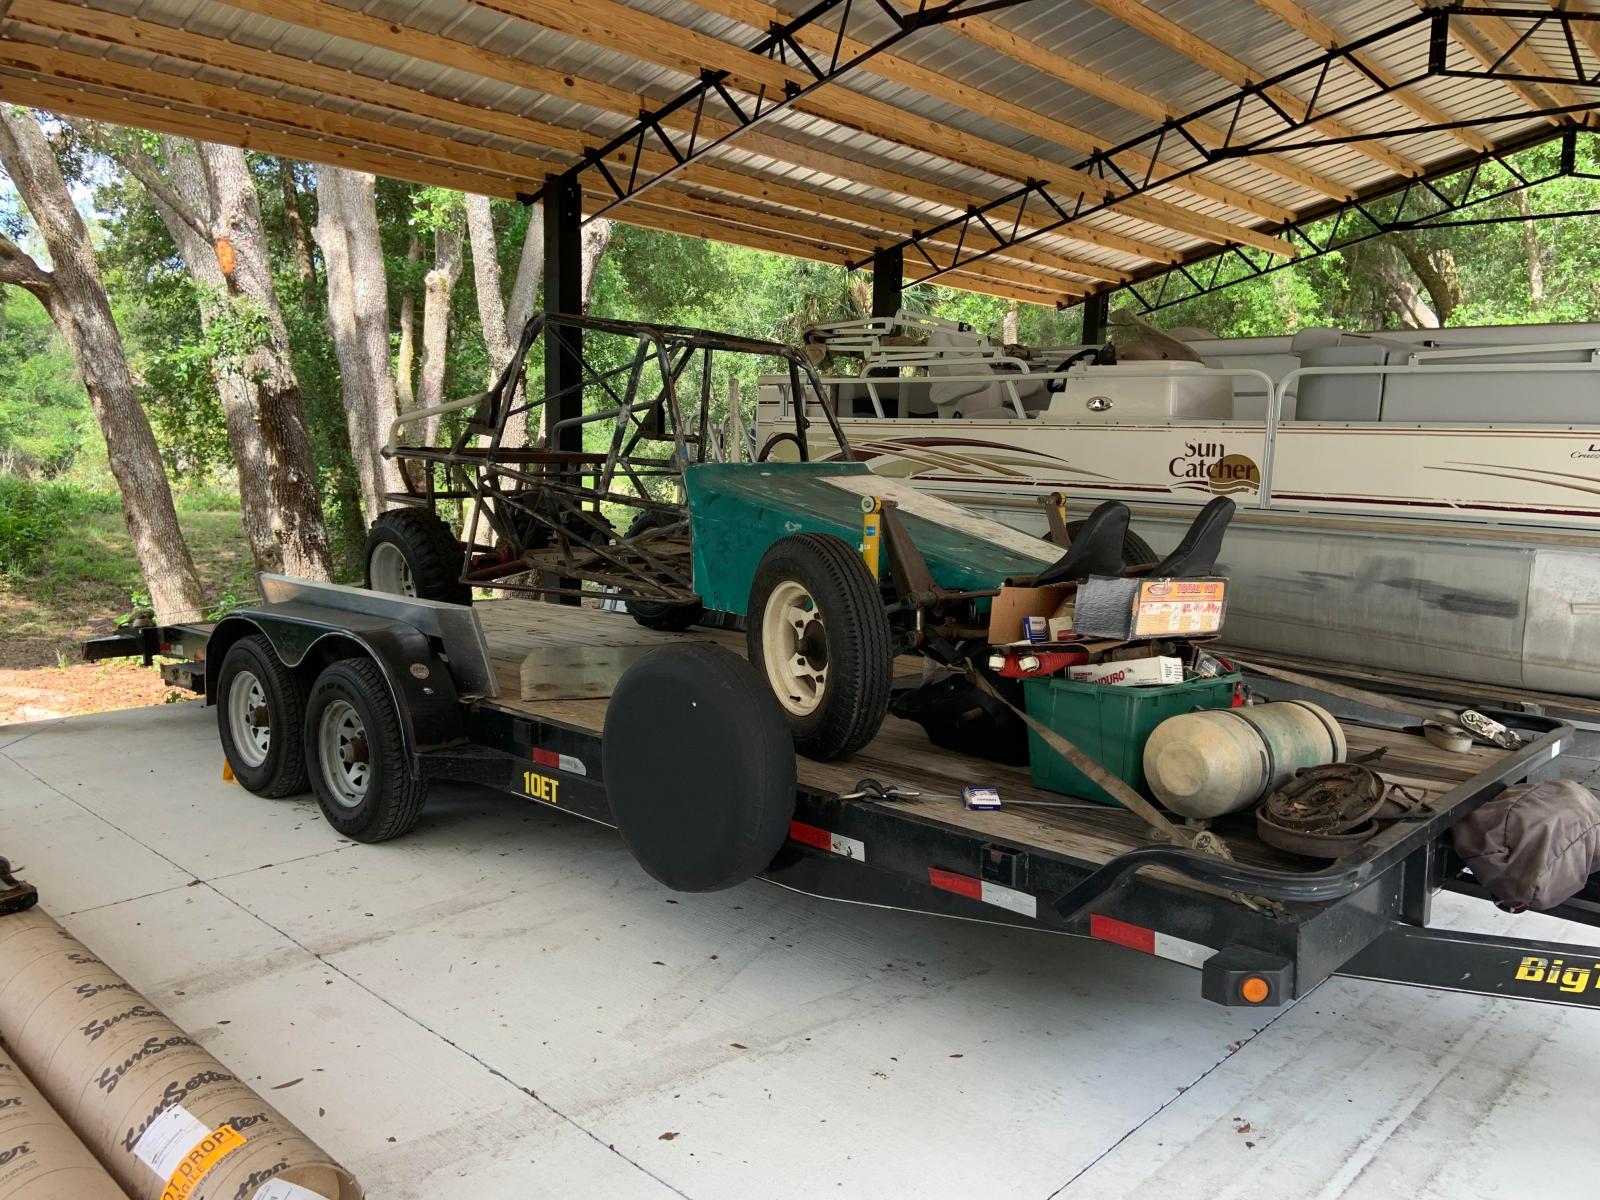
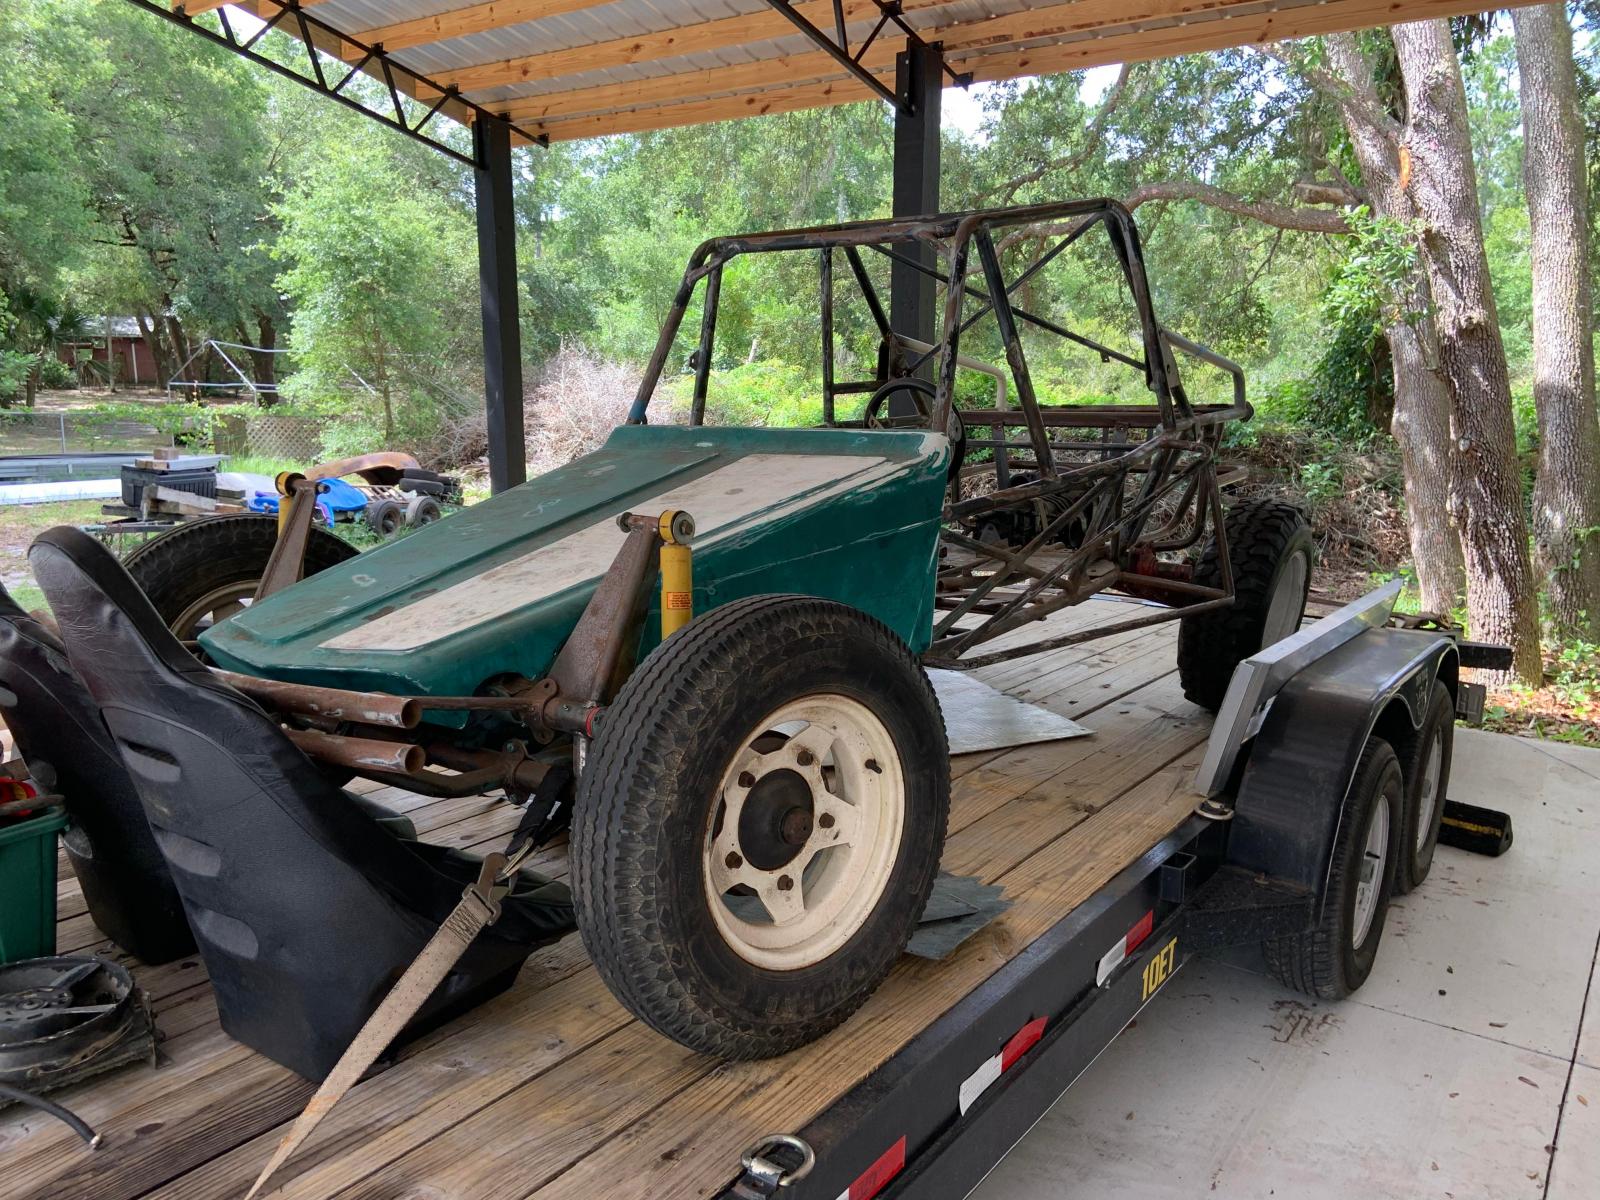
So here it is, I got a 75% buggy project for a screaming deal.
002 # Rib
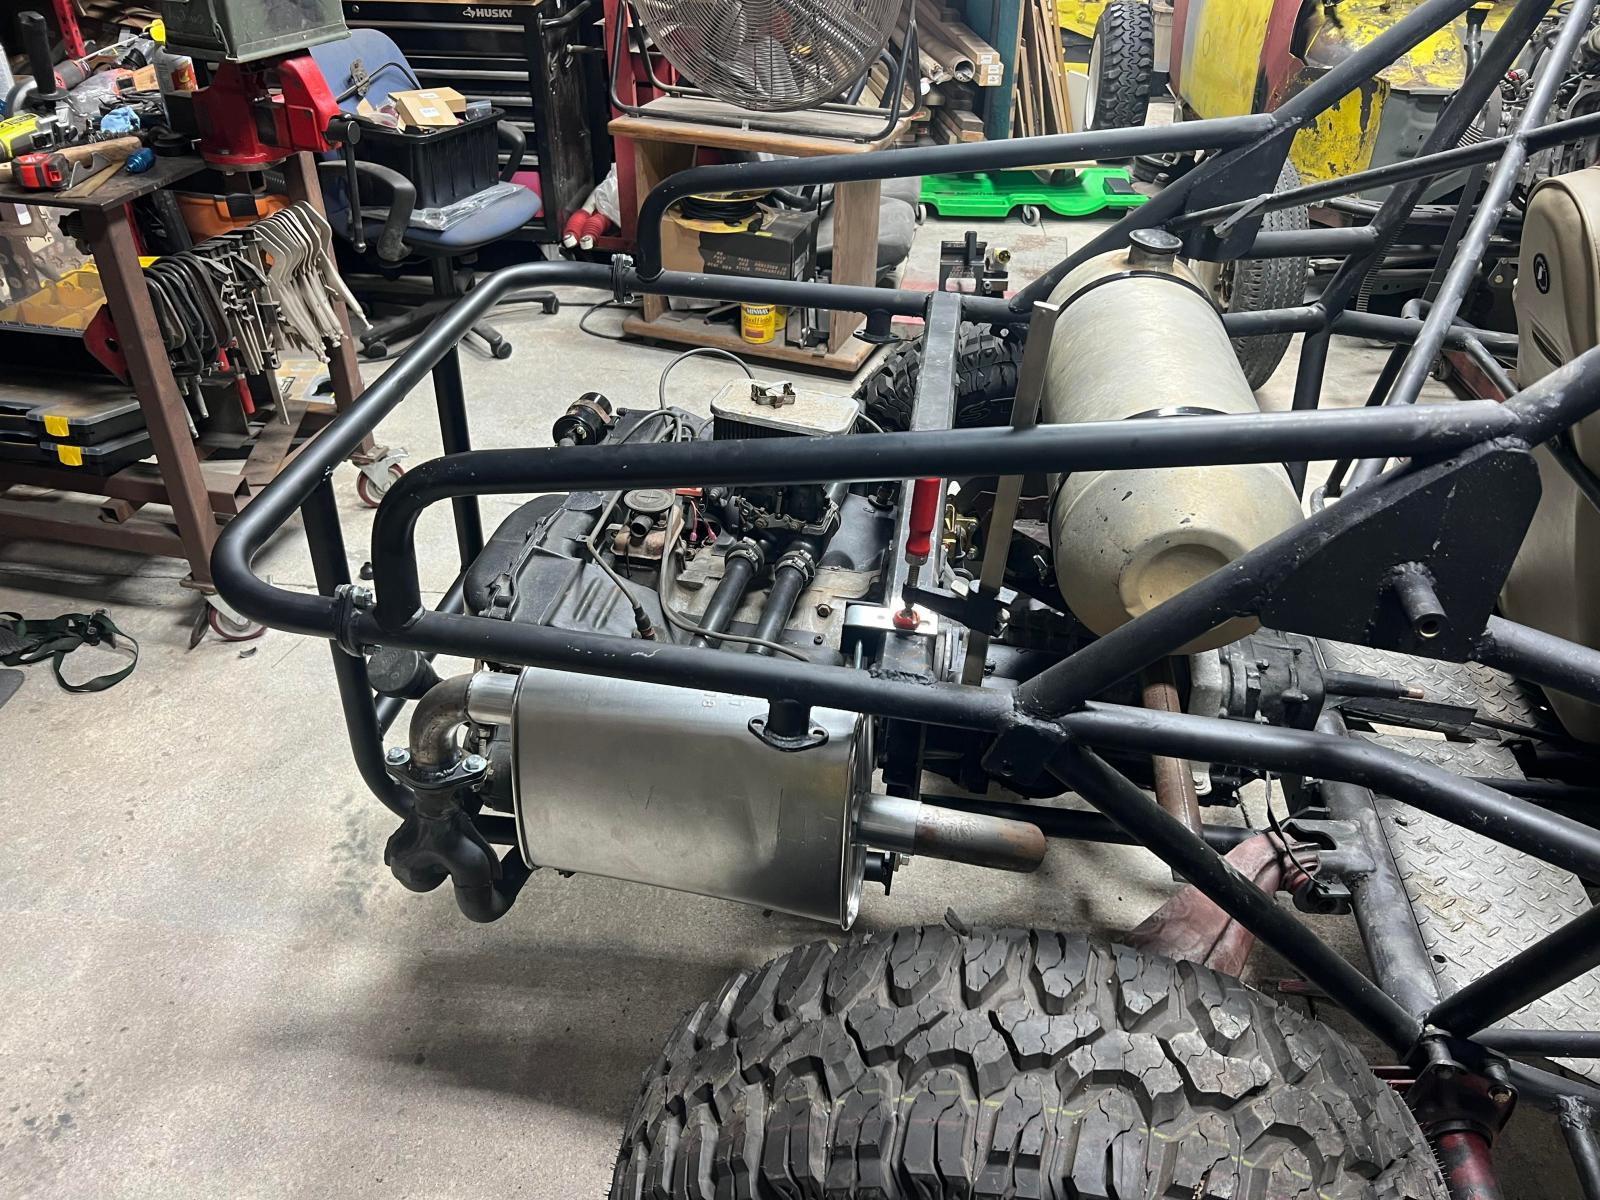
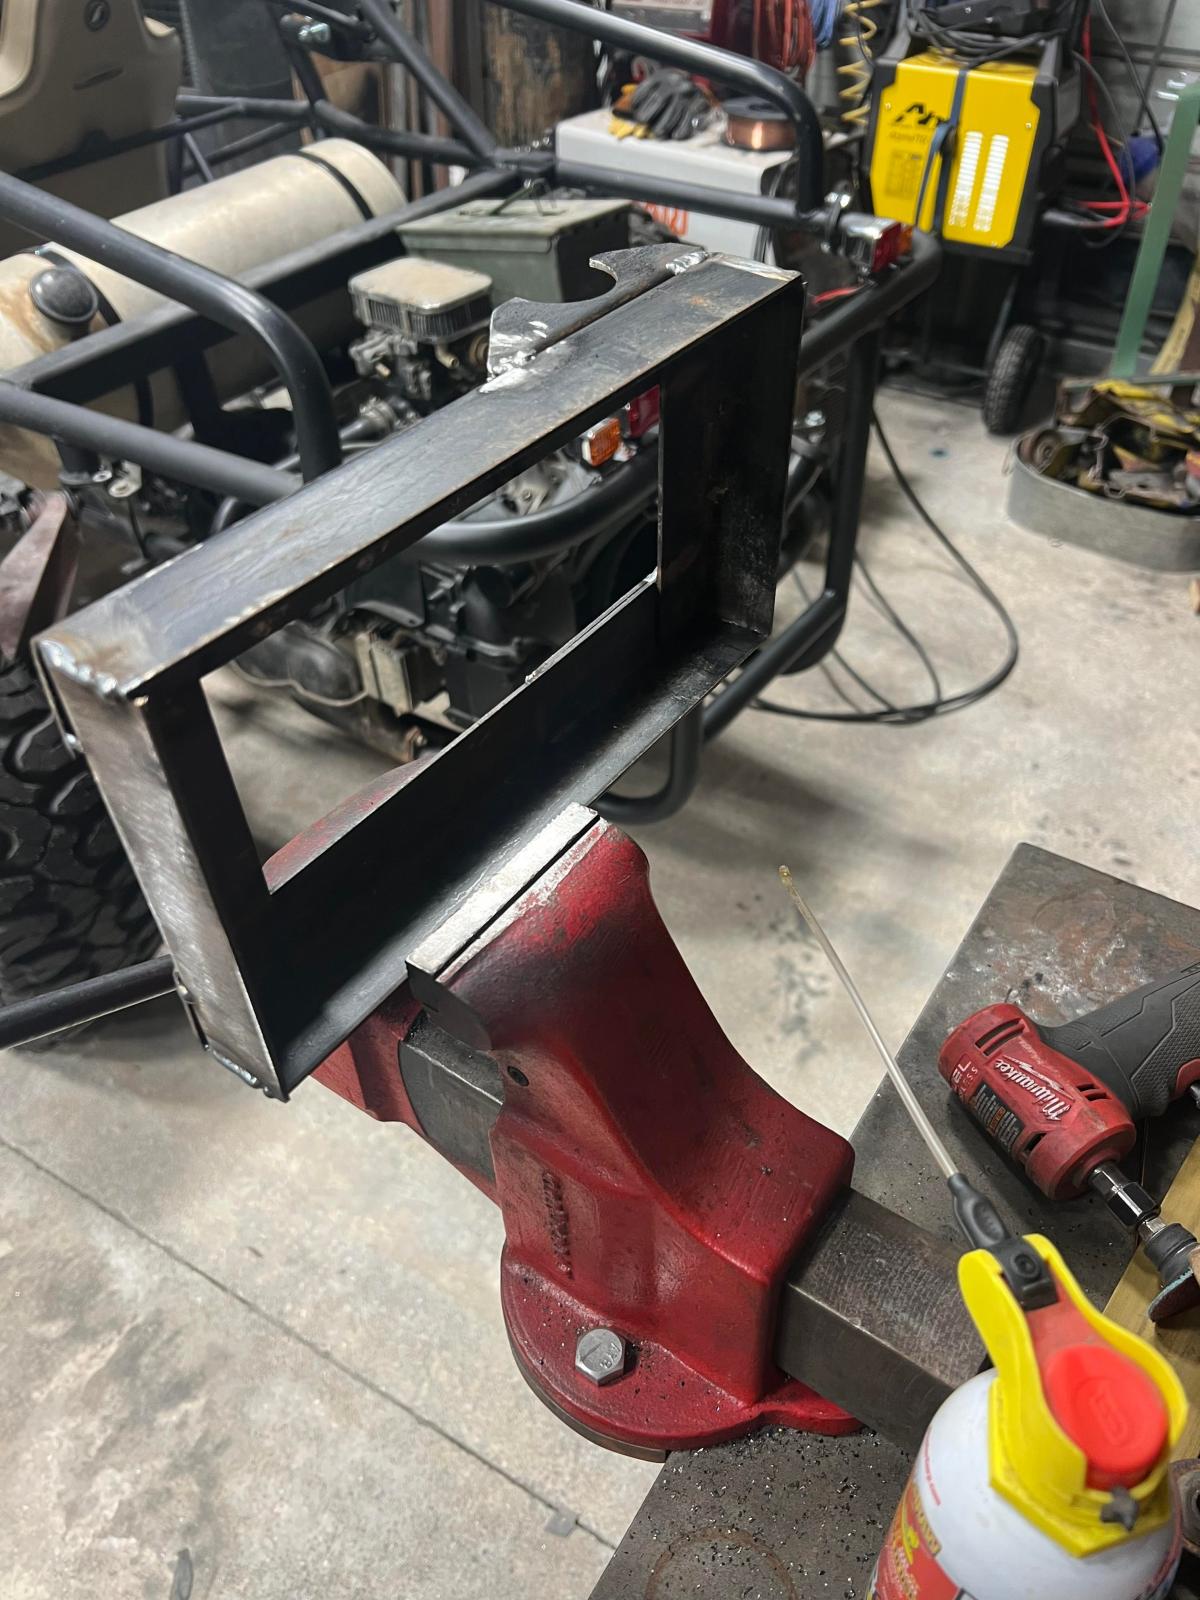
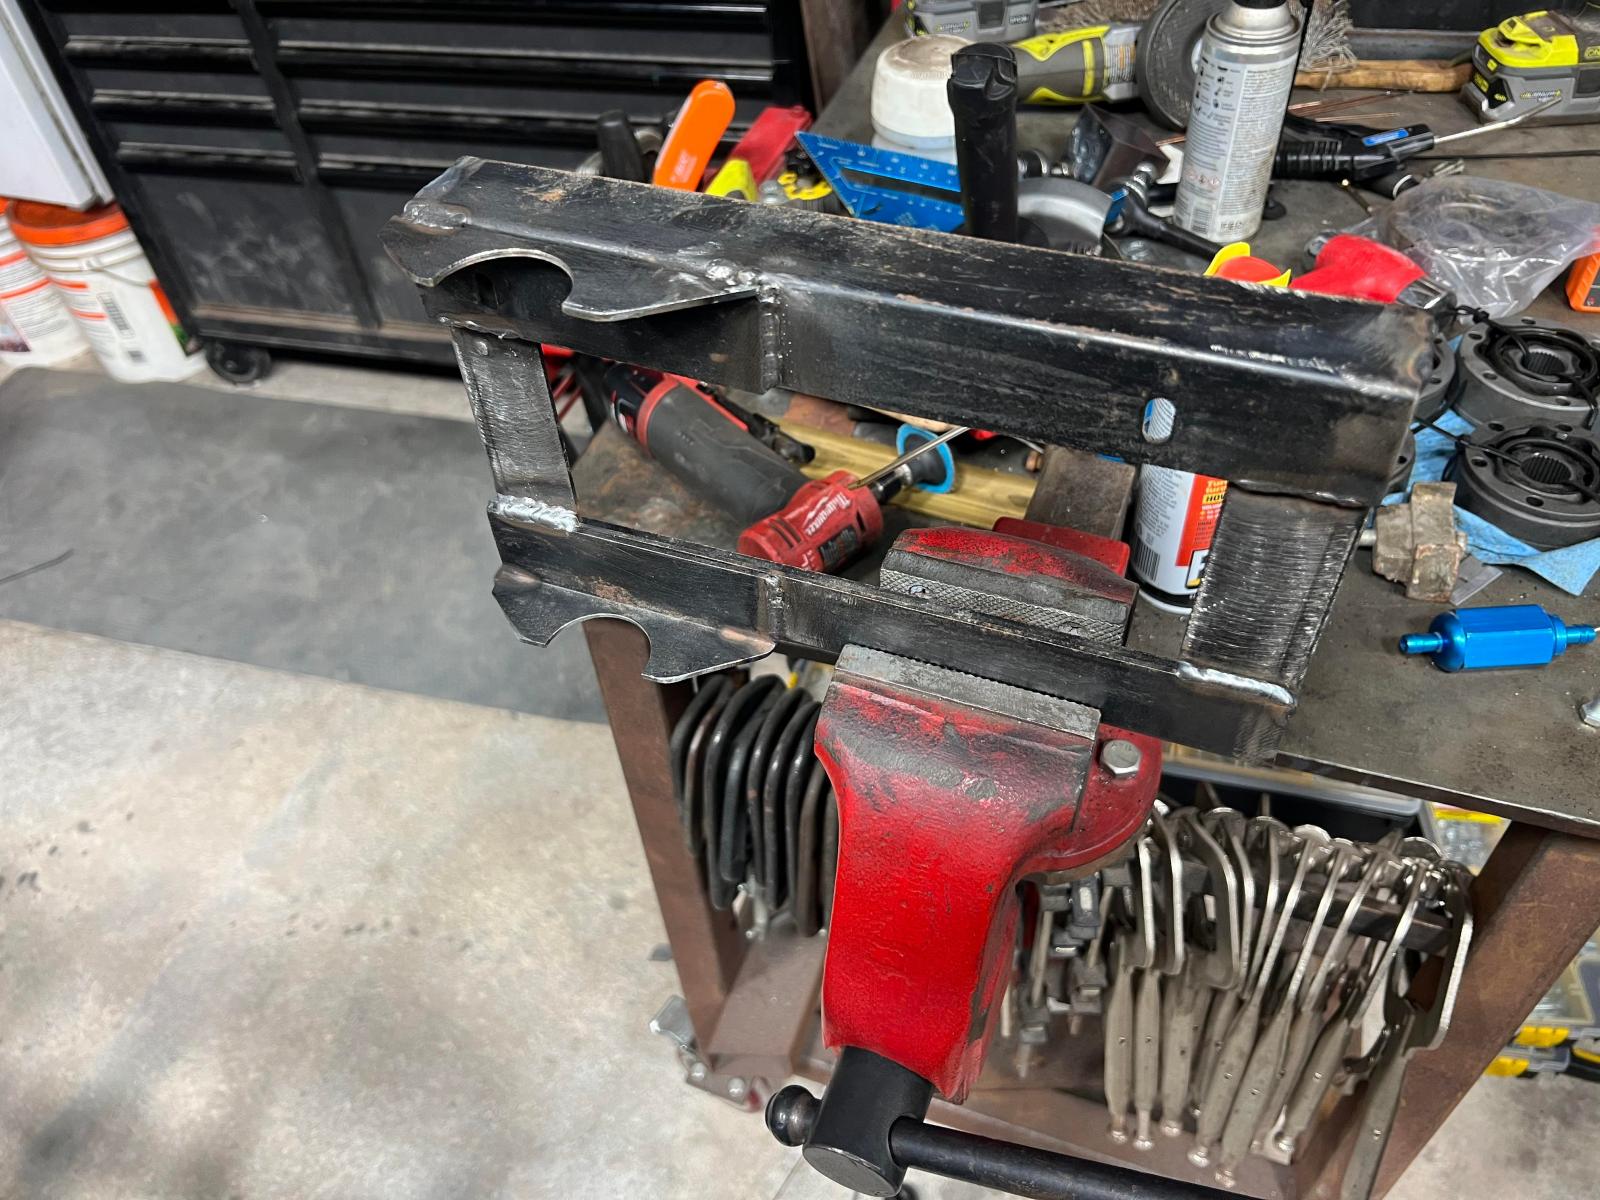
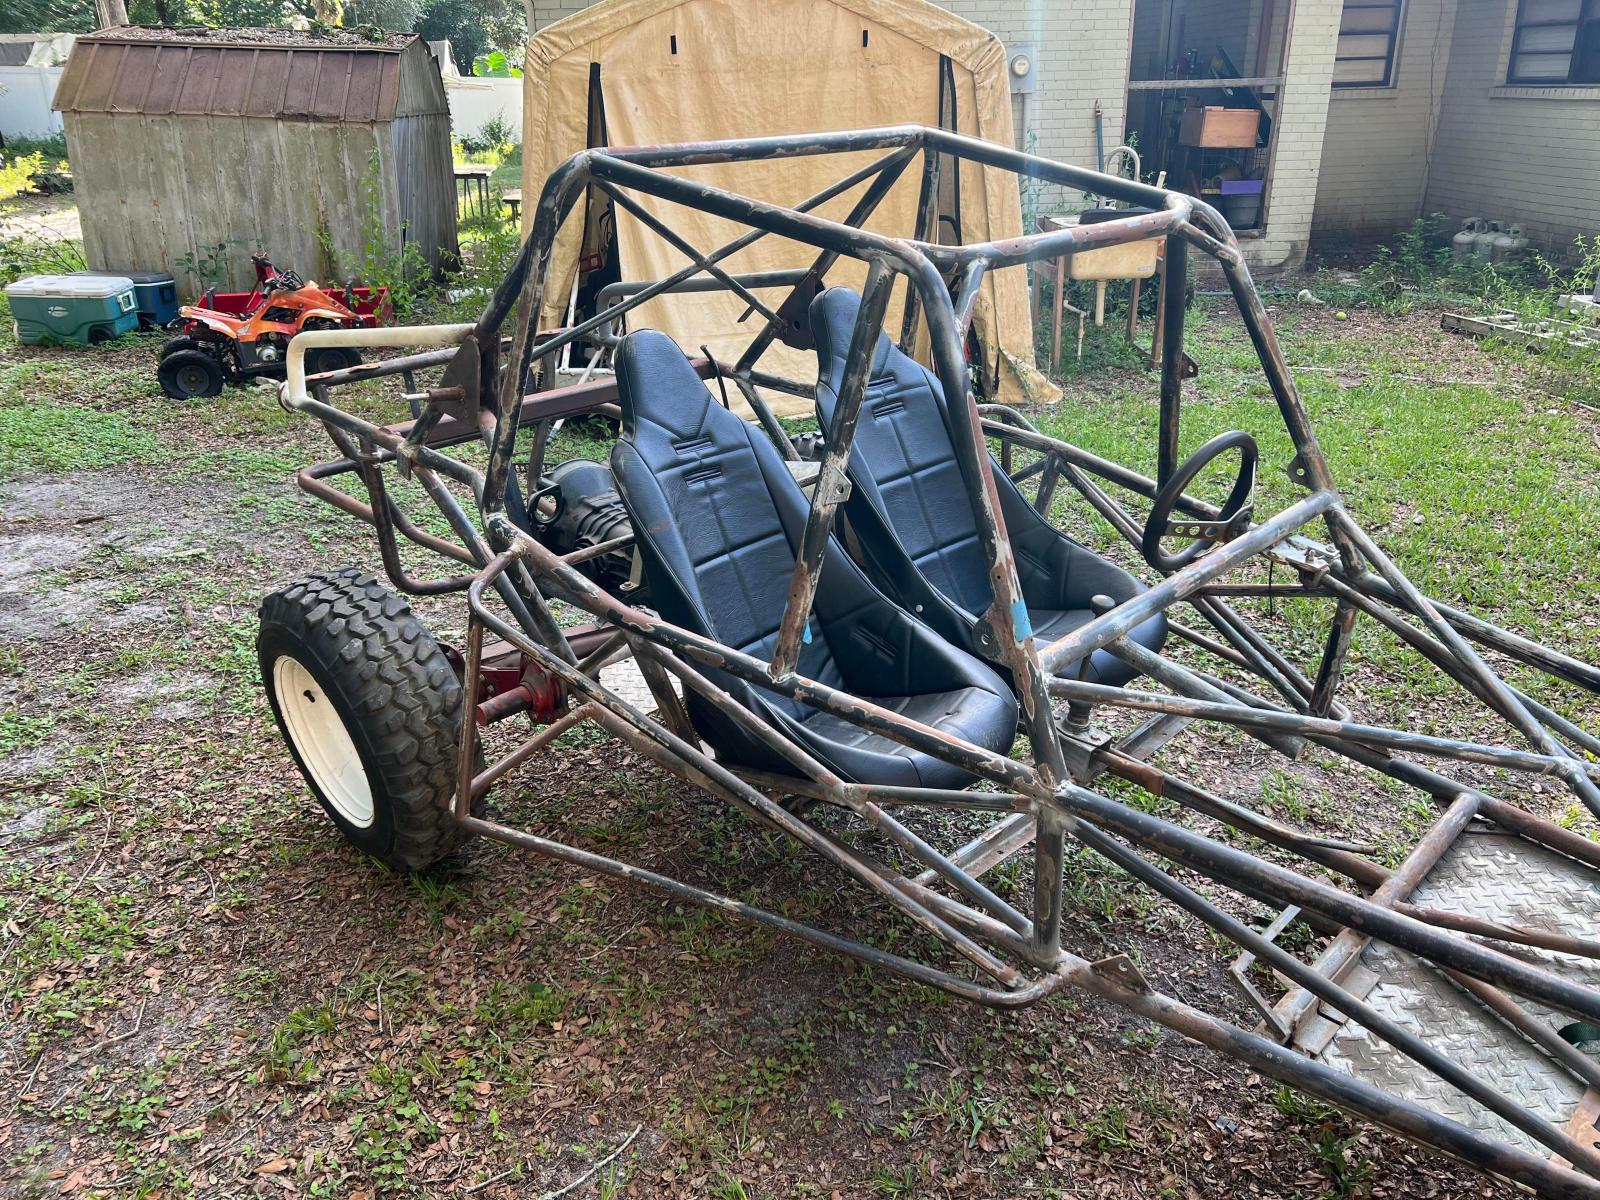
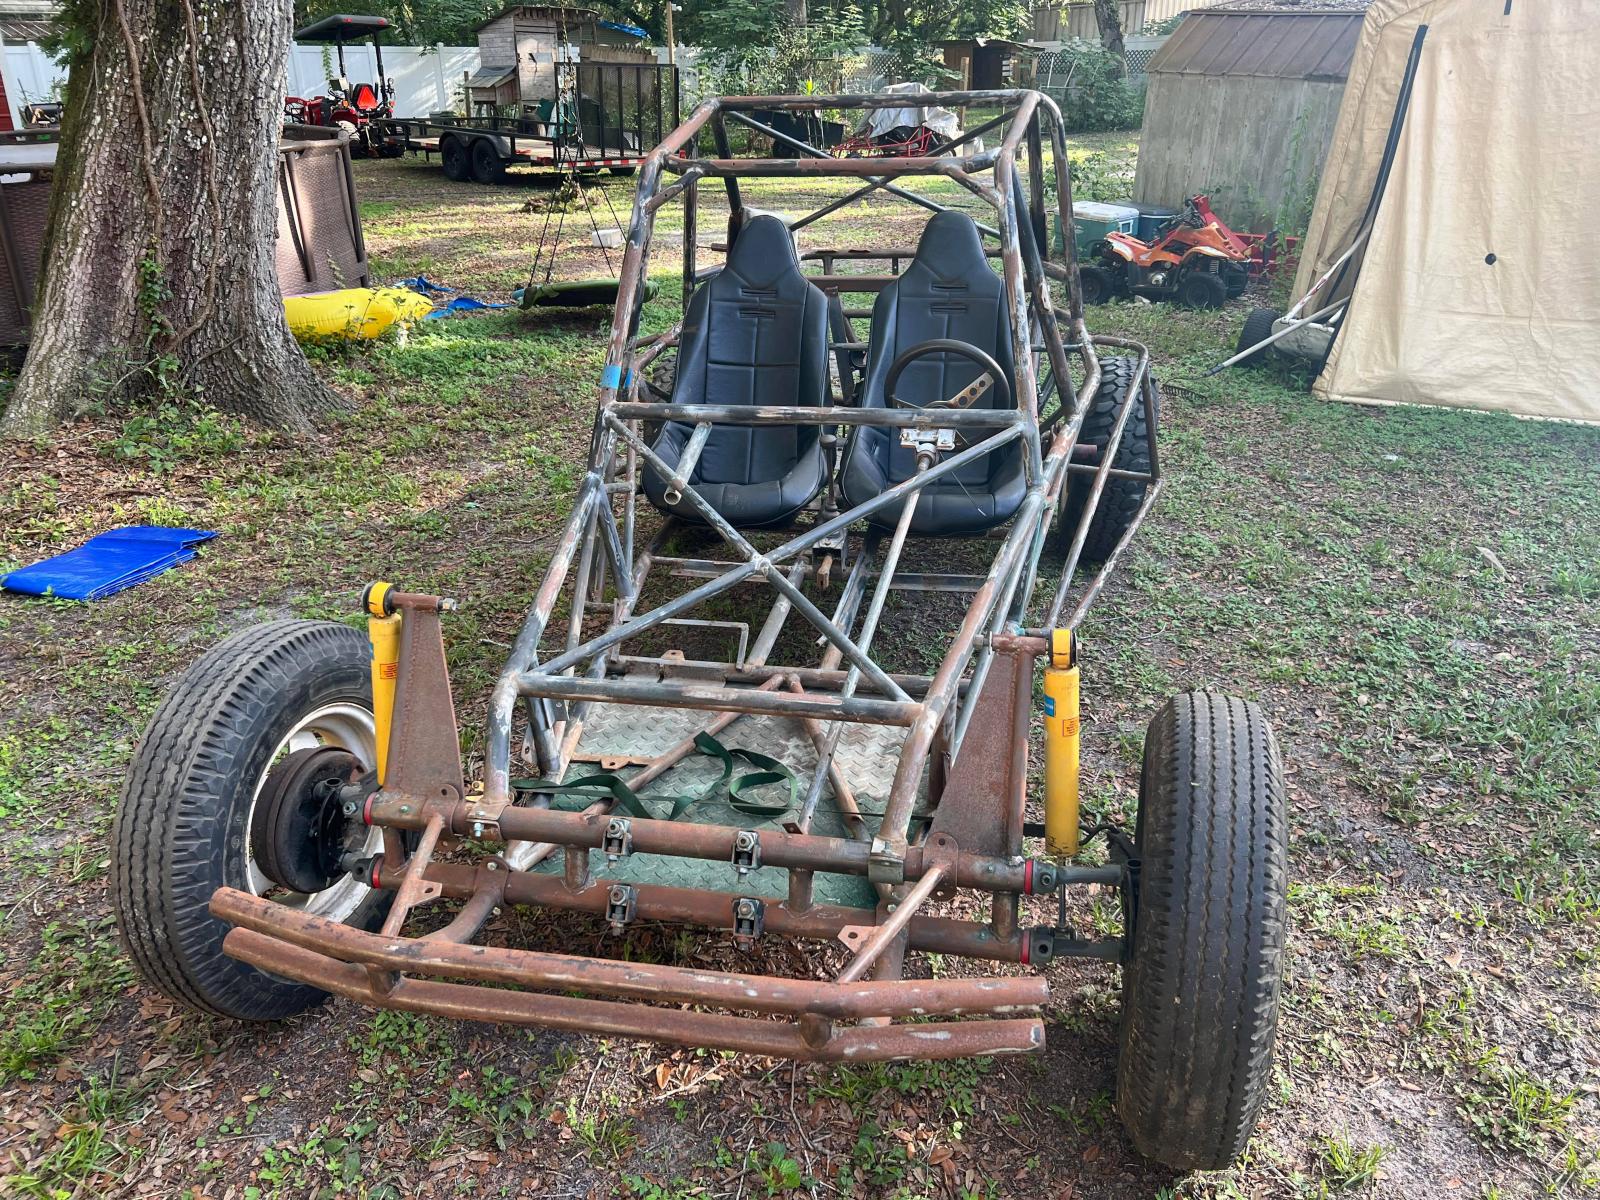
Frame
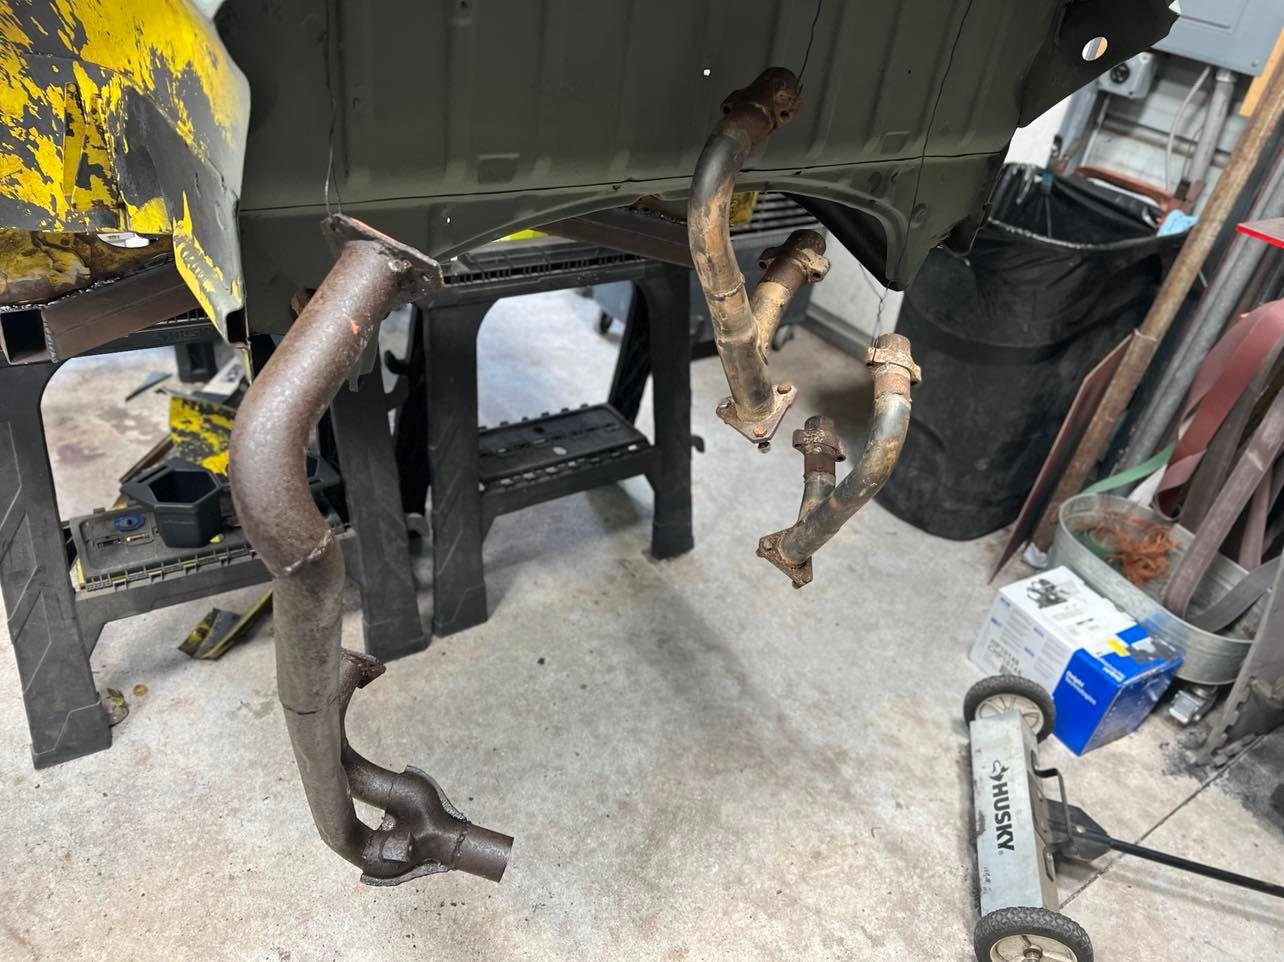
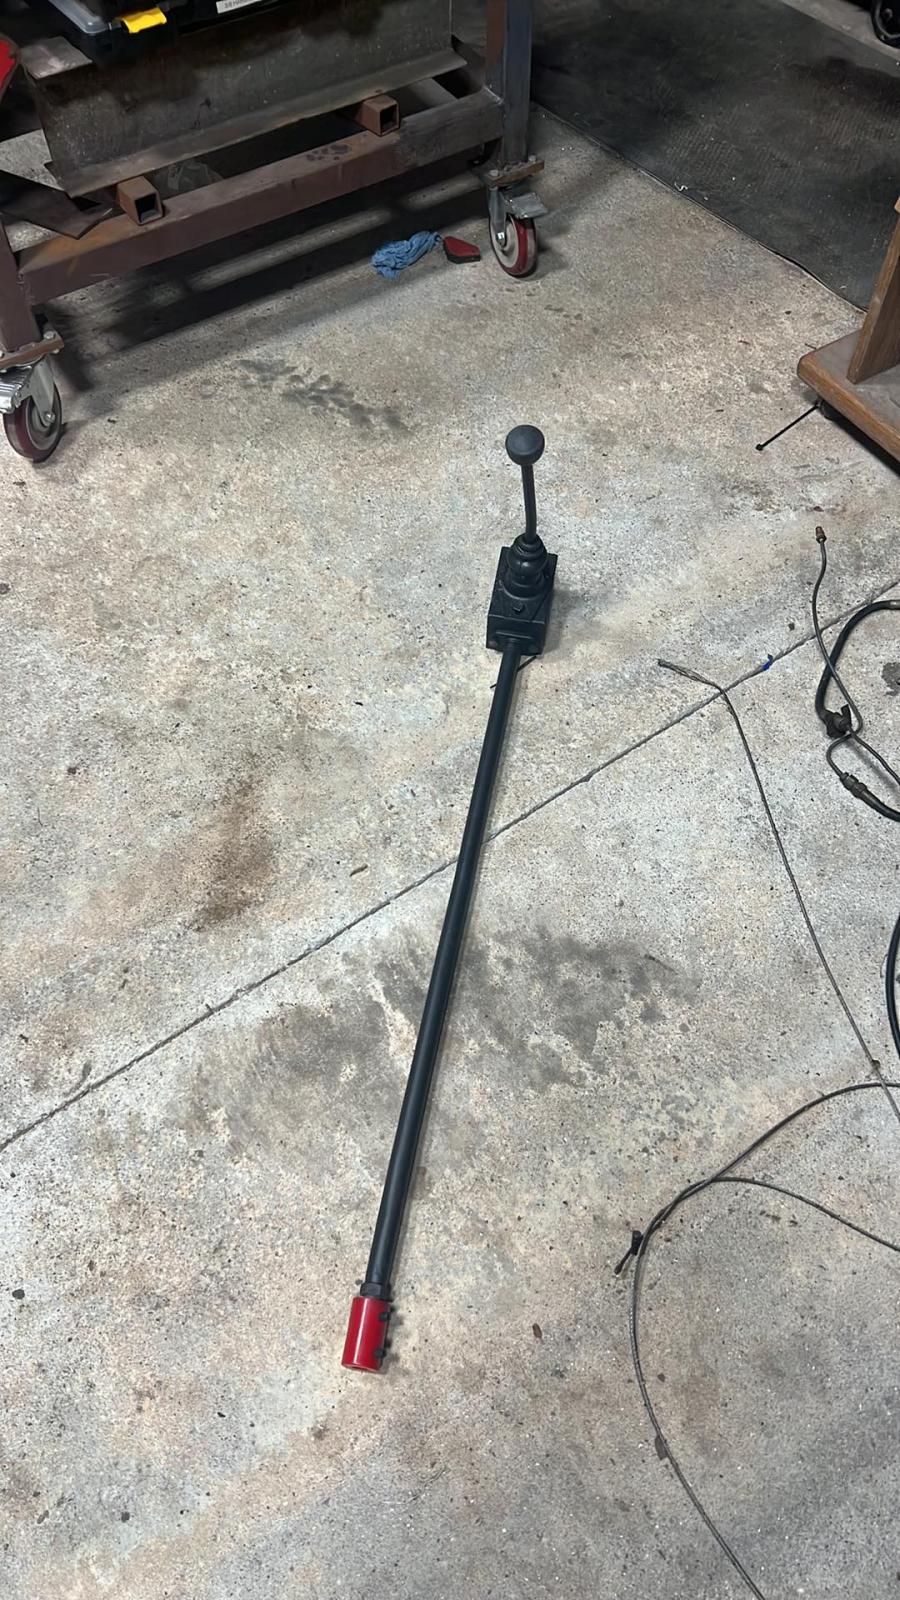
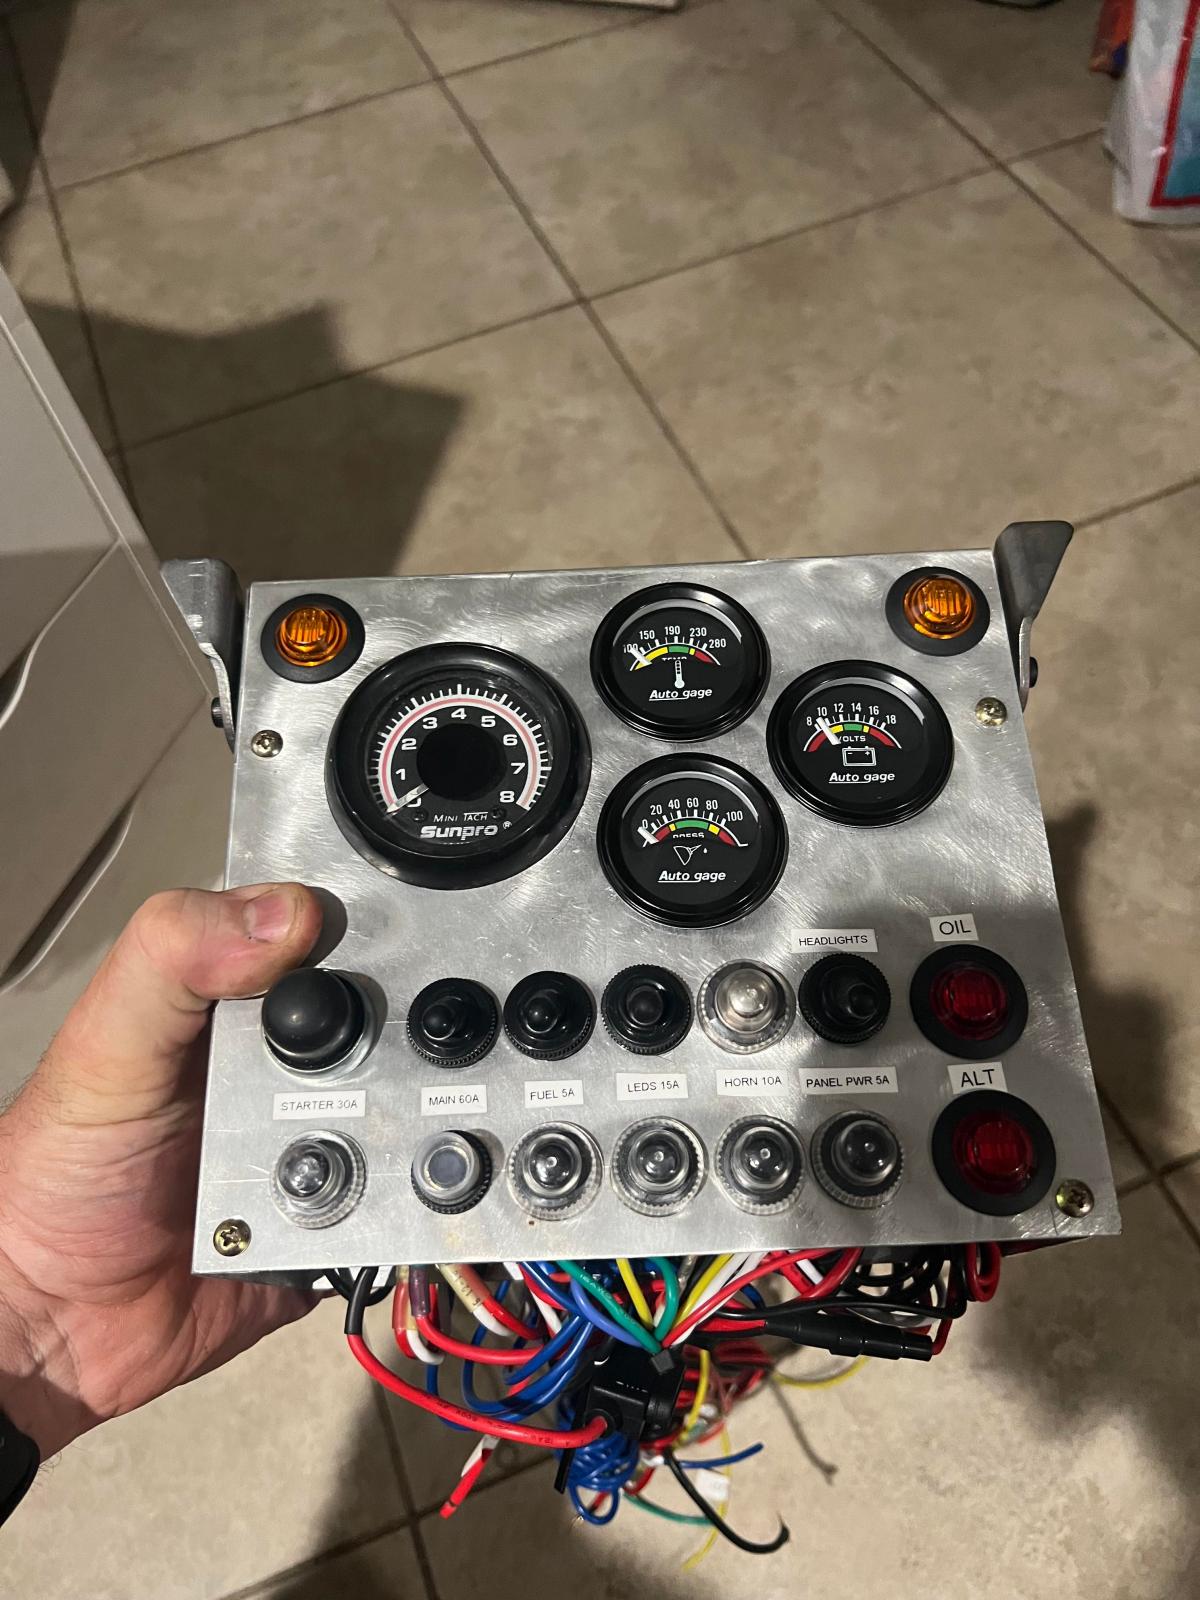
2 Bins full of parts
Fiberglass Body kit
Spun Tank
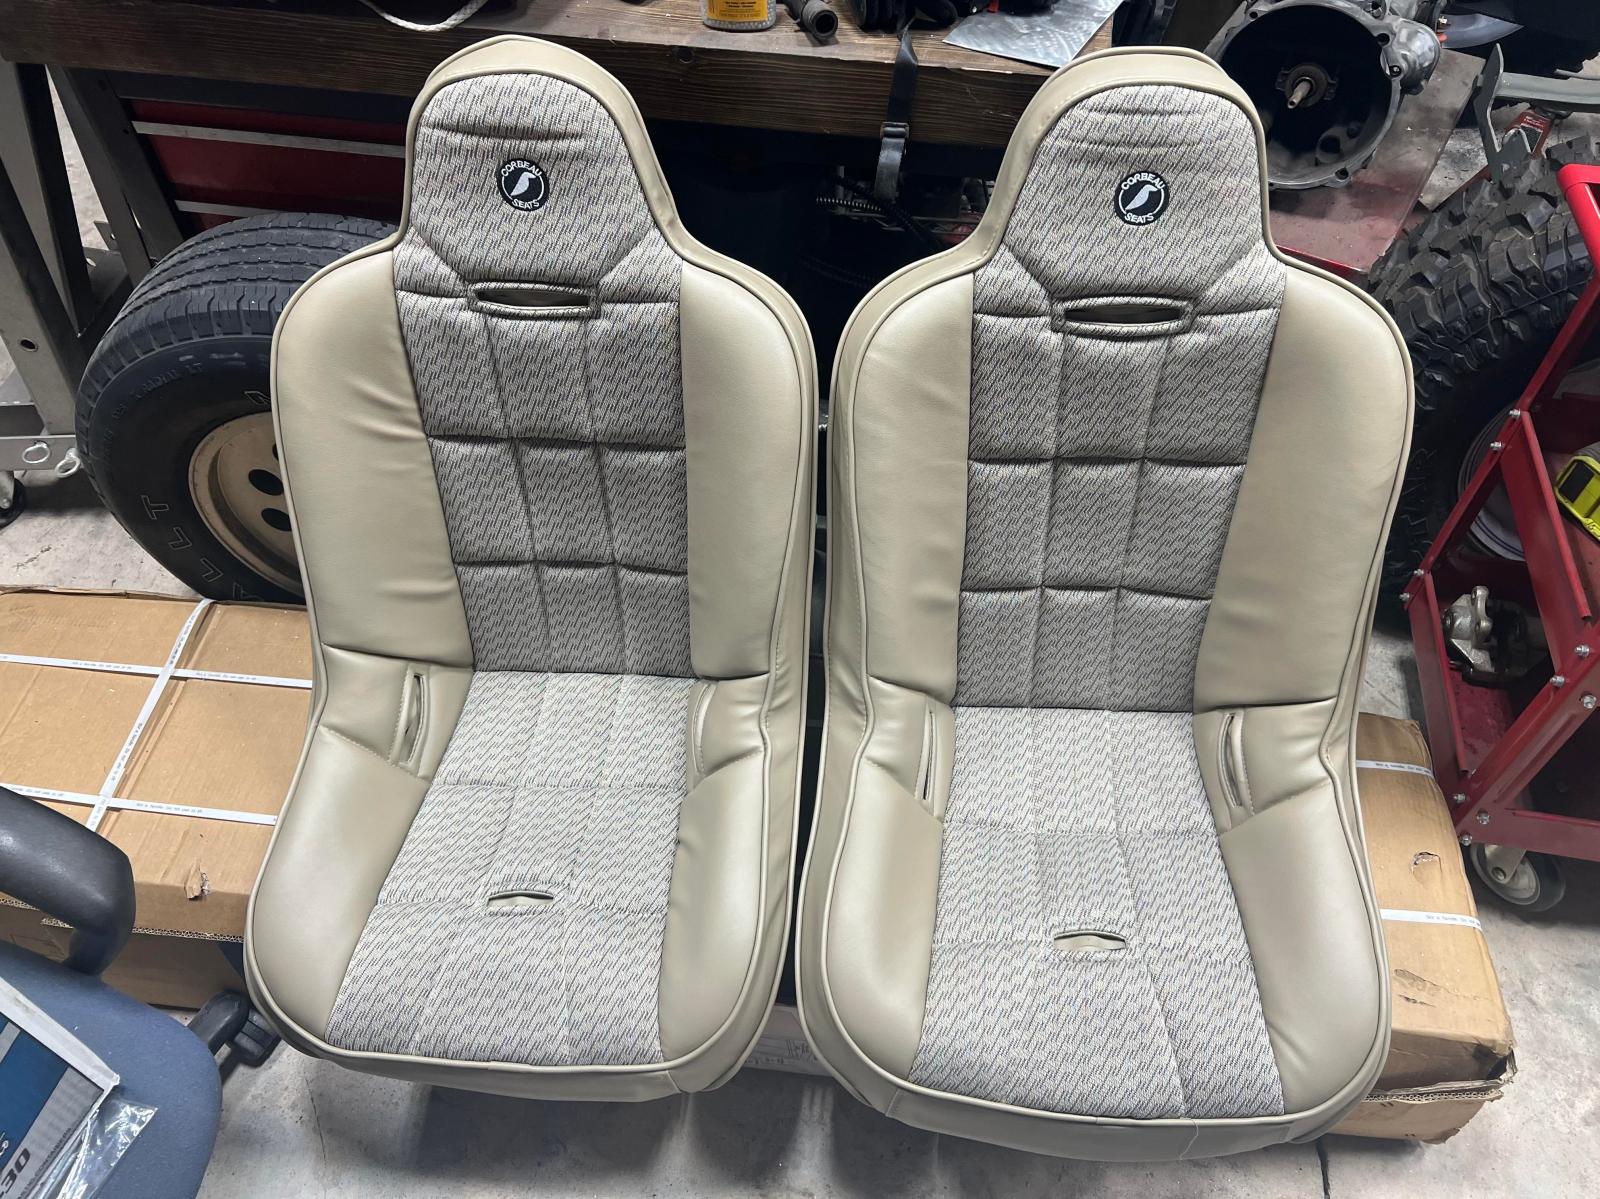
Seats and belt
The list goes one.
Here are some Pics.

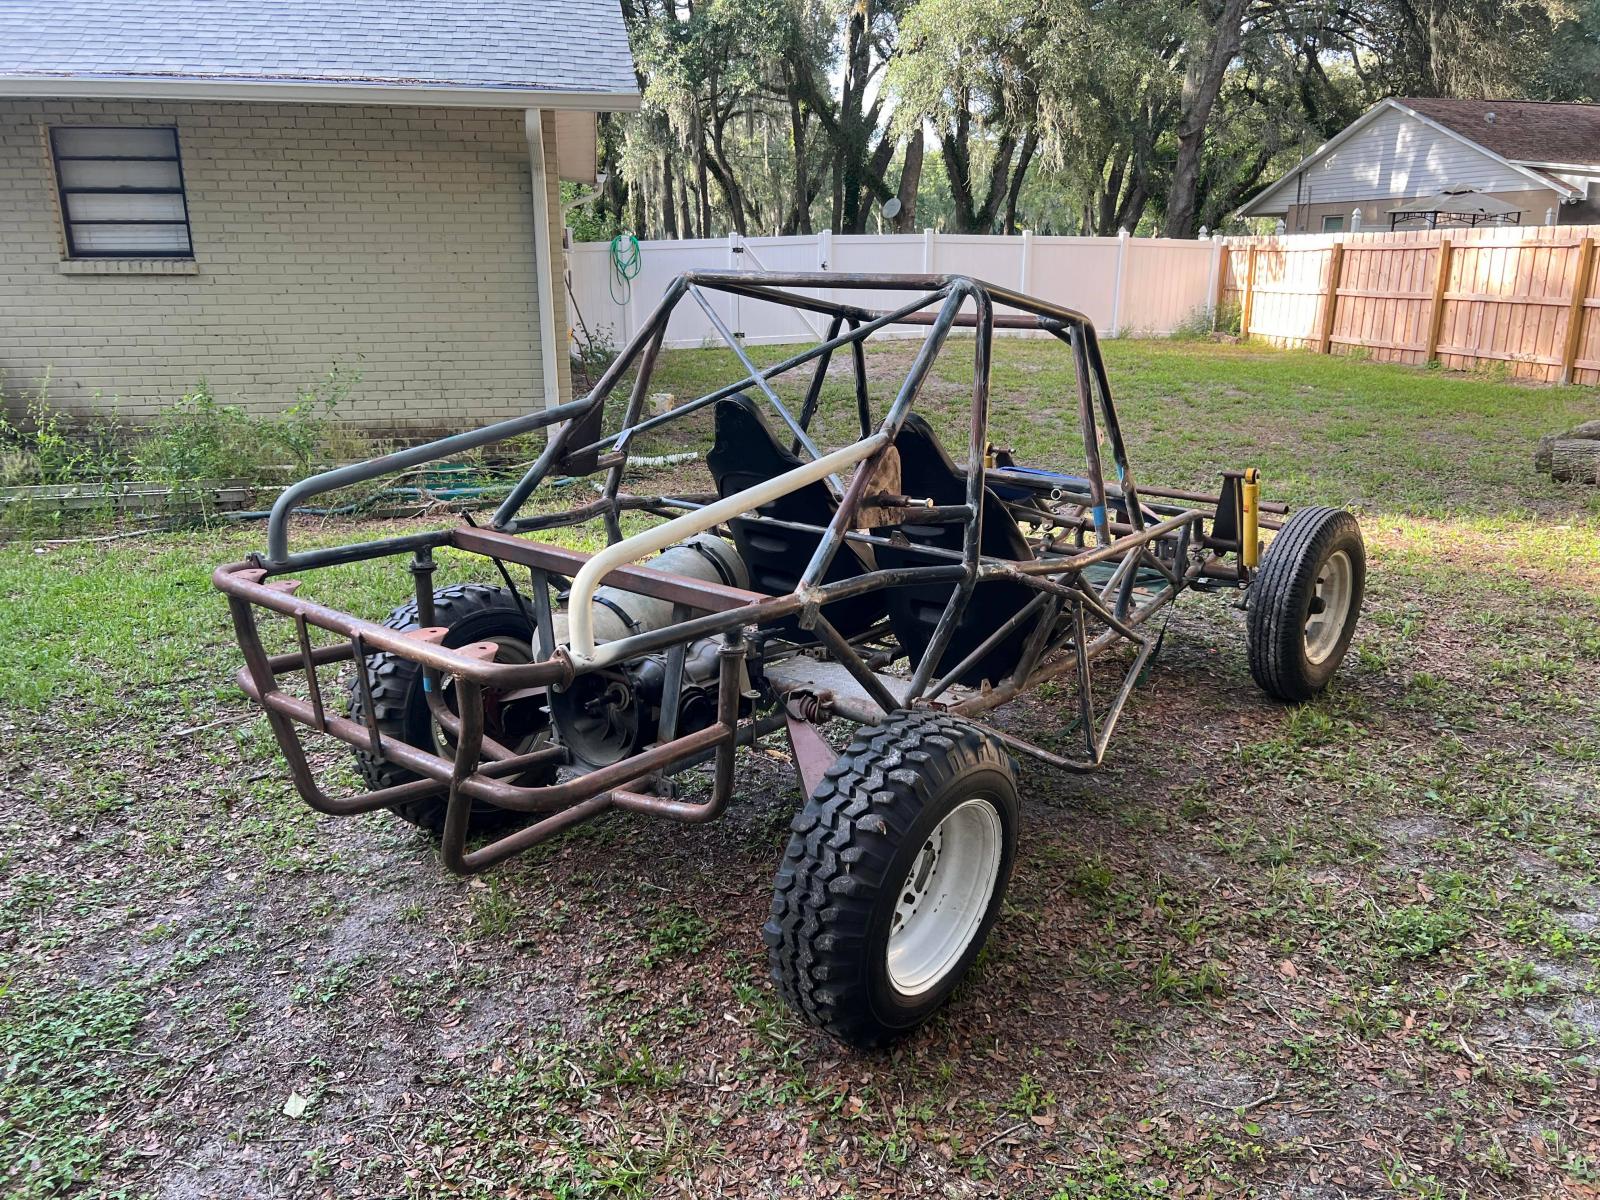
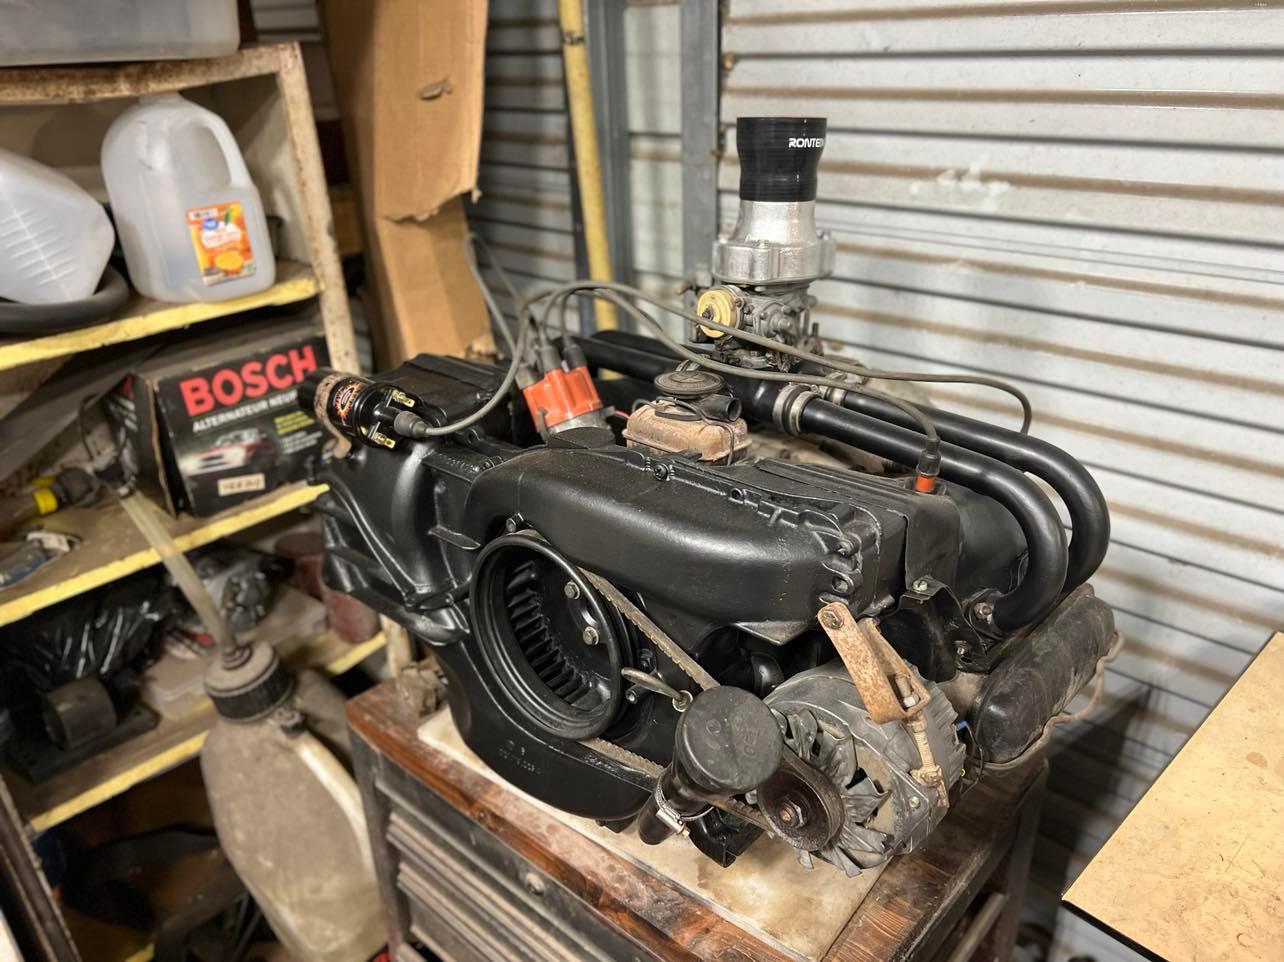
And my plan is to run the good ole trusty T4 2.0L Bus motor. Which has been spruced up.
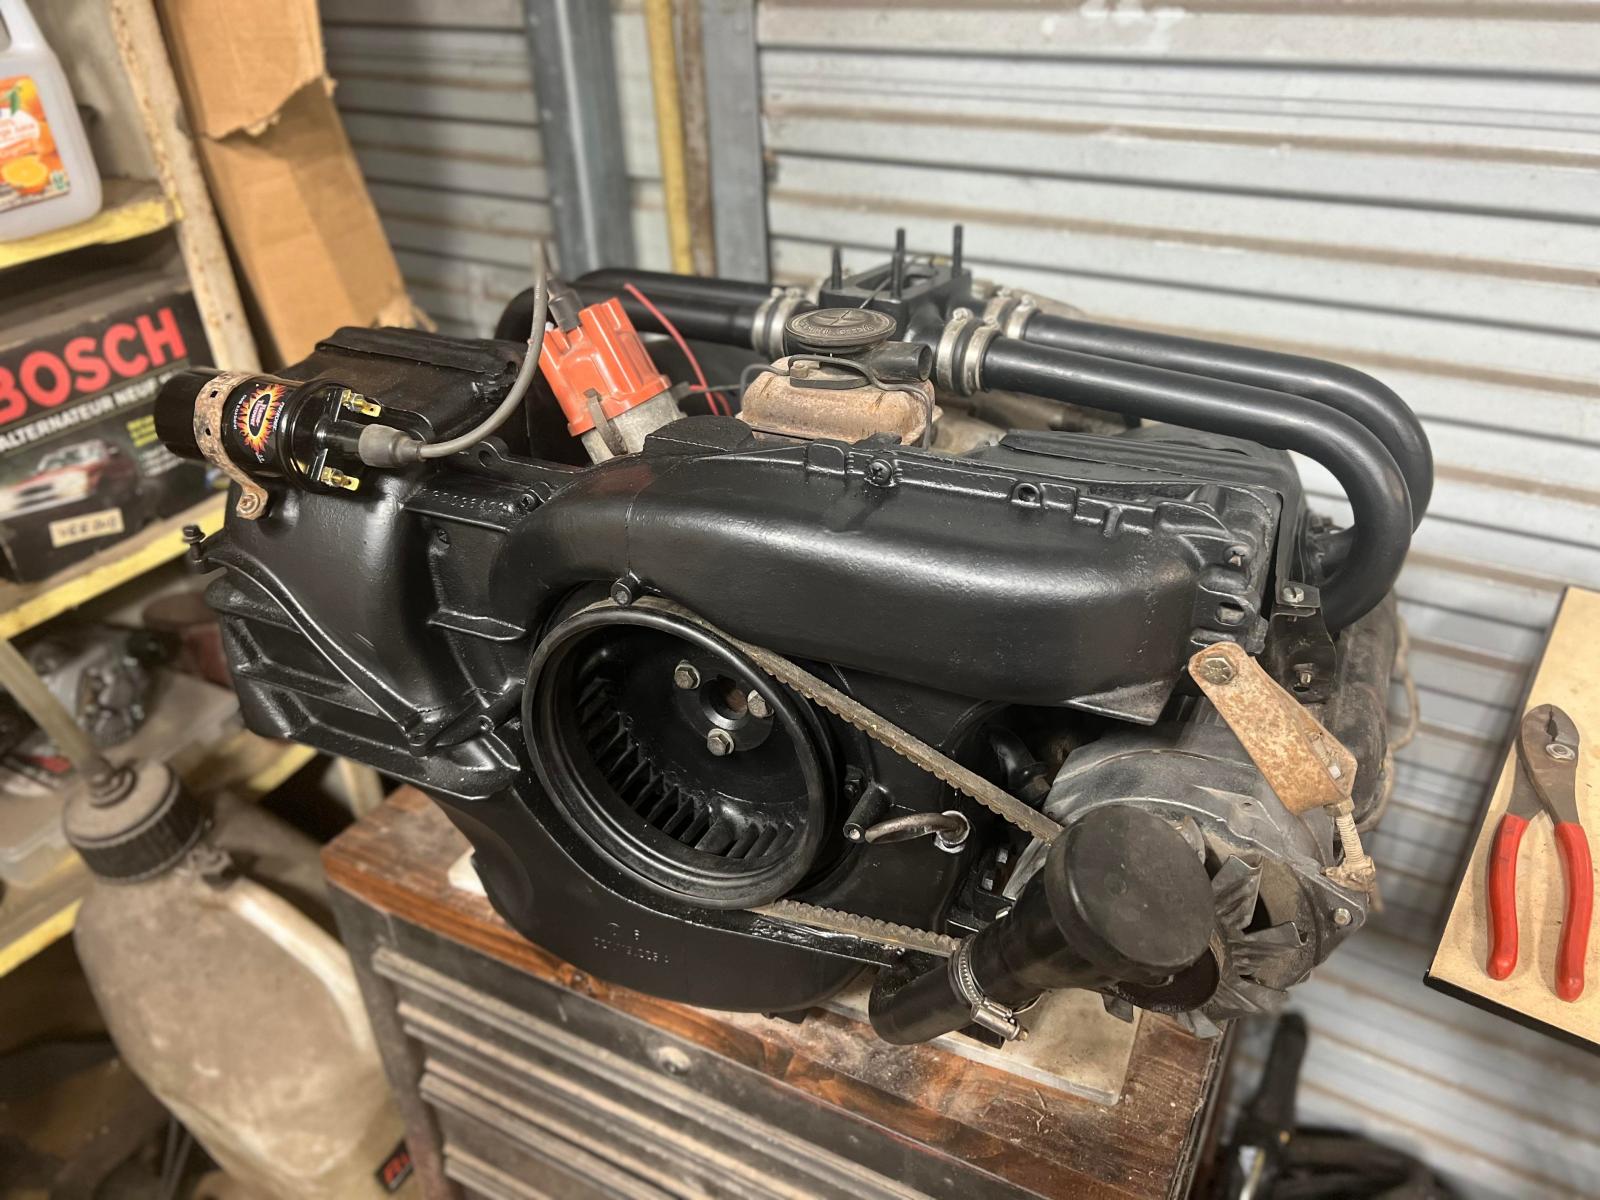
The project needs a few things. But its one hell of a jump start.